Hey there! Curious about what makes some parts of a photo sharp and others a beautiful blur? That's all about Depth of Field — a fundamental element in photography that we’re about to dive into.
Stick around, and let's explore how mastering this technique can dramatically enhance your images!
What is Depth of Field

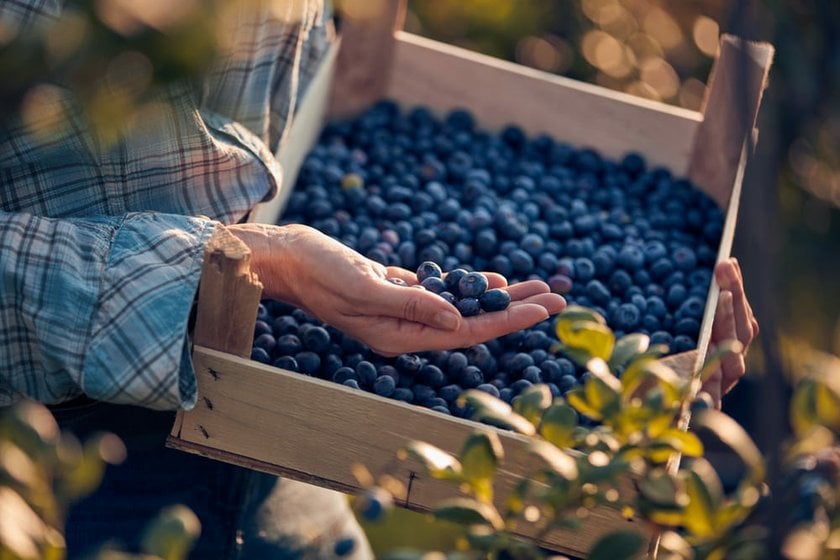
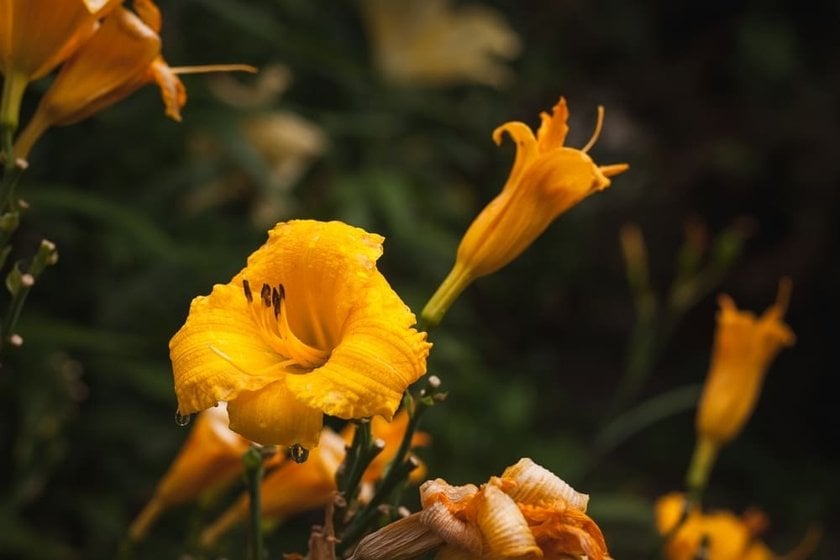
Imagine taking a picture in which only specific parts are in sharp focus while the rest fade into a soft, dreamy background. That’s the Depth of Field in action and it determines which parts of your photo are crisp and which parts are not.
Ready to see how this can make your photos stand out? Let’s get into it!
So, first, imagine you're photographing a friend at a cafe. You focus on their smile, adjusting your camera so they're perfectly sharp against a softly blurred background of bustling cafe-goers. This technique, using a shallow Depth of Field, makes your friend the unmistakable focus of the image, subtly dimming the background noise.
Or picture yourself capturing a sprawling cityscape from a high vantage point. You want every building, street, and car to be crisp, from the foreground to the far-off skyline. Here, you'd opt for a deep Depth of Field to keep everything in view, detailed and distinct.
Overall, how you manage Depth of Field can profoundly affect the impact of your photos and let you tell your story your way!
Factors Affecting Depth of Field

Let's dive into what shapes the depth of field in your photos!
1. Aperture
Imagine an aperture as a window. The wider you open it, the more light you let in, but it also narrows the depth of field. With a lower f-stop number, like f/2.8, your aperture is wide open. This setup is perfect when you want your subject to pop against a softly blurred background, for example, think of a single rose against a diffuse garden. On the flip side, a smaller opening, say f/16, lets in less light and broadens your depth of field. This is your go-to for landscape shots where every detail needs to be in focus.
2. Lens Focal Length
Focal length is essentially the zoom feature of your lens, measured in millimeters. If you opt for a short focal length, like 24mm, you're telling the story of a scene in its entirety, which is great for capturing cityscapes or beach scenes. Everything looks clear, from the graffiti in the foreground to the buildings in the back. Meanwhile, a longer focal length, like 200mm, brings distant objects into a tight focus, blurring out everything else. It’s fantastic for zooming in on a perched bird while the busy forest behind it fades into a wash of color!
3. Distance Between Camera and Subject
The closer you are to your subject, the more you'll notice the background blur out, enhancing the subject dramatically. Back up a bit, and the scene evens out, with more elements coming into clear view. It’s a simple but powerful way to play with mood and focus in your photography.
When you tweak these three factors, you can control not just your images' look but also your story's feel and focus!
Tips for Controlling Depth of Field

We prepared some simple tips to help you control the depth of field in your photos
Adjust your aperture: To blur the background, use a wider aperture (lower f-stop number like f/2.8). For sharper and more detailed scenes, choose a narrower aperture (higher f-stop number like f/16).
Change your lens: Using a telephoto lens can increase the blurring effect behind your subject, perfect for portraits. A wide-angle lens helps keep more of your landscape shots in focus.
Move yourself: Your position relative to your subject also plays a crucial role. Getting closer can make the background blur more pronounced, which is perfect for making your subject stand out. Conversely, stepping back allows more of the scene to come into focus, which is ideal for capturing more detail throughout your shot.
Choose your focus: What you decide to focus on can also influence the depth of field. Focus on something close to you for a softer background, or focus further away to keep more of the scene sharp.
Try these tips out next time you're shooting to better highlight what you want in your photos!
Fine-Tuning Depth of Field with Luminar Neo

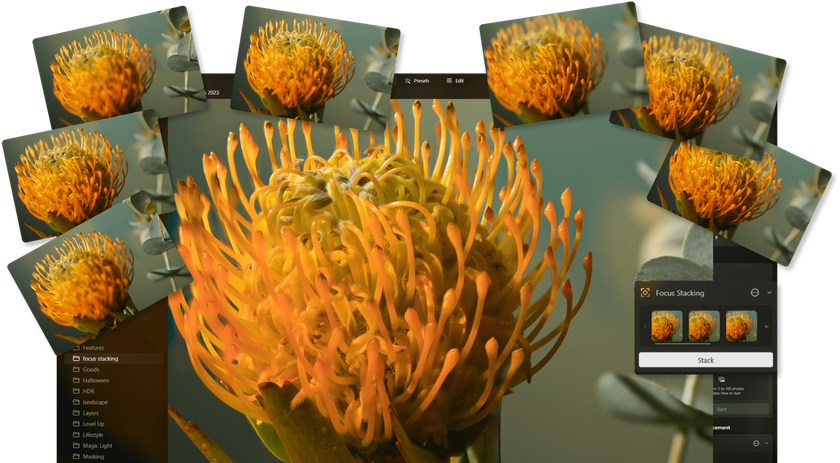
Capturing every crisp detail in macro photography often demands more than what a single shot can provide. Luminar Neo steps in with its focus stacking images feature to solve this problem. This process involves taking multiple photos of the subject at different focus settings and combining them. The result is one image where everything from the forefront to the background is pin-sharp.
For landscape photography, dealing with a mix of shadows and bright spots can be a real challenge. Luminar Neo helps simplify this with its HDR Merge tool. By combining several shots of the same scene, each taken at different exposures, this tool creates one uniform image. The "photo to HDR" process ensures that every part of the landscape, from the sunlit hills to the shaded valleys, is captured clearly. This method brings out the richness and full dynamic range of your outdoor scenes and makes them appear as vibrant and detailed as they do in real life!
Advanced yet easy-to-use photo editor
GET LUMINAR NEO NOWConclusion

Exploring the Depth of Field meaning has shown us how it affects our photos, helping to focus attention exactly where we want it. By mastering this technique, we can make subjects stand out in any setting, from close-up portraits to wide landscapes.
Using tools like Luminar Neo’s focus stacking and HDR Merge, photographers can capture everything sharply, from tiny details in a close-up to sweeping views of a landscape. This understanding allows us to turn simple shots into engaging stories told through our cameras.
If you're interested in diving deeper into more photography topics, such as anamorphic photography and beyond, stay tuned for more insightful articles!


