Joel Wolfson, an internationally published photographer, has taken Aurora HDR 2019 for a spin and made a detailed review. He is an internationally published photographer who loves teaching as much as shooting. He shares his 30 years of experience as a working pro with other photographers and enthusiasts.
Aurora HDR has become the gold standard of HDR processing. Its latest incarnation and major update is Aurora HDR 2019. I’ve been using the previous version, Aurora HDR 2018 since it came out more than a year ago. I like it and gave it a favorable review at the time. When I saw recently that Aurora HDR 2019 was available I thought it only natural to give it a workout and see if Skylum was able to improve an already good product, enough to warrant an upgrade. Here’s what I found.
Bottom line first
Is it worth upgrading to 2019 if you own 2018? I think so. Is it worth buying it outright if you don’t already own it? In most cases this a yes also. If you read my review of 2018 you’ll see I like using Aurora HDR for single image processing. I was pleasantly surprised that 2019 has improved significantly, not only for single image processing but also for traditional HDR processing of bracketed exposures. Skylum’s new Quantum HDR engine provides a more natural starting point for both and has all but eliminated noise as well. Although there are some new features and interface changes, the quality of the result and efficiency in getting there are the main reasons to own Aurora HDR 2019.
The best part
The most important and significant update in HDR 2019 is what Skylum calls the Quantum HDR Engine. Catchy names aside, it really works well. I tried several types of images shot under various conditions and the results before making any adjustments were outstanding. This held true for both single images and brackets. Furthermore, I’m thrilled that Skylum paid attention to those of us that favor using single images. The starting points for either are very natural looking. In my book, this is big because I don’t have to spend much time attaining a natural result and if I do want to go grunge or have an obvious HDR look it’s still very easy. In the previous version, the initial result was less natural and it could take some work to get to get a natural feel. Another big benefit of the new engine is that results have far less noise than previously.
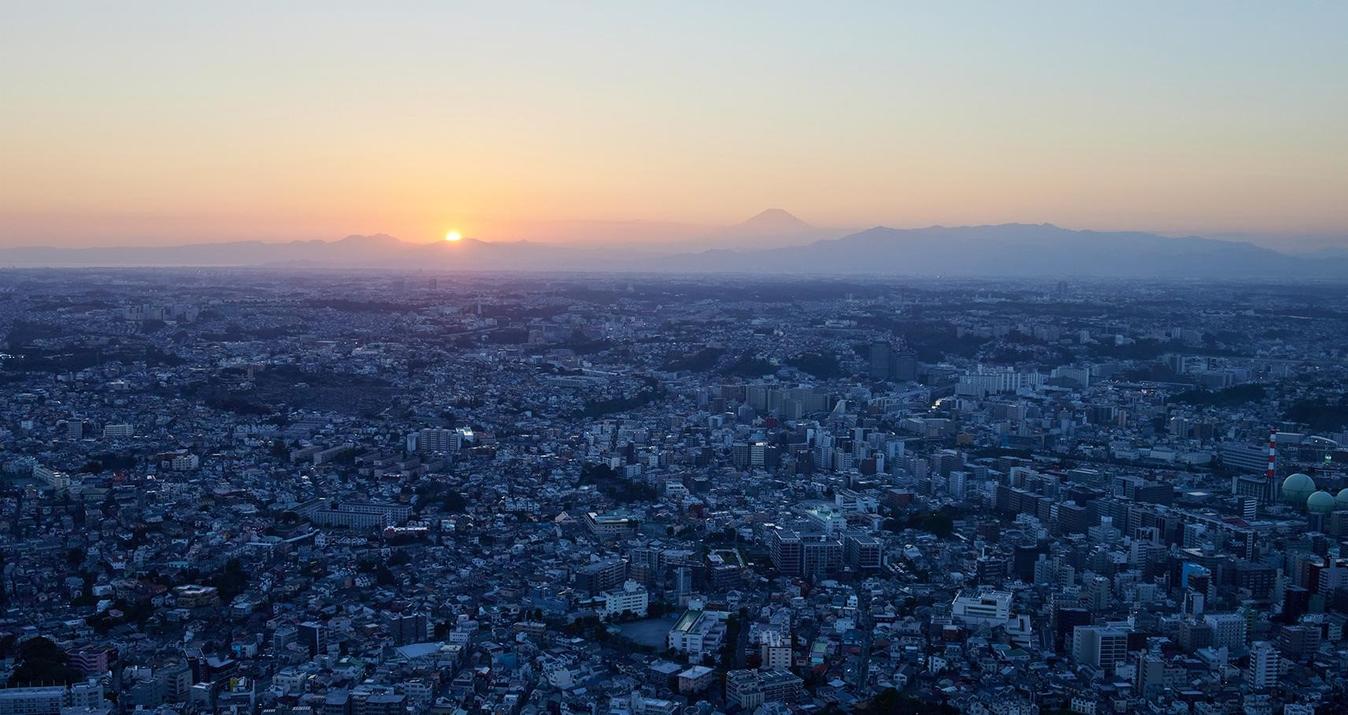
This is a sunrise with a wide dynamic range and a stark contrast between the vividly colorful sky and silhouette of the background mountains. I used Aurora HDR 2019 to process a 3 image post-capture bracket. This is the starting point with no adjustments. Compare this to the same situation using Aurora 2018 below.

This is the starting point having processed exactly the same set of images as the previous example but using Aurora HDR 2018. Notice the loss of subtle transitions in the sky, not to mention the unrealistic, rather garish color. This is a tough image for a natural rendering from HDR and in spite of spending a fair amount of time on it with HDR 2018 I never got it to look as natural and pleasing as what I was able to do in a short amount of time with HDR 2019. See my final image below.

I created the image I think best represents the original scene with one click of the “Glowing” look in the Essentials collection that comes with Aurora HDR 2019. I backed off on the opacity of it to 46% and that was it, in under 2 minutes.

There’s more
Coupled with the markedly improved processing engine are some newer and really useful presets. What this means is you can often get right where you want to go very quickly. If your image isn’t stellar up front, in many cases it can be nearly perfect with one click. As with 2018 you can just adjust the overall application of the preset with a slider (0-100%) to tweak it to your needs. Then if you still want to make some more adjustments you have a myriad of tools in the side panel.
Also new in this 2019 version is the LUT (Lookup Table) Mapping feature allowing you to create cinematic, black and white, vintage and numerous other looks simply by selecting a LUT from the pulldown menu with the option of adding your own LUTs you find online or create yourself. I also like the opacity slider for LUTs that are a little heavy handed or if I just want a light touch of the look provided by the LUT. Skylum has had LUTs in Luminar for some time and it exists in other software as well. So this feature is handier than it is essential. Nonetheless, it’s nice to have available if you want it.
This is a new panel for applying LUTs (Look-up tables) to provide various looks to your images.
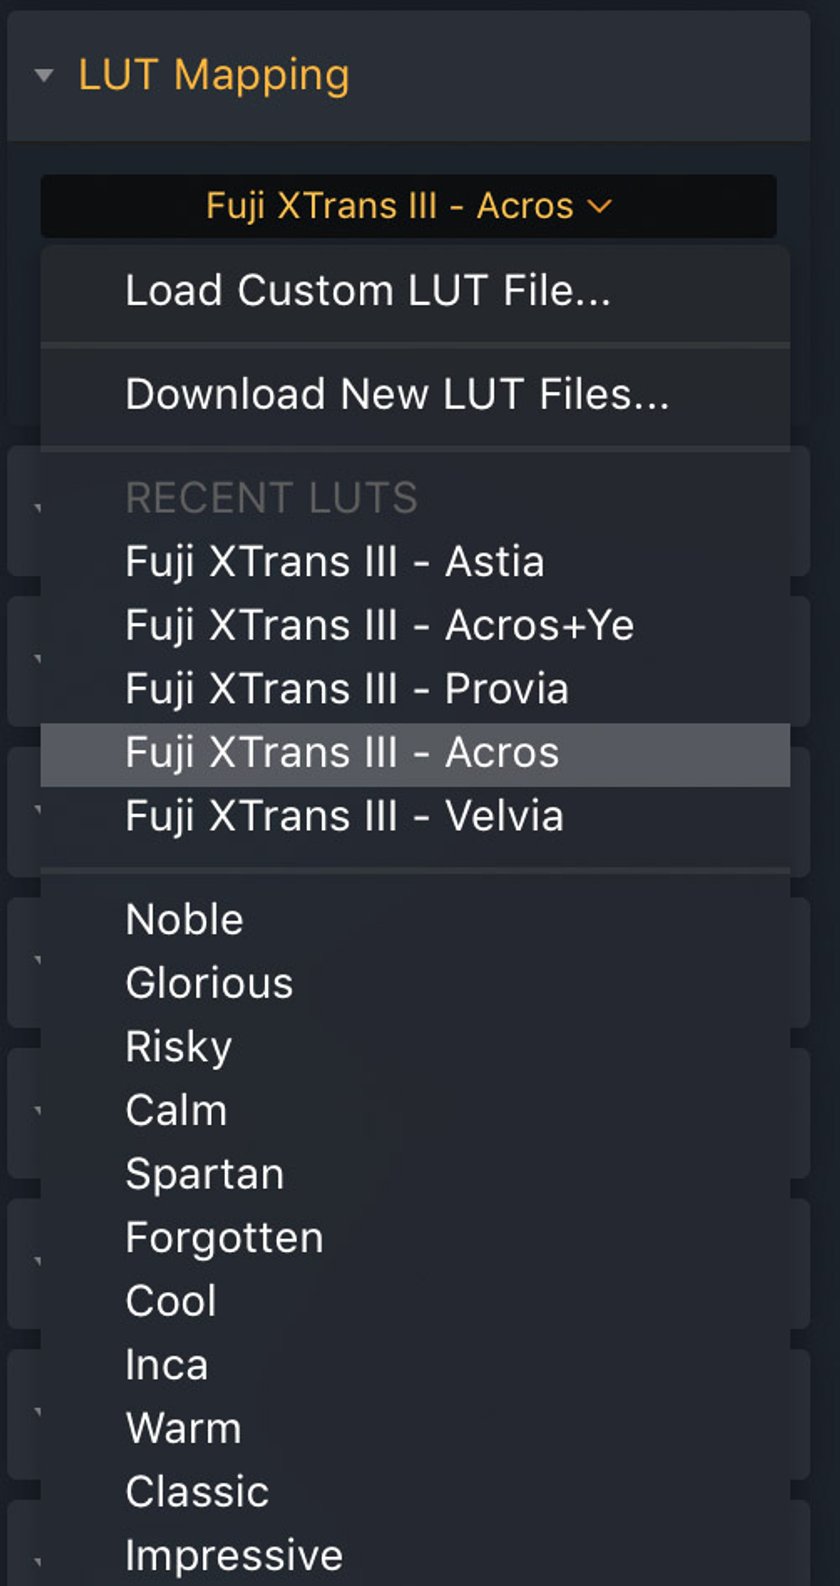
Here I applied a Fujifilm Acros LUT for a black and white version.
Workflow
My approach with using Aurora HDR 2019 is that I view it as a starting point and plan to hop into Luminar and/or other software as needed to finish my image. With 2019 the starting point is much better than the previous version so I’m more likely to use it in the first place and it saves me time overall. Although there may not be many folks out there that would have Aurora HDR as their sole processing toolset, Skylum takes into account that every user has different needs. So there are a lot of tools available in 2019 that give you the potential to get a final or near final image.
Other Differences
Formerly a single slider in Aurora HDR 2018, HDR Enhance is now a dedicated panel (right) in Aurora HDR 2019 and replaces the former HDR Structure panel from 2018 (left)

The layout is better organized now with HDR Enhance, formerly a single slider under HDR Basic in the previous version. It is now a dedicated panel with 4 sliders including HDR Clarity, HDR Smart Structure, and HDR Microstructure. I also find the results of the new implementation to be a little more refined and aesthetically pleasing. In 2018 you could enhance detail and sense of depth using HDR Structure and then intensifying that if wanted, by using the Boost. In 2019 it’s a little easier and user-friendly with the HDR Smart Structure slider essentially replacing the 3 previous sliders. Then if you want more of a sense of depth you can use the HDR Clarity slider. This isn’t so much a game changer but certainly easier, more logical and enough of an improvement that it warrants mention.
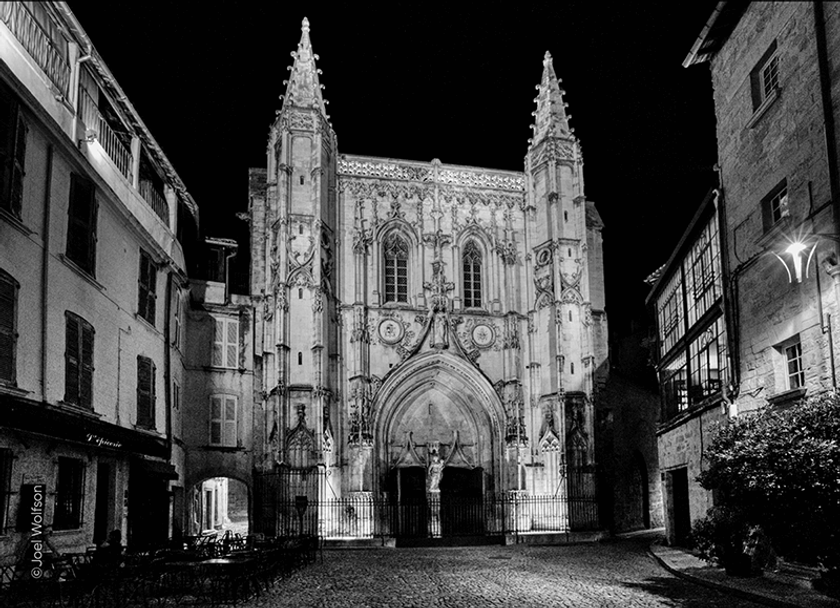
I ran into some pretty large differences in noise between the two versions. With the night shot of St. Pierre church using 2018, I couldn’t bring the shadow noise down without severely smearing detail in other, more important areas of the image. I didn’t have that problem with 2019. Of course, I could have created more layers with masking and try to selectively reduce the most offensive noise or take it into another program to work on the noise. And this doesn’t address the issue of the speckled sky which would also require more layers and masks to get it back to black. But the point here is that using HDR 2019 I have a very nice image without doing much of anything when I opened this challenging photo in 2019. All I had to do was bring down blacks for the sky and bring up shadows for the dark areas, all without bothersome noise.
Processing this high ISO, a handheld single image in Aurora HDR 2019 was very quick and easy. From the starting point image, I simply boosted the shadow slider and brought down the blacks, both in the HDR Basic panel. Conversely, the one I processed in 2018 took much more time. Also, check out the detail sections below for noise and other differences.

This is the same single image processed with Aurora HDR 2018. Although both images look pretty good at first glance there are some important differences. This one was more time consuming and more complex. I had to use an adjustment layer with a brushed in a mask to try and eliminate the speckling in the sky. There was also a balancing act between getting some detail in the shadows and highlights without things getting muddy. These are JPEGs of the originals and don’t tell the whole story. See the detail sections below.

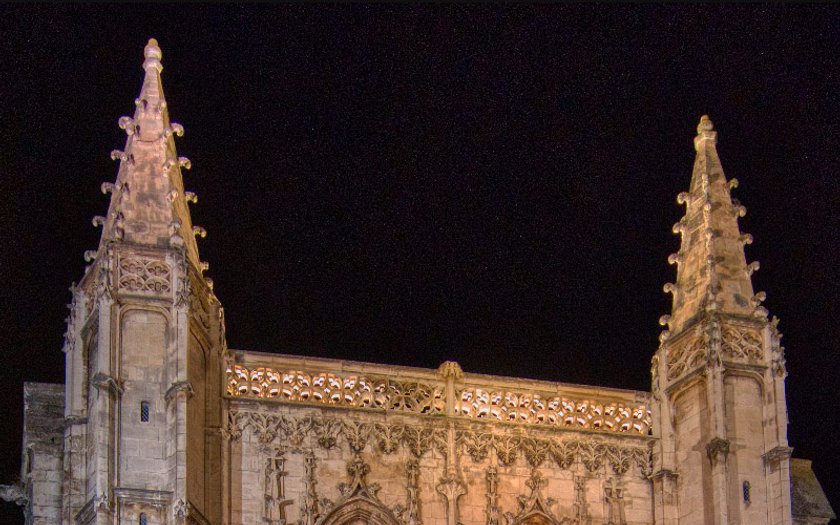
This is a 100% detail of a section from the lower left portion of the image. Aurora HDR 2018 on the left and Aurora HDR 2019 on the right.

This detail is from the image above using 2018. It was a bit of a battle trying to retain highlight and shadow detail while controlling noise. I wasn’t able to fully eliminate the speckling in the night sky even with a separate layer and masking. Also, I brought down the highlights in this one just to the point where the stone gets muddy looking. Contrast this to the same section detail below where I used 2019 to process the image. Not only was it much faster but it handled the stark contrasts, noise, and details in highlights and shadows much better.

Conclusion
My goal was to try Aurora HDR 2019 and make a direct comparison with the already worthy 2018 version and see if there are enough differences to warrant buying the new version. If you’re upgrading it's definitely worth. For those potential first-time buyers, I can't think of anything else out there that comes close to the quality and ease of use.
Already the standard by which other HDR processors are measured, Aurora HDR has become a refined product with 2019 incorporating big improvements over the previous version. The greatest enhancement is the new Quantum HDR Engine yielding much better and more natural looking starting points, major noise improvements, and better handling of large disparities in exposure, especially areas adjacent to each other.
With all the images I tried I only ran across one where I liked the starting point better in 2018, but only slightly. I should note this was a daytime shot at ISO 100 on a tripod so not as challenging as many of the other images I tried.
Even though there are some new features like LUTs and improved interface and controls, the real reasons to upgrade are simply the outstanding quality, reduced noise, and great presets that will help you obtain a beautiful final image and spend less time than without it, or even with 2018.
Happy Shooting! (and processing)
Joel
A Special Perk for Our Blog Readers
Get a 10% discount on Luminar Neo and dive into professional photo editing today!
Thank you for subscribing.
Your gift is waiting in your inbox!


