Start Your Photography Journey: Key Tips for Beginners
April 29, 2024

Start your photography journey with these practical tips for beginners. Learn the basics, improve your skills, and take better photos.
Hello, this is E-M-W.
I have compiled some tips and advice for beginners to improve their photography with digital SLRs and mirrorless cameras. And today I want to share these insights with you. Let's get started!
Tip#1: Always Keep Your Camera Handy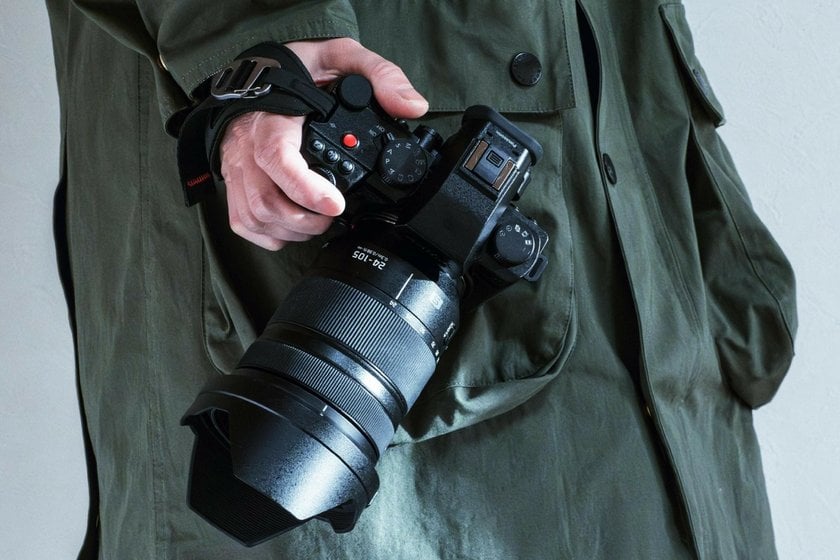
The best tip for beginners to improve their camera skills is to take lots of photos.
When you buy a camera, it usually comes with a thick manual full of functions, which can be overwhelming and time-consuming for beginners to master. Therefore, it's best to start by learning only the essential functions and setting the manual aside for now.
While camera how-to books are packed with valuable techniques, you should only consult them when you need specific help with your photography. Remember, you won't improve your camera skills just by reading manuals and books; it’s crucial to keep taking pictures regularly.
Always carry your camera with you when you go out. Even if you think you know a place well, changing seasons or times of day can present new photo opportunities. Likewise, make sure your camera is readily accessible at home—daily family life offers many candid moments worth capturing.
By consistently carrying your camera and practicing, you’ll naturally learn to use it as an extension of your eyes and hands. By experimenting and solving problems on your own, you'll also develop your techniques.
Tip #2: Experiment with Various Lenses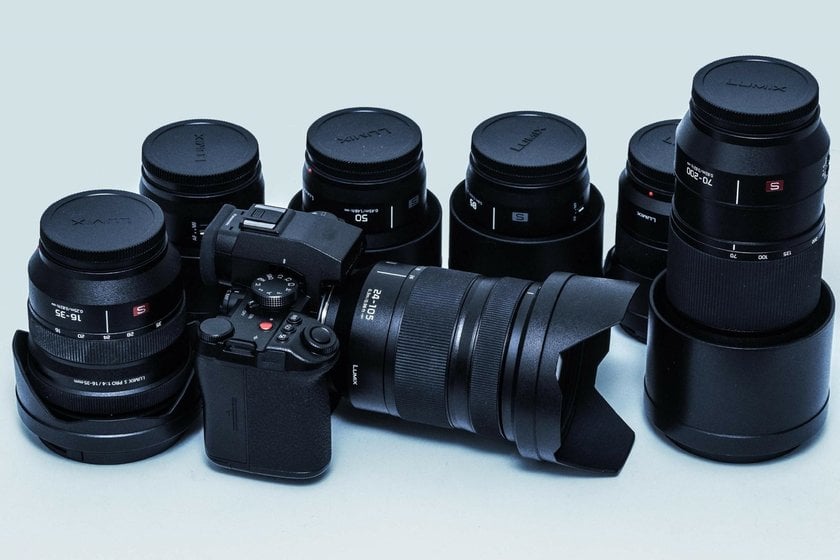
Digital single-lens reflex and mirrorless cameras come with a highly versatile standard-range zoom lens called a kit lens. However, you can further enhance the expressive power of the camera by replacing the lens.
For example, if you use a fixed focal length lens with a low f-stop, you can take photos with a blurred foreground or background of the subject. If you use a telephoto lens, you can capture distant subjects with the background compressed, and with a wide-angle lens, you can take dynamic images that capture a wide range of cityscapes and landscapes.
Additionally, a macro lens allows you to make small objects appear larger, and a high-power zoom lens covers a wide range of focal lengths, from wide-angle to telephoto.
To choose a lens that suits your shooting style and subject, I recommend that you first take many photos using the included kit lens, and if you experience any dissatisfaction or inconvenience, purchase a lens that covers it.
Advanced yet easy-to-use photo editor
Get Luminar Neo NowTip #3: Master Composition Techniques
I said that the more photos you take, the better you will be at it, but you can reach a higher level if you take advantage of composition instead of just taking pictures blindly.
Composition involves deciding where to place the subjects and other objects in a photo. Even if the subject is the same, changing the composition can drastically alter the appearance of the image.
Centered Composition
This composition technique conveys the charm of the subject by placing it in the center of the photo. Beginner photographers often use it without much thought, but with an understanding of composition, you can make it far more effective.
Rule of Thirds
This is the most versatile composition technique applied to various subjects. By dividing the photo horizontally and vertically into thirds and positioning the subject at an intersection or along one of these lines, you can easily create balanced shots, especially in complex scenes like landscapes.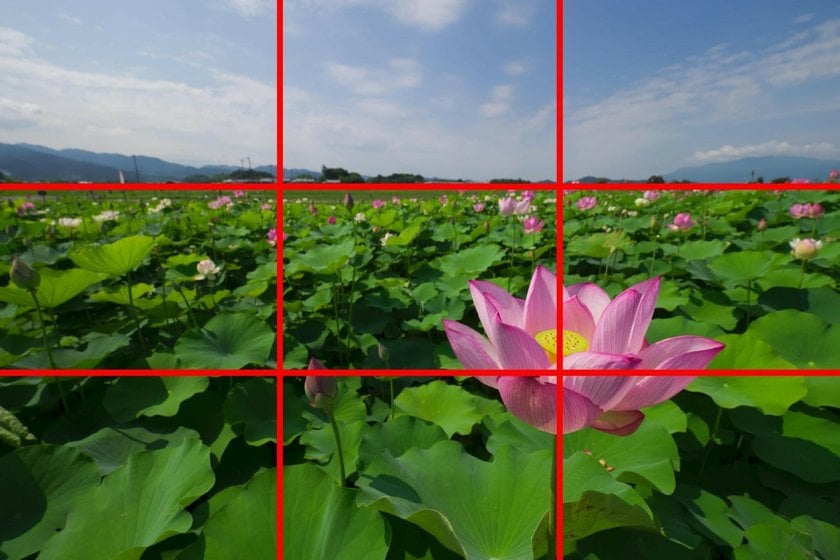
Two-part Composition
This technique divides the image into two by drawing a line down the center. It can be used to split a symmetrical subject or landscape at the horizon, imparting a sense of stability to the photo.
Radial Composition
This is the best technique to express height and depth. It can also convey a sense of expansive space by drawing the viewer’s eye into the radial depths.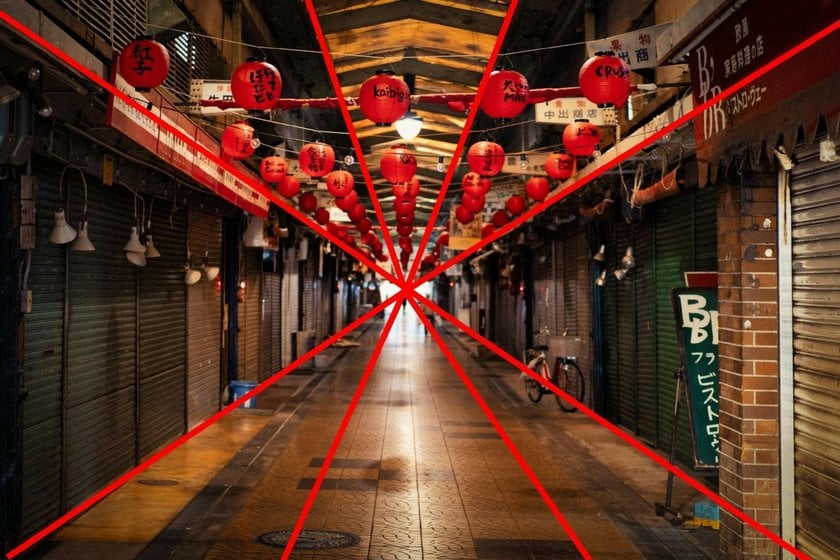
There are many other composition techniques, including triangular, golden ratio, tunnel, and diagonal compositions. Mastering these can significantly enhance your photographic expressiveness.
Tip#4: Learn How to Work with Light
Being aware of the position of light when taking photos can significantly enhance their expressiveness. The position of light can be broadly divided into three types: front light, backlight, and sidelight. Each type affects how the subject is photographed and the resulting image.
Elevate Your Photography with Our Advanced Software
DISCOVER PRICINGFront Light
Front light illuminates the subject from the front, enhancing the colors vividly and eliminating shadows. This is particularly effective in landscape photography and can be used for almost any subject. However, its drawback is that it often lacks three-dimensionality. In portrait photography, be cautious as the direct light can cause the subject to squint from the glare.
Backlight
Backlight originates from directly behind the subject, enhancing the contrast between the subject and the background. This setup is ideal for creating silhouette photos that resemble shadow puppets or for shooting through elements like leaves or liquids. For portraits, the backlight can impart a soft, natural impression if you adjust the exposure compensation appropriately.
However, shooting against the light may cause lens flare or ghosting; in such cases, consider using a semi-backlight to mitigate these effects.
Sidelight
Sidelight comes from the side and creates strong shadows on the subject, adding a three-dimensional effect. It is excellent for vividly expressing the texture and form of subjects like males, animals, or buildings. However, it is less commonly used for portraits of women due to the harsh shadows it can create.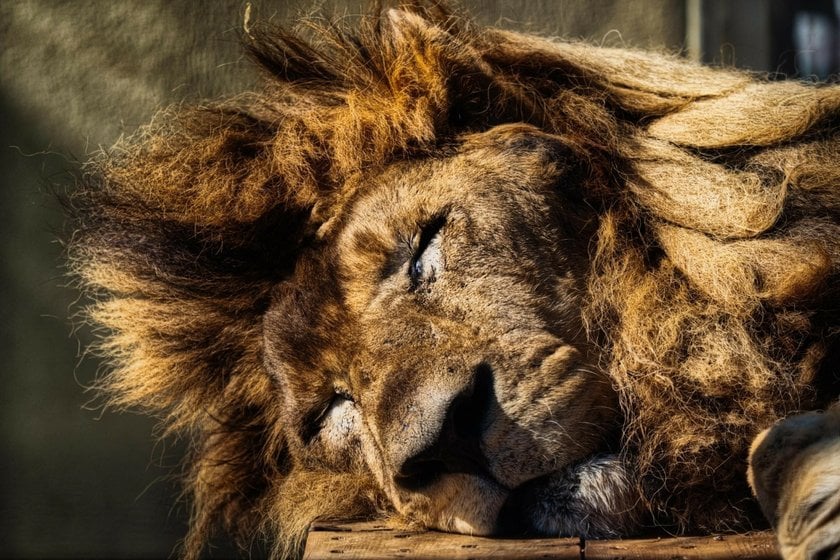
Tip#5: Shoot in RAW
Setting your camera to save photos in both JPEG and RAW formats can significantly enhance your ability to salvage less-than-perfect shots during post-processing. While a JPEG file is a compressed image processed by your camera’s engine (with preset adjustments for exposure, color, etc.), RAW data remains unmodified and offers a pure, uncompressed starting point.
Re-adjusting an already processed JPEG can be challenging, as it's difficult to make substantial corrections without loss of quality. However, RAW files provide greater flexibility, allowing for extensive adjustments in exposure, color temperature, saturation, and brightness. It’s important to note that while RAW development offers extensive post-processing flexibility, it cannot correct for physical issues like camera shake or focus errors.
The main challenge with RAW development is that it requires specific software and a basic understanding of photo editing, which might be daunting for beginners. Nonetheless, mastering RAW processing can significantly improve your photography skills. Popular RAW development software includes Skylum’s Luminar Neo, Adobe Lightroom, and DxO PhotoLab.
Lastly
There may come a time when you feel stuck in your photography journey, unable to see any improvement despite your best efforts. Should you find yourself in this situation, don't be discouraged. Instead, take a step back to simpler times. Remember the joy you felt in the mere act of pressing the shutter button, capturing moments just for the pleasure of it.
The key to advancing your photography skills lies in rediscovering this joy. Allow yourself to enjoy the process without overthinking. By reconnecting with the basics and the fundamental reasons you started photography, you'll find new inspiration and motivation to continue improving.


