Shallow Depth Of Field Photography: Enhancing Your Compositions
April 10, 2024
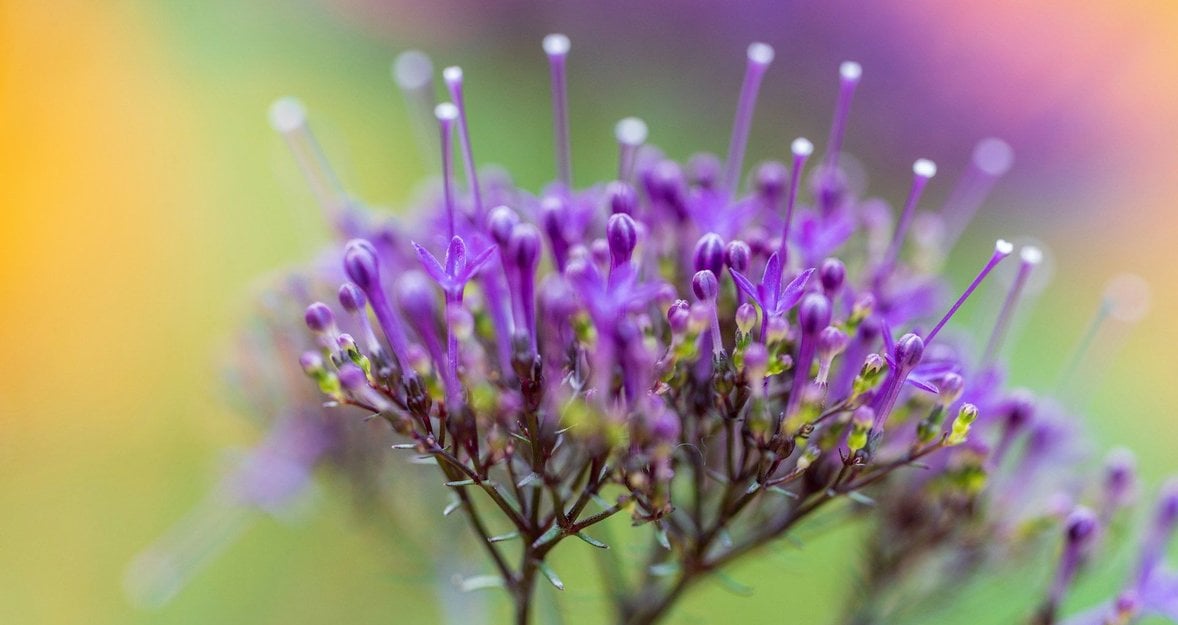
Learn how to make your subjects pop with a blurred background effect in our easy guide to shallow depth-of-field photography. It's packed with straightforward tips to help you take your photos to the next level!
Have you noticed photos where the main subject is super clear, but the background is blurred? That effect, which makes pictures look professional, comes from using a shallow depth of field. It's a favorite trick among photographers to make their subjects pop and give their photos a polished look. But what is a shallow depth of field?
Let's get into the basics of photography, where focus matters a lot. We're here to share some tips and techniques that can help you take your photos to the next level!
Depth of Field: Photography Definition
When you snap a picture, and the thing you're aiming at is the only bit that's crystal clear, with everything else just kind of fading into a soft blur, that's the work of the depth of field!
Depth Of Field: Shallow VS. Deep
Shallow Depth of Field: This is like when you take a picture of someone, they are the strongest focus. Everything behind them, be it trees or buildings, just melts into a gentle blur. It’s a way to make sure whoever or whatever you’re photographing is the star of your shot.
Deep Depth of Field: This is the total opposite. You're capturing everything in detail, from the flowers right in front of you to the mountains way in the back. It's all about getting the whole scene as clear as possible.
The Role of Aperture
Aperture is your camera's way of seeing. You can make it see everything wide open or just a tiny pinpoint. Open it wide (low f-numbers, like f/1.8), and you'll get that shallow depth of field, where your subject is clear but the background isn't. Close it down (high f-numbers, like f/16), and everything from here to the horizon comes into focus.
When you change the aperture, you control how your image looks. It's important for what you want to show off and what story you're trying to tell.
Let's aim for clarity in the concept and see if this matches your style better!
How to Get That Blurry Background Everyone Loves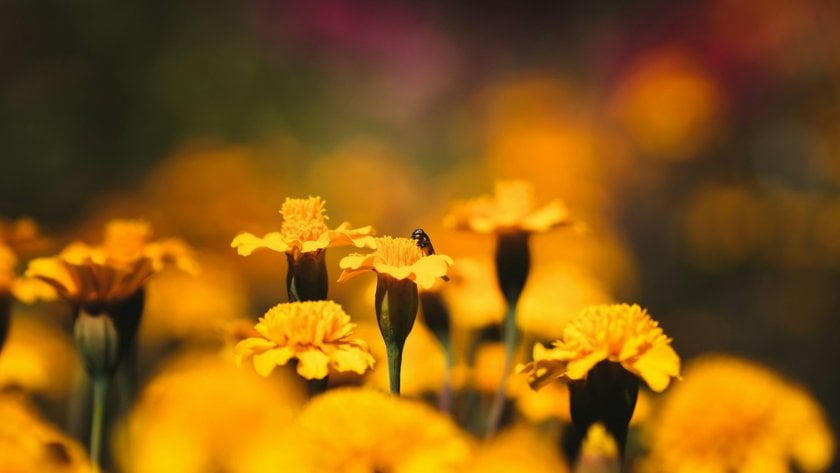
Picking Your Lens
Ever seen those pics where the main thing is super sharp, and everything else is just a smooth blur? That’s all about the lens. Some lenses are like magic wands for blur. If you’ve got something like a 50mm f/1.8 or an 85mm f/1.4, you’re pretty much set. These lenses are like your best friends for making your subject stand out with that dreamy background.
Playing with Aperture
The real secret sauce to blur is your aperture setting. It’s like this: the lower the number (f/1.4, f/2.8), the more you’re telling your camera, "Hey, let's make everything but our main star here blur into oblivion."
f/1.4: This is where things get super blurry. It’s great for when you really want to make your subject the center of attention.
f/2.8: It still gives you blur, but you get a little more detail in the background. It's like telling a bit more of the story.
f/5.6: Here, you’re getting more into the group photo territory, where you want everyone to be recognized.
It’s kind of like cooking – you adjust the settings till you get the flavor just right!
The Whole Distance Thing
And don’t forget about your position. The closer you are to what you’re shooting and the further they are from the background, the more you get that buttery blur. It’s about creating space and making your subject pop off like they’re 3D.
So, grab your camera, pick your lens, tweak those shallow depth of field settings, and play around with your standing point. Photography’s all about trying stuff out until you go, "Yep, that’s the shot."
Advanced yet easy-to-use photo editor
Get Luminar Neo NowPlaying with Focus: Creative Shallow Depth of Field Examples
1. Spotlight Your Star
Ever notice how some photos make the main subject jump out at you while everything else blends into a blur? That's isolation magic at work. It’s about making sure the only thing in sharp focus is what you decide is important. It could be the rough texture of a tree, a sprinkle of wildflowers, or the dew on morning grass. Shallow depth of field lets you quiet down the busy background, making your chosen subject the undeniable star of the show. And here’s a fun fact: just a tiny twist of your focus ring can shift the whole vibe of your photo.
Also read: What Are Megapixels And Their Impact On Photo Quality
2. Balancing Act
Think of your photo as a seesaw. What parts are the heavy hitters, and which ones are just along for the ride? With a shallow depth of field, you get to play director. You choose what grabs the eye first and what’s just the supporting cast. It's like you’re redistributing the visual weight across your image, crafting a scene that’s balanced just right – or intentionally off-kilter for a bit of drama.
3. Adding Depth to the Flat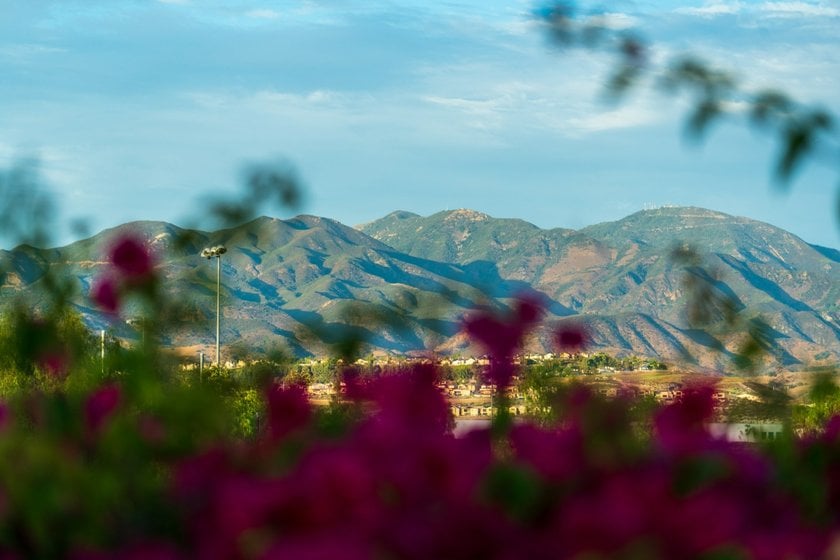
Photos are flat, but your stories don’t have to be. By strategically blurring out parts of your scene, you can give your photos a sense of depth. It’s a neat trick that makes your viewers feel like they could step right into the frame. Move your focus around, and you can layer the scene, making the world inside your photo feel as rich and 3D as the real deal.
4. Simplicity Wins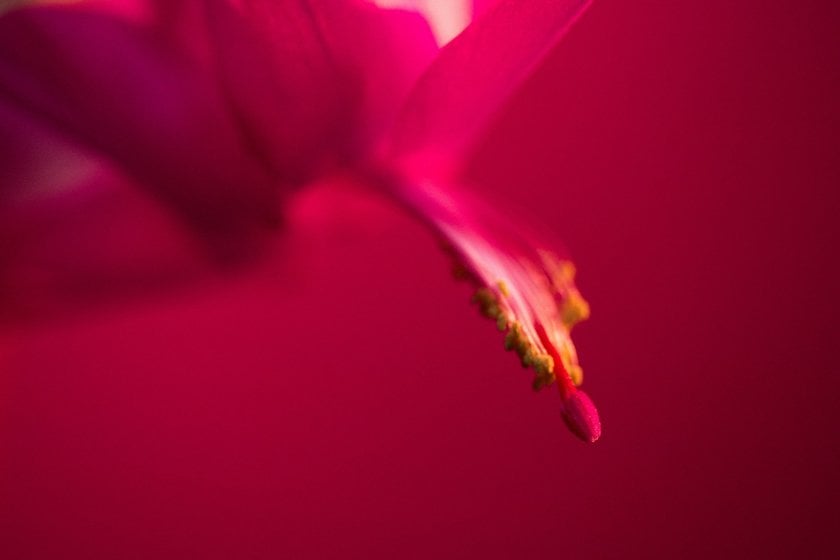
Sometimes, less is more. A wide aperture can simplify a busy scene, turning chaos into calm. This approach is perfect for when you want to draw out the zen in any setting, focusing on a simple subject and letting the rest fade away. It’s not just about what you’re showing; it’s about the mood you’re setting.
Exclusive Tools of Endless Possibilities in One AI Editor
EXPLORE NOW!5. Light Play
The way you capture light can turn the mundane into the magical. Shallow depth of field has a knack for turning direct or reflected light into soft, glowing orbs or dynamic shapes that add a layer of intrigue to your shots. Whether it’s the soft wash of colors on an overcast day or the sharp glints of sunlight, playing with aperture settings can dramatically alter how light paints your scene.
6. Guide the Journey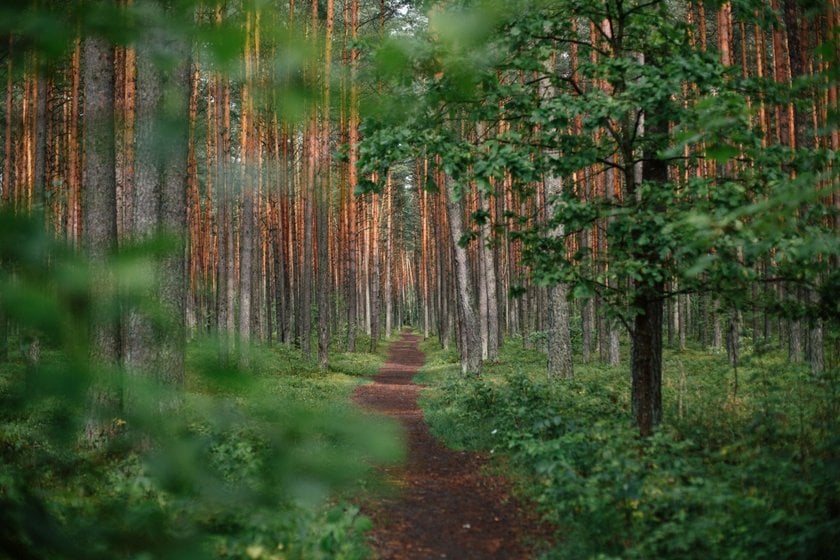
Your photo is a journey, and you’re the guide. Using lines – like a path, a row of trees, or the edge of a building – you can steer where your viewer's eye travels. A shallow focus makes these lines gently pull the eye through the photo, adding a dash of mystery as they go from clear to soft.
7. Lighten the Load
Ever wanted to make a bulky, imposing subject feel a bit lighter? Shooting with a wide aperture lets you do just that. By focusing on a small, perhaps seemingly insignificant detail and letting the larger structures blur into the background, you create an intriguing contrast. It’s about softening just enough to turn the familiar into something a bit more enchanting.
8. Framing Your World
Shooting wide doesn’t mean losing focus on composition. By letting elements in the foreground blur out, you can frame your shot in a way that adds depth, filters distractions, and enhances the story you’re telling. It’s like wrapping your scene in a soft, colorful embrace that draws the eye right where you want it.
In photography, your aperture isn’t just a tool; it’s a gateway to creativity. The trick is to keep shooting, keep experimenting, and, most importantly, have fun discovering what works for you and what doesn’t. Each shot is a step on your creative journey, shaping your unique photographic voice!
Fine-Tuning Portraits with Luminar Neo
Luminar Neo shines as a photo editor portrait specialist, offering AI-powered tools that simplify enhancing features, adjusting colors, and applying dreamy effects to make subjects pop. Imagine effortlessly brightening eyes, smoothing skin, and adding just the right touch of color to lips, all without navigating complicated tools. The software is designed for photographers who want to dive straight into refining their portraits and bringing out the best in their subjects!
For those looking to perfect a blur picture background or even remove it entirely, Luminar Neo offers an intuitive solution. The Portrait Bokeh AI tool allows for easy adjustments to the blur intensity, making it simple to focus attention squarely on the subject. Whether you're aiming to soften distractions or create a striking contrast by eliminating the background, Luminar Neo equips you with the capabilities to transform your images into works of art, blending simplicity with powerful AI-driven editing!
Wrapping It Up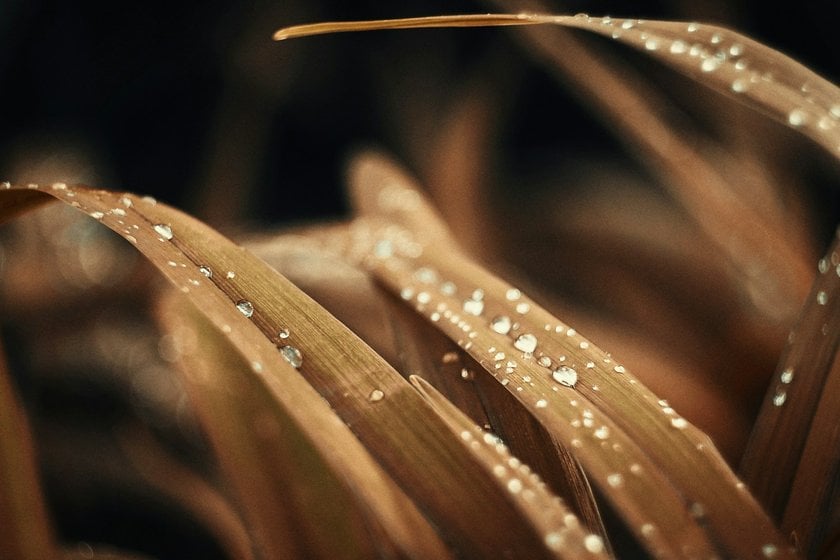
Jumping into photography with blurred backgrounds makes everything stand out more. Small changes, such as choosing a good lens, tweaking your camera settings, and finding the best spot to shoot from, can make a big difference. Then, to add the finishing touches, Luminar Neo steps in, enhancing portraits and blurring backgrounds easily with smart tools. This approach transforms regular shots into eye-catching ones, making photography not just fun but also a way to capture stunning stories. So, why not pick up your camera and start exploring?
If you have more questions like, “What is focal length?” read our post about it! You’ll find many useful tips and explanations and will just get inspired!
Happy shooting!


![How To Add Multiple Photos To Instagram Story [5 Ways]](http://media.macphun.com/img/uploads/macphun/blog/3170/6688550_3381355-ai.png?q=75&w=1348&h=715&resize=cover)
