Master Object Photography: Essential Settings & Lighting for Beginners
May 14, 2024

When beginners take pictures, concerns about camera settings and lighting are common. In this blog post, we will introduce you to the essential techniques for object photography, covering both settings and lighting.
When taking pictures, using manual camera settings is recommended. Beginners who usually shoot in auto mode may find this challenging. Lighting is also crucial. There are several light sources, such as natural light, LED lights, and strobes; understanding the characteristics of each is essential.
This article will explain what beginners need to know about camera settings and lighting.
Camera Settings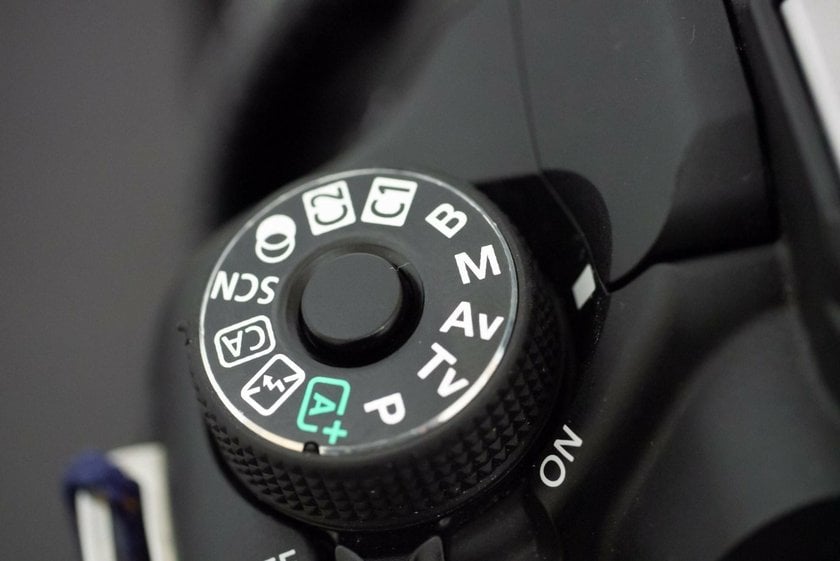

I recommend shooting in manual mode with your camera. By setting it to manual, you gain control over the photo outcome across various conditions.
While manual settings may seem complicated at first, they are quite manageable by following the steps listed below:
Decide on the shutter speed.
Set the aperture.
Adjust the ISO sensitivity.
I will explain each of these settings in detail below.
1. Setting Shutter Speed
When taking pictures, it is essential to take clear images free from any camera shake. To achieve this, start by determining the appropriate shutter speed.
Hand-held shooting
For hand-held shooting, a faster shutter speed is preferable to minimize camera shake. Ideally, use a shutter speed of at least 1/200 seconds.
Shooting with a Tripod
Using a tripod allows for slower shutter speeds without the risk of camera shake—even exposures longer than one second are feasible. This is particularly advantageous in low-light situations, where slowing the shutter speed can compensate for the lack of light.
However, be cautious when pressing the shutter button; any movement of the camera at this moment can result in a blurry image. To avoid this, consider using a self-timer, which eliminates the need to touch the camera during the shot, thus preventing blur.
Using a Strob
A strobe, or flash unit, is a device that emits a brief burst of bright light, commonly used in photography to illuminate a scene. When using a strobe, a shutter speed that is too fast can be a problem because it may not synchronize correctly with the flash, leading to underexposed parts of the image. Take a look at the photo below, for example.
The bottom part is black, see? This blacking out occurs when the strobe timing and shutter timing do not sync. Typically, using a flash requires a shutter speed of 1/200 seconds or slower. Please note that if the shutter speed is faster than this, you may see effects like those in the picture above.
2. Aperture (F stop) setting
When setting the F-stop, consider the type of photo you want to capture, as this will significantly affect the impression of the photo.
If you aim to achieve a blurred background, often referred to as bokeh, use a lower F-stop number. Conversely, if you want every part of your scene to be in sharp focus, increase the F-stop number. Pretty easy, right? Let's take a look at some examples to explain this clearly:
Using F1.8
For instance, the photo below was taken at F1.8. With this setting, only a narrow area is in focus, which allows you to emphasize that particular area.
Master Light in Your Photos with Relight AI
Explore Now!Using F22
The next photo was taken at F22. At this setting, the entire image is in focus, which is ideal for capturing every detail clearly, such as in landscape or product photography. It is best to use a higher F-stop value when sharpness throughout the image is desired.
3. ISO Sensitivity Setting
Once you have set the shutter speed and F-stop, you only need to adjust the ISO sensitivity to get the correct exposure. This is an automatically determined value, so even in manual mode, ISO sensitivity has no problem.
However, be aware that shooting in low light often requires a higher ISO sensitivity, which can increase noise in your images. To minimize noise, it's advisable to keep the ISO at 1000 or lower, depending on your camera's performance.
If the ISO sensitivity becomes too high, consider the following adjustments:
Review and improve the lighting conditions to shoot in a brighter environment.
Slow down the shutter speed to allow more light to reach the sensor.
Decrease the F-stop to allow more light through the lens.
It's important to note that changing the F-stop not only affects the amount of light entering the camera but also impacts the depth of field and the overall style of your photographs. Therefore, before adjusting the F-stop, reassess the lighting and shutter speed. If the image remains too dark, then consider adjusting the F-stop.
If noise is not a significant concern and you need more light, you might also consider increasing the ISO sensitivity further without changing the F-stop.
Lighting
Isn't lighting one of the most challenging aspects for beginners when photographing objects? Today, we'll explore the characteristics of the most common light sources, including natural light, LED lights, and strobes.
Natural Lighting
For beginners without extensive equipment, shooting with natural light is a great starting point.
When photographing with natural light, timing is crucial. I recommend taking pictures between 11:00 and 14:00 to capture the truest colors. Photos taken early in the morning or in the evening may have an orange hue due to the sunlight, which can distort colors.
For example, the photo shown below was taken early in the morning with a white background, but the colors appear warm.
With tools like Luminar Neo's white balance adjustment, correcting colors becomes straightforward. Simply select the eyedropper tool next to the white balance setting, and click on a white area in your photo. The white balance will adjust automatically, correcting any color inaccuracies.

It's beneficial to experiment with shooting at different times of the day. However, if the colors aren't accurate, they can be adjusted post-shoot.
In such cases, using a gray card is recommended. Take a picture of your subject with the gray card in the frame, which will serve as a reference for white balance adjustments.
Advanced yet easy-to-use photo editor
Get Luminar Neo NowTo correct the white balance:
Open the photo with the gray card in your editing software.
Use the white balance correction dropper to select the white or gray part of the card.
Adjust the white balance based on this reference.


Once the correction is complete, you can copy the white balance settings. Right-click the photo in the Luminar Neo Catalog module, and select Adjustments > Copy Adjustments.
Now, apply these settings to other photos taken without the gray card:
Select the photo you want to adjust.
Right-click and choose 'Paste Adjustments' from the menu.
The white balance correction will be applied as shown in the photo below.


This method ensures consistent color accuracy across multiple shots, even if they were taken under varying lighting conditions.
LED Lighting
LED lights provide the flexibility to take pictures at any time of day, regardless of the weather conditions. A significant advantage of using LED lights is the ability to change the direction of the light.
Consider this example: the photo below was taken with direct lighting. Notice how there are no shadows, making the photo appear flat and lacking in depth. This setup is generally not ideal for photographing objects.
Now, look at another example where the light is directed from the side. This approach creates shadows, adding a three-dimensional effect to the photo and enhancing its visual appeal.
While there is no one "correct" way to use lighting, experimenting with different light directions can greatly impact the mood and feel of your photographs. With LED lights, you have the freedom to control the direction of the light, allowing for creative flexibility in your photography.
Stroble Lighting
Using a strobe light significantly expands your range of photographic expression.
Consider the previous example where a photo taken with LED light produced strong shadows. By using two strobes, you can achieve an effect with fewer shadows, as shown in the photo below.
The next photo combines an LED light shining from behind with two strobes. This setup highlights the contours of the subject through a striking backlight effect.
A crucial technique when using a strobe is to intentionally underexpose your camera settings. The photo below demonstrates this: the setting is so dark that, without the strobe firing, the scene is nearly pitch black, and almost nothing is visible.
Being in complete darkness ensures that you are not affected by ambient light, such as sunlight leaking through curtains or overhead ceiling lights. In this controlled environment, you create light exclusively using the strobe.
This approach guarantees that you can consistently capture images with constant lighting, regardless of the surrounding conditions.
Summary
I have explained the basic settings and lighting necessary for taking pictures. For camera settings, manual mode is recommended. By setting your camera to manual mode, you gain the flexibility to capture photos precisely as you wish in various situations. Here is a brief recap of the key points discussed:
Camera Settings
The initial step in manual mode is setting the appropriate shutter speed.
Be cautious of camera shake, especially when not using a tripod. Using a self-timer can mitigate this risk.
If shooting without a tripod, maintain a shutter speed of at least 1/200 seconds to ensure sharp images.
Ensure the shutter speed does not exceed 1/200 seconds when using a strobe to avoid synchronization issues that could result in parts of the photo appearing black.
Lighting
It is best to shoot with natural light during midday to avoid the orange hue of early morning or evening light, which can alter the colors of your subject. If unavoidable, use Luminar Neo’s features to correct the white balance easily.
If you have an LED light or strobe, you can take pictures with stable light regardless of the time or weather. They enable you to adjust the direction and intensity of the light, thus expanding your creative possibilities.
Remember, if you plan to pursue photography seriously, investing in quality lighting equipment such as LED lights and strobes is crucial. They are essential tools for enhancing the versatility and quality of your photographic work.