Portrait Lighting Guide: From Beginner Snaps To Studio-Quality
June 12, 2024

Have you ever wondered how some portraits seem to grasp your attention immediately? The secret lies in mastering one critical element: lighting. Whether you're using natural light or a combination of equipment to illuminate your model, you can achieve portraits worthy of any gallery or high-end advertisement.
Admittedly, studio setups can be intimidating, but as you progress through different levels of lighting, you will gradually become more comfortable with increasingly complex setups, significantly enhancing the quality of your work.
In this guide, we will explore those levels and help you achieve your dream portraiture shoot. Let’s dive right in.
Understanding the Basics of Portrait Lighting
It's crucial to grasp the basics of portrait lighting, including the different methods and types of light commonly used. Remember, there's no wrong way to set up your lighting as long as you are satisfied with the results. However, becoming familiar with standard techniques can help you consistently achieve high-quality images.
Light Quality
Hard Light
This type of lighting is intense enough to cast sharp, well-defined shadows. It is ideal for creating artistic portraits that play with the contrasts between light and shadow, either on your model's face or in the background.
Soft Light
A more gentle approach where shadows are soft or nearly invisible. Soft lighting is commonly used in beauty and cosmetic photography because it isn't distracting and presents the model clearly.
Light Direction
Portrait photographers have honed several key lighting techniques that are integral to achieving expressive and impactful shots:
Rembrandt Lighting
Inspired by the famous painter Rembrandt, this technique is characterised by a distinct triangular light on the cheek, creating a dramatic effect.
How to: Position your model in front of the camera and angle a single light source 45 degrees to the model. A bounce board can be used to soften any harsh shadows.
Butterfly Lighting
Named for the butterfly-shaped shadow that appears under the nose of the model, this technique requires just one light.
- How to: Place the light high above and directly in front of your model, then angle it downwards.
Loop Lighting
Bearing similarities to Rembrandt lighting but offering subtler effects, it produces a small shadow of the nose on the cheek, adding depth and interest to the portrait.
How to: Position the light just above eye level and about 45 degrees from the model.
These techniques, achievable with a single studio light or natural lighting, are staples among professional photographers, even in the most high-end projects. By exploring these methods, you can significantly enhance your portrait photography skills.
Beginner Lighting Setups
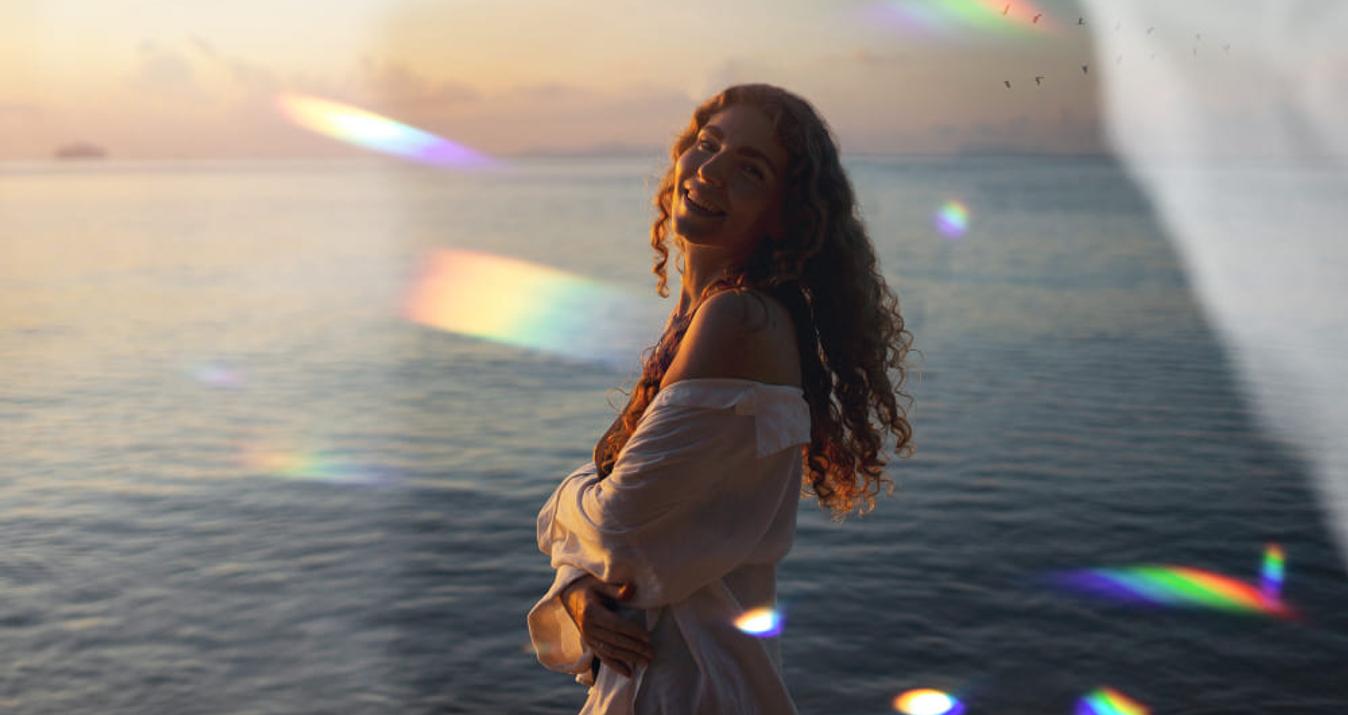
Fortunately, you do not need high-tech, expensive equipment to start creating amazing portrait shots. Natural light, a favourite among professionals, looks fantastic and is highly accessible.
Using Natural Light
When working with natural light, you're essentially working with the weather. On a bright day with clear skies, you'll be dealing with hard light, which means sharp shadows and a strong contrast between light and shadow in your images. On the other hand, an overcast day provides soft light with barely visible shadows, as the clouds act like a giant diffuser for the sun.
However, this lack of contrast can make portraits look flat, so it's essential to match the mood of your shoot to the lighting conditions. Bright, colourful outfits might not pop as much on cloudy days, so consider more moody compositions that complement the softer lighting.
Simple Setups
Creating professional-looking indoor portraits using only natural light is straightforward. Position your model near a window at an angle to mimic the effect of loop lighting. If you find one side of your model’s face is too shadowed, use a bounce board to reflect natural light onto them. There's no need for an expensive reflector; a large piece of white foam board will do the job. This setup allows you to learn about lighting effectively while being affordable and accessible.
Intermediate Lighting Setups
As you become more knowledgeable about how light affects your model, you'll naturally want to gain more control over the lighting and the outcomes of your portraits. This is where artificial light comes into play.
Strobe or Continuous
For many photographers just starting to use artificial light for their portraits, continuous lighting is often considered a safer choice. This type of lighting remains on continuously, allowing you to easily compose and focus your shots.
Although continuous light sources are excellent for practising the techniques we discussed earlier, strobe lighting, although slightly more complex to set up, offers greater benefits. Strobes are more powerful than continuous lights, providing better-quality light with sharper contrasts between shadows and highlights, and typically result in less noise, making your images sharper and crisper.
Light Modifiers
With artificial light sources, you have access to a variety of tools to help achieve the desired look. Softboxes can be used to create an even, diffused light that minimises harsh shadows. If you prefer the power of strobe lighting but want softer shadows, consider using an umbrella. The reflective interior of an umbrella scatters the flash throughout the studio, softly illuminating your subject.
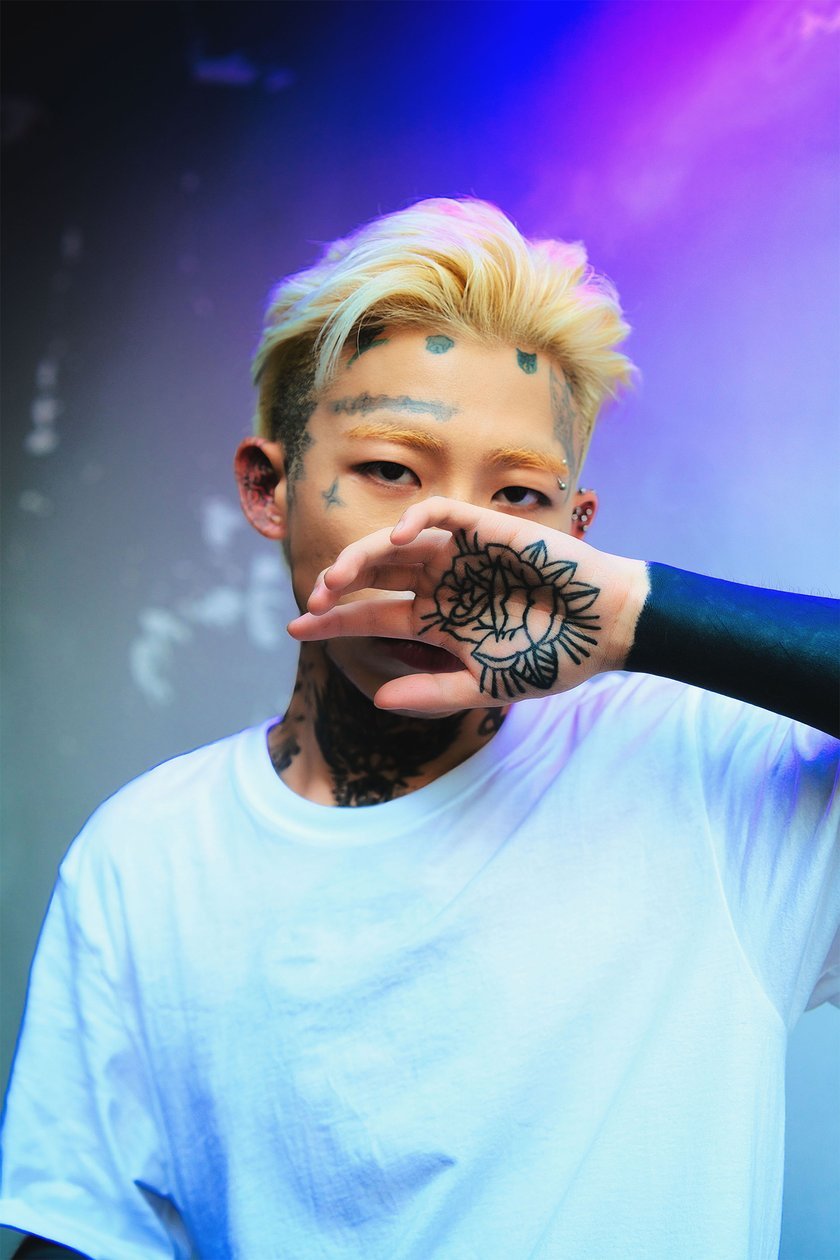
Creating Mood with Lighting
At the intermediate level, you might begin experimenting with creating specific moods and aesthetics using both natural and artificial lighting. This could involve blocking large portions of light to highlight only certain features of your model's face or crafting bright and vibrant scenes that really stand out. The key is to experiment and have fun; this process will not only make you more comfortable with various lighting setups but also enhance your learning experience.
Achieve Pro Studio Lighting with Luminar Neo
Discover moreAdvanced Light Setups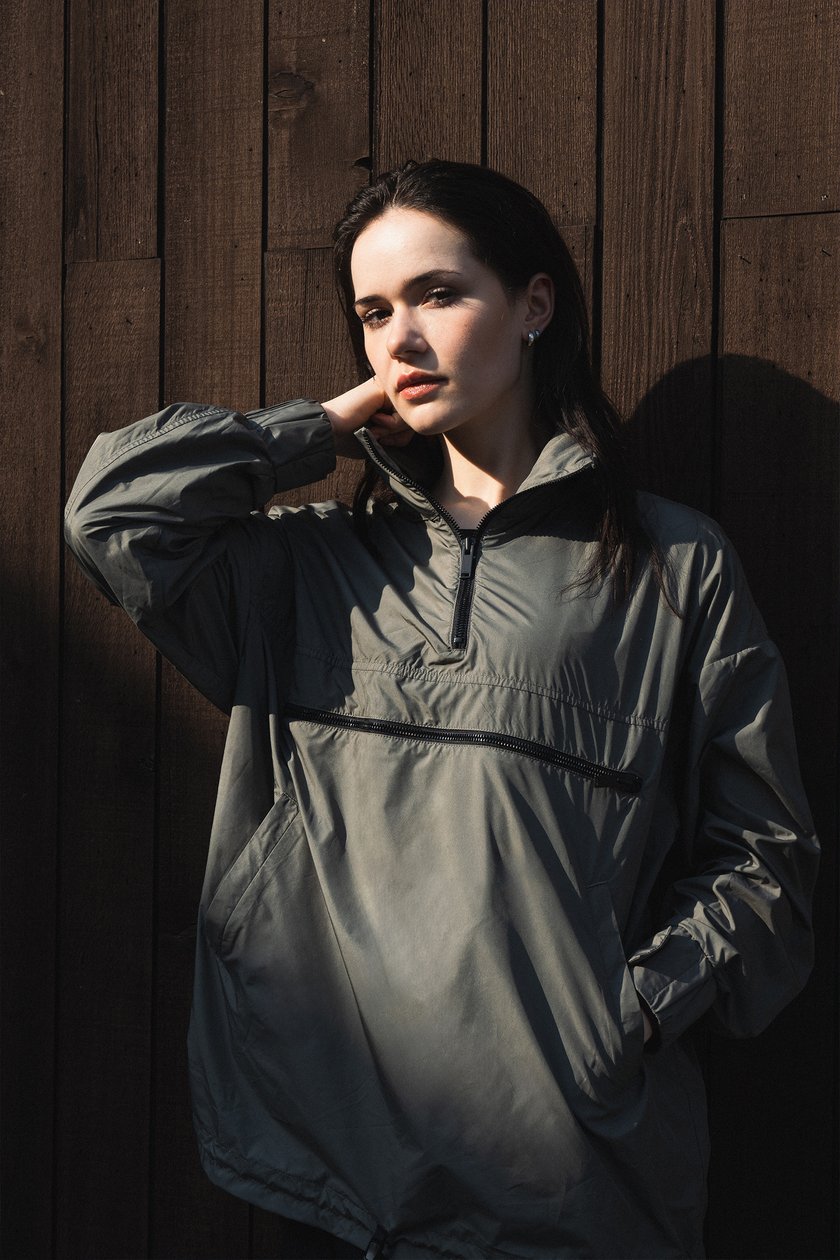

There are three primary categories for light setup in a studio, each adjustable to deliver the lighting techniques discussed earlier.
Key Light: This is your main light source and the brightest on the set. It illuminates your model and sets the tone of the photograph. You will build the rest of your setup around your key light.
Fill Light: Used to lift the shadows in your image and reduce contrast, the fill light is softer and aims to bring balance to your composition.
Backlight (or Rim Light): Placed behind your subject, this light source helps separate your model from the background. It adds depth and contours by highlighting the edges of the subject. You can direct the light towards the camera or from the side, depending on your preference.
While these are your primary lighting categories, consider these additional types of lighting as you advance:
Hair Light: Specifically targets the model's hair to enhance texture and volume.
Accent Light: Highlights specific elements of the composition, such as background elements or facial features.
Background Light: Illuminates the background to differentiate it more distinctly from the model.
As you become more proficient with your lighting, the complexity of your setups can increase. However, there's no need to rush into incorporating numerous lights into your scene. Gradually become more comfortable and introduce more lights when needed, it's a very fun process that will surely deliver excellent results.
Light Modifiers
There are several additional tools you can introduce into your lighting setup to help control the light and its effects on your scene and model.
Gels: Develop creative compositions by introducing gels into your scene. Available in many colours, gels can be placed over your light source to create colourful effects that enhance the mood of your portraits.
Grids: These are useful for restricting light to direct it to specific areas of your scene. By focusing the light, grids help you highlight important elements and add dramatic effects.
Snoots: Use snoots to further focus your light into narrow beams. This precision allows you to spotlight specific areas or features within your scene, adding depth and intensity.
Scrims: Scrims are screens made from diffusion material that help soften light in a graduated manner. They are excellent for creating a gentle transition between light and shadow, ideal for achieving a more natural look.
Beauty Dishes: Particularly beneficial for beauty and cosmetic shots, beauty dishes bring out the fine details in your model’s features. They provide a focused, yet soft light that enhances skin textures without harsh shadows.
While professional studios may be equipped with thousands of pounds worth of expensive equipment, remember, you don't need all this equipment to create stunning shots. Work with what you can and expand your toolkit gradually as you explore different lighting effects and develop your photographic style. Additionally, you can use Luminar Neo's Relight AI to achieve the desired effect on your portraits.
Master Light in Your Photos with Relight AI
Explore Now!The Bottom Line
Understanding light not only makes your portraits sharper and cleaner, it also lets you get more creative and have more fun with your shoots. Once you can control light, you can achieve the exact mood and effect you've imagined and bring those dreams to life.
Thankfully, you don’t need to spend thousands on equipment to get great results. Fantastic work can be achieved with just natural light or a single studio light. If you're interested in more complex setups, you might consider renting a studio to experiment with different equipment, or you can gradually build up your own collection of lights and modifiers.
Keep experimenting and having fun; as you improve your lighting skills, you'll see your portraits improve dramatically.