How to Take Landscape Photos — Tips for Beginners
May 28, 2023
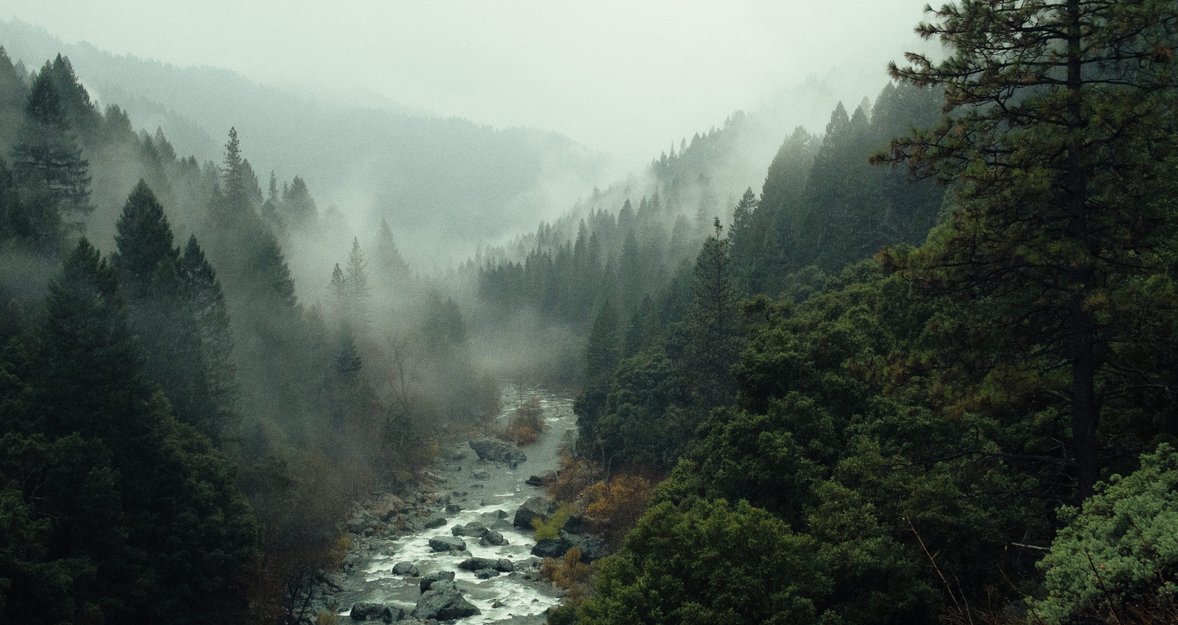
Nature photography is especially popular among beginners. This stunning genre offers the opportunity to not only capture the world around you but also to understand it artistically.
At first, photographing a beautiful landscape may seem easy because the main subject is stationary and the angle can be chosen for a long time, so you can just pick up the camera and take pictures. In reality, it's not that simple.
Have you ever wondered what makes simple landscape photos so amazing? There is an inherent beauty to this genre that goes beyond mesmerizing sunsets or vibrantly colored trees. Its appeal lies in the art of harnessing the full potential of your photography equipment to go beyond mere aesthetics. Plus, it's a great place to start your journey to becoming a true professional. And If you can quickly learn how to take photos of amazing landscapes, then other genres will not seem such a serious challenge.
Well, the sheer wonder of our natural world and our innate longing to preserve its uniqueness is truly remarkable. Today we present to you a simple and clear landscape photography guide for beginners that will allow you not only to immortalize the beauty of the outdoors but also to significantly improve your skills. No doubt, this is one of the most sought-after types of photography, inspiring countless artists to add a touch of magic to their work. In this post, we will take you through a series of techniques that will quickly boost your results as a landscape photographer. As a bonus, we'll also talk about Luminar Neo, an AI-powered software enables you to quickly transform your images into masterpieces through selective color photography, an editing technique that lets you adjust individual tones and is crucial for nuanced color correction.
Maybe you are far from the beginner's level and are just looking for inspiration. In that case, we suggest you check out another article with a lot of beautiful landscape photos.
The Art of Capturing Nature's Majesty: Landscape Photography Basics
To make it easy for us to move on and for newcomers to understand today's topic more quickly, let's first cover the basics. Now we are talking about a genre that focuses on catching the beauty and grandeur of natural scenery. There are a few key points to make right off the bat:
- It involves capturing wide and expansive views of the outdoors, including mountains, valleys, forests, coastlines, deserts, and other areas.
- The goal of landscape images is to convey the aesthetic charm, mood, and essence of nature to the viewer.
- This genre can range from simple snapshots taken with a smartphone to more complex and professional pictures taken with a high-end camera lens.
- It requires an understanding of composition, lighting, and the technical aspects of photography, as well as patience and a keen eye for detail.
Photographers also often seek to capture the interactions between elements within a scene, such as the play of light and shadow, the colors of the sky, the textures of rocks or trees, and the movement of water or clouds. They use a variety of methods to create compelling pictures that reveal the vastness, serenity, and awe-inspiring qualities of the outdoors. That's why beginner landscape photography helps you master many compositional techniques.
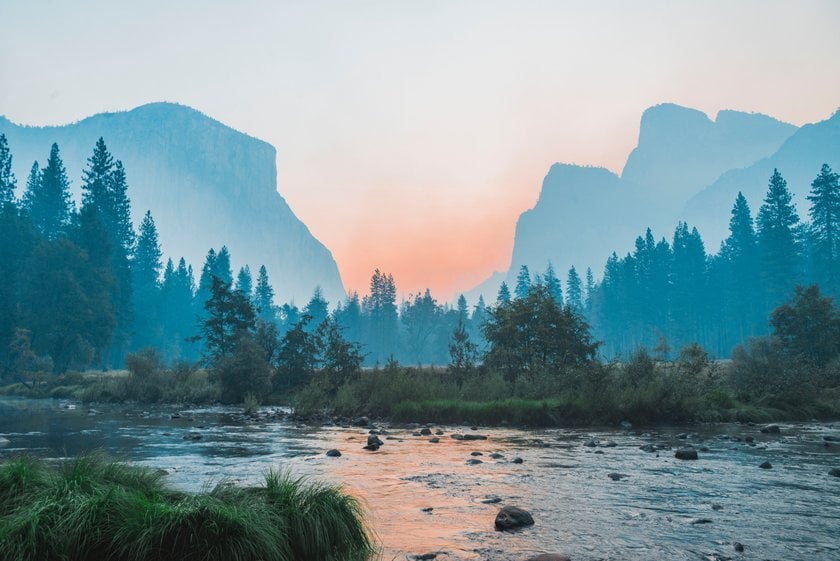 It should also be mentioned that the notion that nature shots must be limited to horizontal compositions is a common misconception. In reality, vertical landscapes can be just as compelling and visually striking. Each unique scene provides its own distinct elements that guide the choice of perspective, good camera settings, and post-processing techniques. This is exactly what the professionals will point out in our webinar called "Guide to Landscape Photography with the Pros".
So, to capture great landscape photography, simple rules are not enough. This genre seems easy, but in reality, it requires a lot of concentration, perfect settings, and excellent composition. On the plus side, unlike a photo session with a model, you are not limited by time and can practice for a long period. That's what makes landscape shots the perfect platform for your professional growth.
Photography for Beginners: Landscape Pictures Tips & Tricks
Whether you're a beginner looking for guidance on how to get started, or someone curious about venturing into the world of nature photography, our valuable tips are sure to help! In addition, we also encourage you to read our other article about mountain landscape photography.
1. Plan and Find the Ideal Location for Your Photos
This is one of the most important landscape photography tips for beginners because the quality of your photos depends on proper planning. First, look for places that have natural beauty, interesting features, or unique scenery. Books, travel guides, online resources, and special forums can provide valuable information and inspiration.
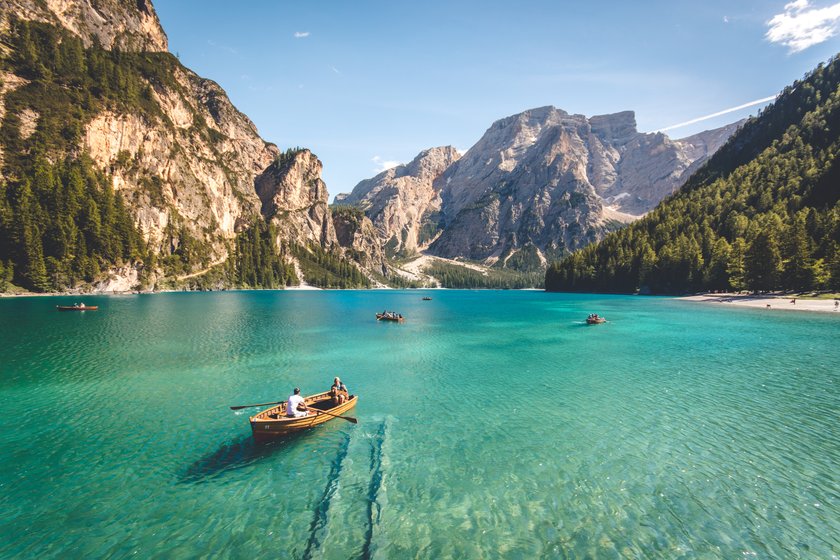 The weather and time of day can also greatly affect the mood and atmosphere of your photos. Always check the local forecasts to plan for favorable conditions, such as dramatic clouds, fog, or soft light at sunrise or sunset. Consider how different weather patterns can enhance or change the character of the landscape.
By the way, if the sky in your picture was not expressive enough, the Luminar Neo will help you out. In this case, you do not need to worry about complicated post-processing. Leveraging cutting-edge technology, Sky AI streamlines the sky replacement process and delivers professional-quality edits with ease.
2. Buy the Right Equipment
And what about the perfect camera for landscape photography? While you can get started even with a smartphone, investing in a DSLR or mirrorless camera with interchangeable optics and a high-resolution sensor will give you more control over your shots.
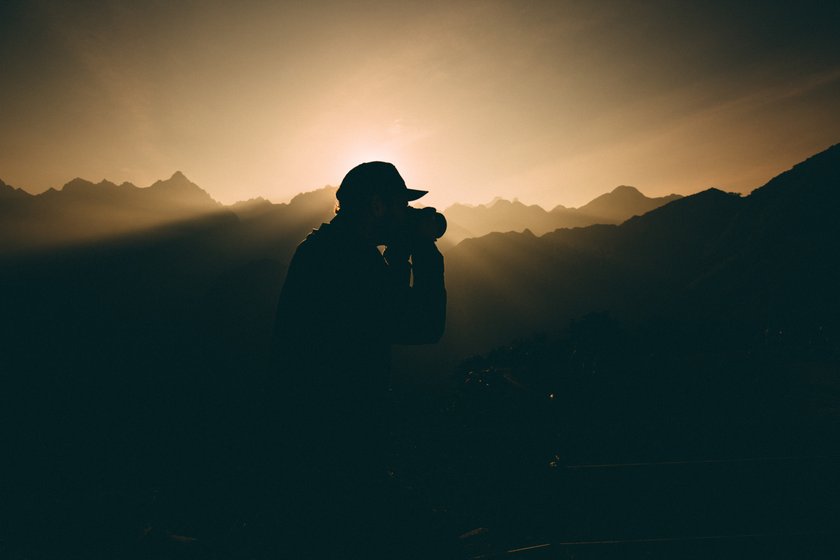 Now let's talk about the best lenses. Of course, this is one of the most important points in all landscape photography tutorials. Look for a zoom lens with a wide range of focal lengths. It's always best to bring a few options. Wide-angle lenses (such as 16-35mm or 24-70mm) are often used to capture expansive valleys and bring more of the area into the frame. A longer telephoto range (such as 70-200mm) can also be useful for isolating specific elements or compressing distant scenes.
3. Pack Your Photography Gear Properly
When you go on a landscape photography trip, packing your gear properly is essential to ensure that you have everything you need, while keeping your equipment safe and organized. Here are some tips to help you pack effectively:
- Make a checklist of all the essential items you'll need. This includes your camera body, lenses, filters, memory cards, extra batteries, and cleaning supplies.
- Invest in a high-quality camera bag that provides adequate protection, comfort, and easy access to your gear. Look for options with padded compartments and water-resistant materials.
- Arrange your equipment safely inside the camera bag. Place your camera body in the center compartment and use padded dividers. Also, if your tripod is too large or cumbersome, consider strapping it to the outside of your case.
Remember that this genre often requires extended photography sessions, so carry extra batteries and chargers to avoid running out of power. Make sure all of your devices are charged before you leave.
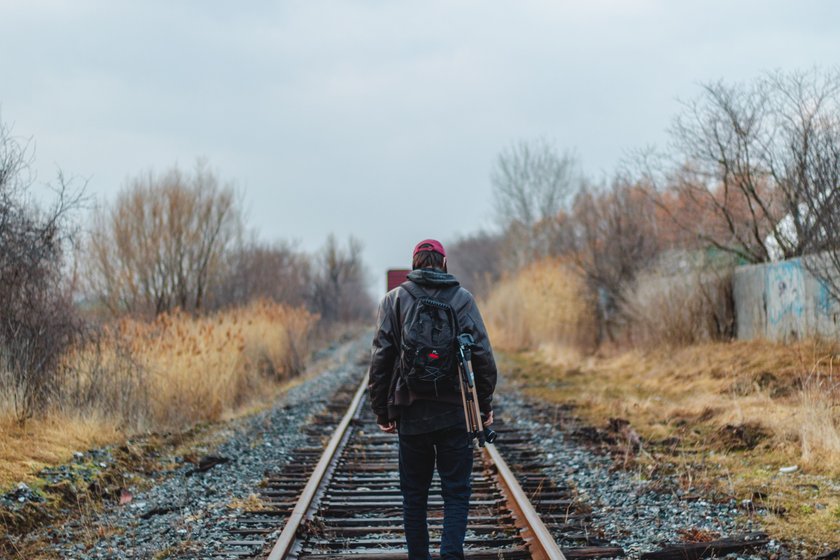 You'll also need to choose the right software to post-process your best shots. Take your photography to the next level with the power of Luminar Neo AI image editor which offers vast variety of tools and editing options. Seamlessly enhance landscapes, effortlessly remove unwanted elements with a single click, and experience the incredible ability to transform the sky.
4. Dealing with Camera Settings
While specific settings may vary depending on the lighting conditions, desired effect, and equipment you are using, here are some general options to consider:
- Use Manual (M) or Aperture Priority (Av/A) mode for full control over exposure settings.
- A narrow aperture (high f-stop number), such as f/11, allows you to achieve a greater depth of field. This helps keep both the foreground and backdrop in focus, capturing sharp details from near to far.
- You can also experiment with wider apertures (lower f-numbers) for creative purposes or to isolate a specific subject.
- Use an appropriate shutter speed to avoid camera shake and ensure sharp images. When taking handheld shots, try to keep it faster than the focal length of the optics (e.g., 1/125 for a 100 mm lens).
- If you are using a tripod, you can set slower shutter speeds for longer exposures, such as for capturing flowing waterfalls or cloud movement.
- Start with a low ISO setting (such as ISO 100 or 200) to maintain image quality and minimize grain. Increase the ISO gradually only when necessary, for example, in low-light situations or when you want to intentionally introduce noise for a creative effect.
- Use the automatic white balance (AWB) setting for convenience, or adjust it manually based on lighting conditions (e.g., daylight, cloudy, shade).
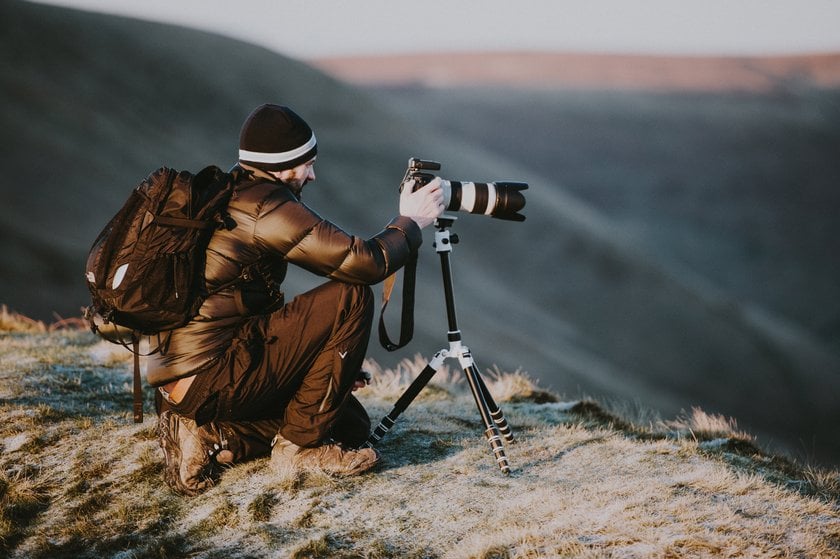 Also, when possible, capture images in RAW. Such a format contains more data and offers more flexibility for editing and adjusting exposure, white balance, and other parameters in post-processing. Luminar Neo photo editor supports the import of RAW files from a wide range of camera models.
5. Get Creative When Composing Your Shot
If you want to learn landscape photography, you can't do without this step. The difference between an ordinary picture and a real masterpiece is usually a competent and creative composition, so you need to pay special attention to this point. First, find an interesting subject or focal point in the scene to anchor your picture. This could be a prominent tree, a rock formation, or any other visually striking element that draws the eye of the viewer.
The most common way to create a balanced composition is to use the rule of thirds. Simply divide the frame into a grid of nine equal parts (two horizontal lines and two vertical lines) and place your main subject or points of interest along these lines or at their intersections. Including a strong foreground element adds depth and visual interest to your scenery. Also, no one discontinued the good old use of leading lines.
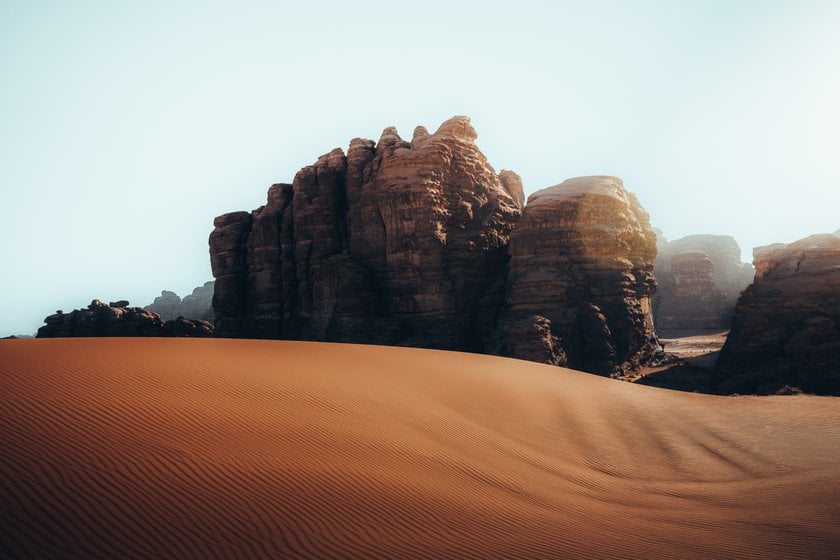 But how can you be more creative? Some landscape photography ideas for beginners include experimenting with different angles and viewpoints. Get low to the ground, take pictures from high vantage points, or try unique perspectives to add variety and create visually stunning compositions.
And while it's important to capture the overall scene, don't overlook the smaller details. Look for intricate patterns, textures, and close-ups that reveal the beauty within the environment. When you find a perfect composition inside your frame, simply use Luminar Neo's AI Upscaling to enlarge it up to 6x without losing quality.
6. Always Consider the Lighting
When it comes to the quality of a shot, many factors can make or break it. However, it is important to emphasize that lighting is often a key element in determining the overall look and impression of an image. So let's take a look at some lighting options that are ideal for beginner photography, simple landscapes, and nature scenes:
- The golden hour, which occurs just after sunrise and before sunset, is often considered the best time for nature photography. The light at this time is warm and soft.
- The period of twilight before sunrise and after sunset, when the sky takes on a deep blue hue. It adds a serene and ethereal quality to your images.
- While the sunrise or sunset is ideal, sometimes you may find yourself capturing landscapes in the middle of the day when the sunlight is harsh and direct (consider using a polarizing filter).
- Cloudy or overcast days can provide a diffused and even light that is excellent for photographing outdoors. The soft light can minimize harsh shadows.
- Stormy or dramatic weather conditions can add a sense of power and atmosphere to your landscapes. Moody skies, dramatic clouds, rain, fog, or even lightning can create striking and unique pictures.
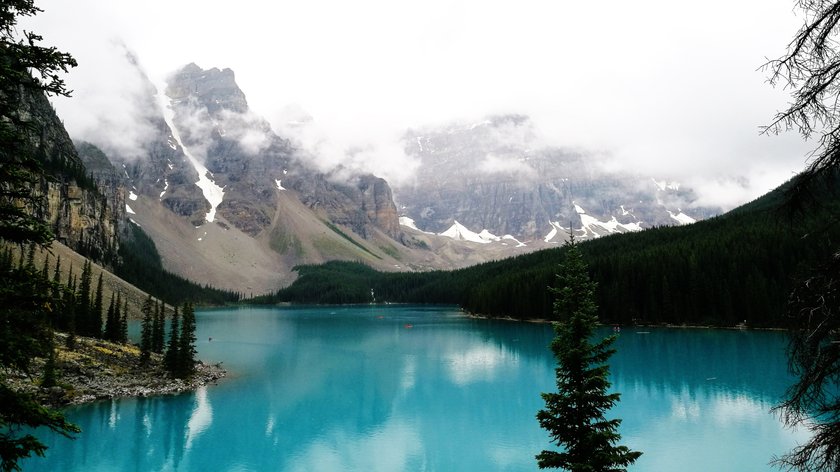 Also, pay attention to the interplay of shadows and highlights in the scene. For example, try to find interesting patterns, textures, or areas of contrast that can add visual interest to your composition. And remember, Luminar Neo lets you control every aspect of the light in your image. When you need to lighten up photos, just apply the Relight AI tool. Moreover, the Accent AI feature can automatically optimize the lighting in your entire photo, analyzing and adjusting the exposure, contrast, and color depth to bring out the best in your landscape images.
7. Use Additional Accessories and Equipment
Some accessories and equipment can enhance your landscape photography and help you capture stunning images. Many guides to landscape photography for beginners often miss this point. In addition, novices often don't see the point of buying many accessories at once.
For example, a sturdy tripod is essential for nature photos because it allows you to hold your camera steady for long exposures, bracketing, and composing precise pictures. And with a remote shutter release, you can trigger your camera without physically touching it, minimizing the risk of blur.
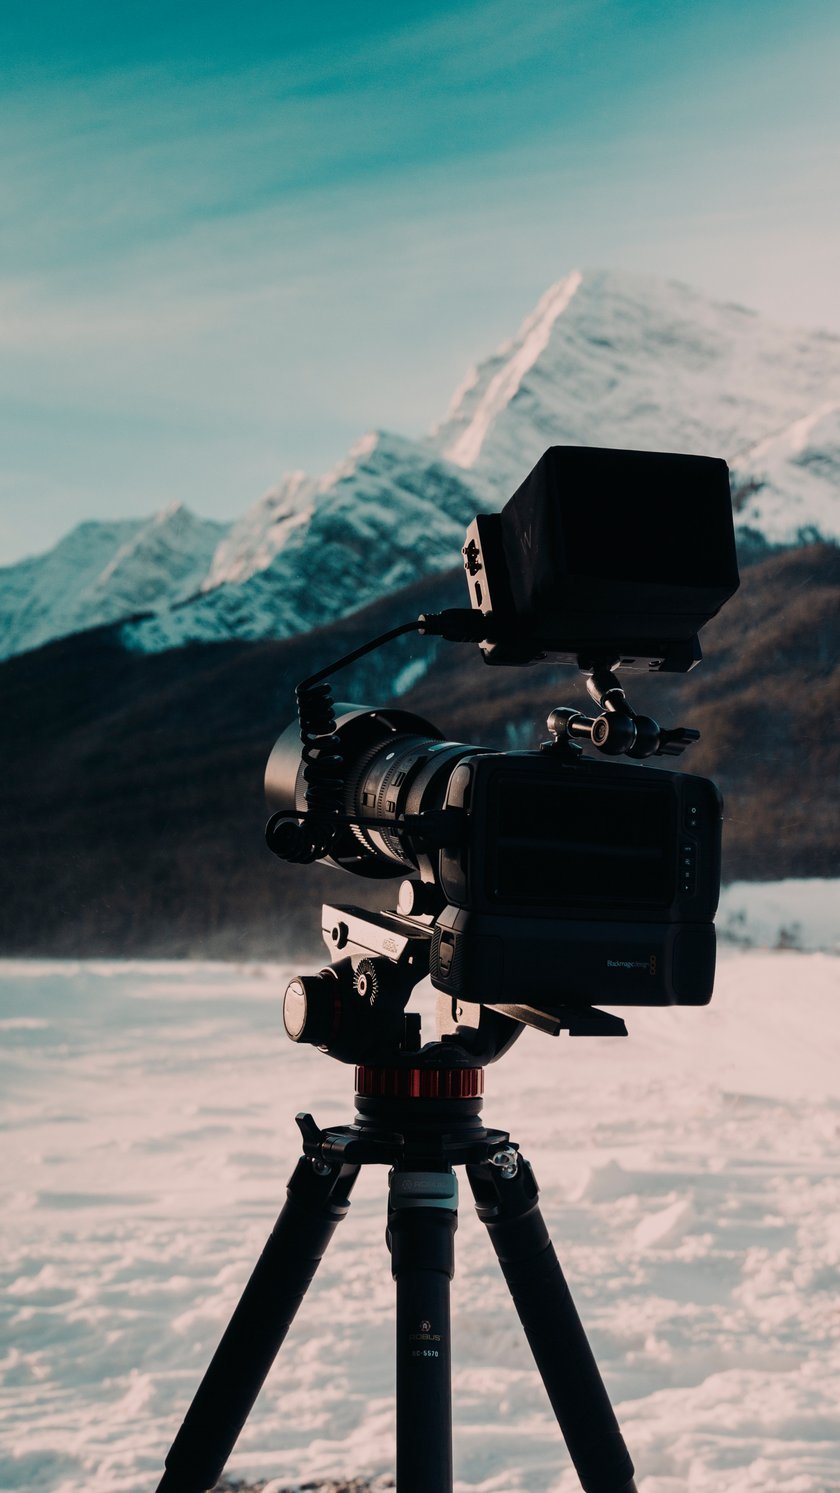 Also, try the GND filter, which features a darkened area that transitions to a clear zone to help balance exposure in scenes where there is a significant difference in brightness between the sky and foreground. And you can consider a circular polarizer, which reduces reflections and glare, increases color saturation, and improves overall contrast. At the same time, ND filters are useful for creating smooth, silky water effects, capturing cloud movement, and achieving balanced exposure in high-contrast scenes.
8. Experiment with Editing Techniques
Luminar Neo offers a comprehensive set of advanced photo editing tools. Seamlessly importing RAW images, the software allows photographers to apply a wide range of edits and enhancements to their works, unlocking endless creative possibilities.
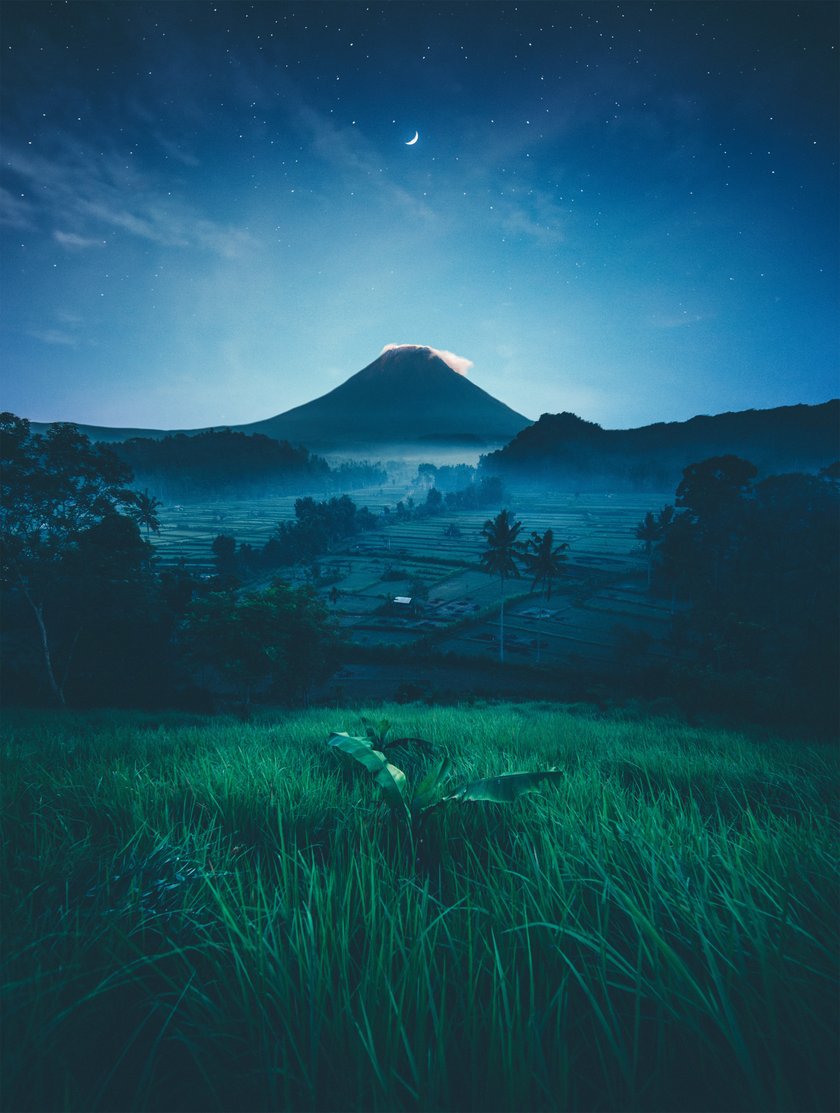 You can play with color adjustments to enhance the vibrancy and richness of your landscape. Adjust saturation, hue, or individual color channels to bring out specific tones or create a particular mood. Also, be careful to maintain a natural look and avoid overly saturated or unrealistic shades.
We encourage you to explore creative options such as black-and-white conversion, split toning, or adding a vignette to give your landscapes a unique look. Experiment with different presets in Luminar Neo or create your own custom effects to achieve a specific style. Or, if you need to quickly improve an image, just use the AI tools in Skylum's online photo editor.
The Bottom Line
This genre is perfect for learning photography and refining your skills, and with a well-thought-out approach, the rewards can be truly extraordinary. While it's true that factors like weather and natural lighting are out of our control, there are moments when everything comes together and you can get a stunning photo.
Patience is key, so never rush the process, and don't pack up until you're sure there are no better shots to be had. Above all, remember to enjoy the experience and embrace the joy of venturing into the world of landscape photography!
FAQ
What Are the Golden Rules of Landscape Photography?
You have the opportunity to take pictures about 15 to 30 minutes before sunrise and then for another 30 minutes to an hour, depending on the intensity of the light. Alternatively, you can photograph at dusk, which is another good time for photos.
What Are the Best Settings for Landscape Photography?
The best settings you can use for nature scenes are manual camera mode, low ISO, and an aperture around f/11. Also, set the white balance to daylight, shade, or cloudy.
What Equipment Is Needed for Landscape Photography?
To engage in this genre, you'll need some essential equipment to capture high-quality images, including a camera, lenses, tripod, filters, and additional options such as remote shutter release.
Is Landscape Photography Profitable?
Of course, there are opportunities for beginning landscape photographers to earn an income and establish themselves as professionals in the field. The demand for this type of photography remains strong. Many individuals, including art collectors, interior designers, travel agencies, and stock photography platforms, are actively seeking great nature shots to enhance their projects.


