Brand Photography Tips For Stand-Out Results
May 28, 2024

Discover essential brand photography tips on composition, lighting, color consistency, and thematic styling to ensure your photos communicate your brand's unique identity.
It can take just milliseconds to form a first impression from a brand photo. With the rise of social media, high-quality imagery has become more crucial than ever. Users rapidly scrolling through their feeds need to be stopped in their tracks by a compelling image, and that's where a skilled photographer steps in. With the right know-how, a photographer can leave a positive first impression that resonates.
To help stand out, photographers need to be savvy in several areas. Through this guide, we will detail ways that you can create eye-catching brand photos that not only grab attention but also elevate your portfolio. So let’s get started.
Planning and Preparation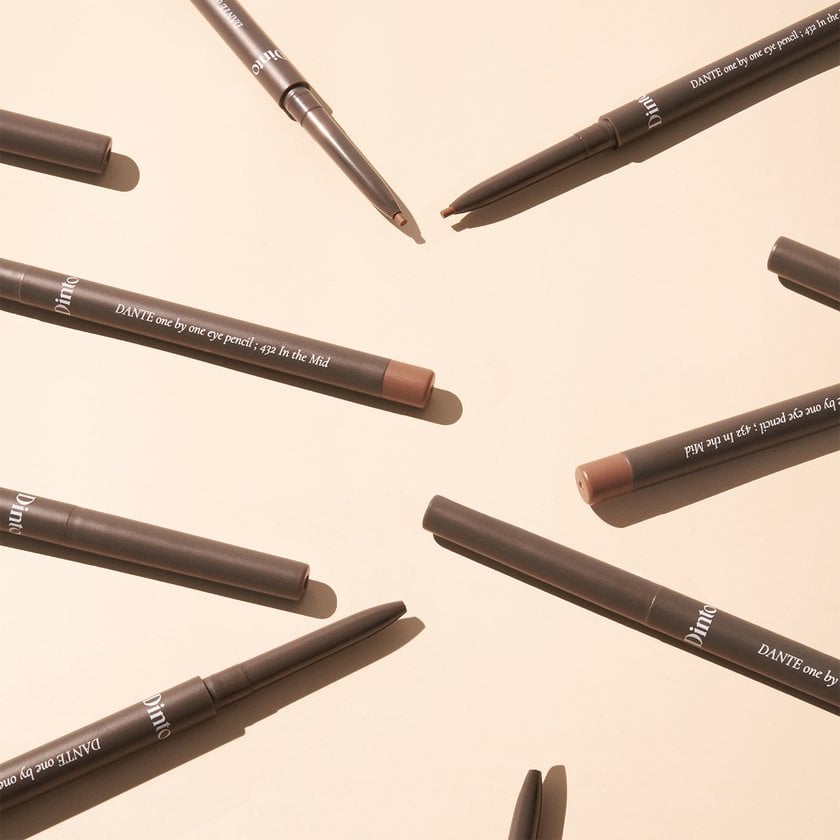

Before you begin your photoshoot, it’s essential to have a carefully considered plan and approach. Start by understanding the brand's image and its preferences in terms of imagery. Pay close attention to their use of:
Colour.
Light.
Composition.
Messages.
Style and Aesthetic.
Careful planning not only leads to fewer reshoots but also ensures a quicker turnaround. With all props ready and a clear aim for the day, you can focus solely on shooting, which typically results in better work. To better understand what exactly and how you plan to shoot, we recommend doing the following:
1. Creating Mood Boards
Once you grasp what the brand prefers, you’ll be well on your way to creating work that the brand will appreciate. With ideas in mind, create a mood board online for inspiration for your shoot. Sometimes, you will work on mood boards together with a client, or they might send over something they have already created.
In a recent shoot, I worked according to my client's brief but also experimented with some of my own ideas during the shoot, which the client ended up choosing as well. This success was because I understood the brand image well, suiting their taste.
2. Identifying the Target Audience
Another crucial element to consider is who will see these photos. Decipher this by examining the brand's customer demographic and tailoring your imagery accordingly. Consider where your work will be displayed—is it intended for the website, social media, or for point-of-sale? When considered carefully, this can significantly influence how you approach your shoot.
Advanced yet easy-to-use photo editor
Get Luminar Neo NowEquipment and Camera Settings

Product and brand photography may require a range of equipment and props, along with a good technical knowledge of your camera to help you achieve high-quality results.
Equipment
Lighting is the most crucial aspect to consider when approaching brand and product photography, as it can significantly elevate your work to a professional standard. There are three types of lighting:
Continuous: Great for beginners, continuous lighting remains on at all times, helping you set your scene. However, these lights aren't very powerful, which can lead to noisy shots due to lower light levels.
Strobe: With strobe lighting, the lights flash only when you take a photo, illuminating your scene briefly. Strobe lights can be intimidating for beginners in the studio, but once you become comfortable with them, you’ll find your images look cleaner and sharper, thanks to the powerful lighting.
Natural: Utilising the sun can bring natural quality to your photos, though it comes with drawbacks. You’ll need access to a large window and favourable weather conditions. For instance, during a recent shoot with natural light, we were pressed for time and had to contend with intermittent clouds, springing into action whenever the sun emerged. Despite the challenges, natural lighting produces crisp images with fine quality.
Camera Settings
It's essential to have a solid understanding of your camera's manual settings before attempting brand and product photography. To minimise noise, keep your ISO low. Additionally, find the sweet spot in your aperture settings; I typically use around f/8 to f/12, where my lens is sharpest because capturing every detail is crucial. The brand has invested meticulous effort into its product's design and packaging, and your photography must reflect that precision.
Props
Incorporating props into your scenes can make brand photography more engaging and visually appealing. This is where you can get creative, using items like plants, flowers, food, ornaments, rocks, and tiles to complement the product and enhance the composition. For instance, if you are photographing a sports-related product, consider creating a scene with various sports-related items around the product. However, ensure that the props align with the brand’s image, and avoid including any competing brand logos.
Composition and Creativity

Once all the equipment is ready, it's time to start creating your scene. This is a skill that improves with practice. To hone your abilities, get inspired by other studios' work and, during your portfolio-building stage, practice by replicating others' setups with props, lighting, etc. This approach is highly effective for learning and helps you critically assess your work by comparing it to the original.
Creating Composition
Your composition is crucial for creating an eye-catching shot that keeps the product at the centre of attention. If you're creating busy scenes, does the product still stand out to the viewer?
Here are some aspects to consider when setting up your shot:
Placement: Should the product be centred, or are you using other compositional techniques like the rule of thirds or the golden ratio?
Symmetry: Is your composition evenly portioned, and if not, does it still look pleasing?
Depth: Is there enough depth in the image, allowing the product space and guiding the viewer's eye through the scene?
Headroom: Consider the space above the product. Is there enough room, or does it feel cramped?
Leading Lines: Consider using leading lines to guide your viewer’s attention to the product. This isn’t necessary but can enhance your composition.
Colour Composition: This is crucial and requires an understanding of colour theory. Great composition can be undermined by poor colour choices that do not complement each other or clash.
Elevate Your Photography with Our Advanced Software
DISCOVER PRICINGBoosting Creativity
Brand photography should be fun, and creating scenes is where much of that fun begins. If you are creative, this is where you can truly stand out and start to develop a recognizable style that brands will seek out. Ideas for shoots can come from your own creativity or be inspired by mood boards. Consider the following when setting up your scene:
Aesthetic: What kind of look are you aiming for? Whether it’s bright and vibrant, dark and moody, or clean and crisp, ensure it aligns with the brand’s image.
Narrative: Are you telling a story with your shot? Use props and settings to convey the brand's story.
Ingredients: For products with specific ingredients, such as a blueberry yoghurt drink, include these in your scene. Showing ingredients can effectively communicate what the product is made of.
Backdrop: Choose to shoot against a plain background or get creative with organic materials like wood or stone, or set your product in a kitchen or garden.
Lighting and Shadow: Lighting does more than illuminate; it can add mystery or style through dense shadows or patterned light, adding layers of interest to your shots.
Experimentation will help you find a balance between solid composition and creative flair, making your shots engaging. Over time, you’ll likely develop a preferred theme and evolve this into your distinctive style.
Post-Processing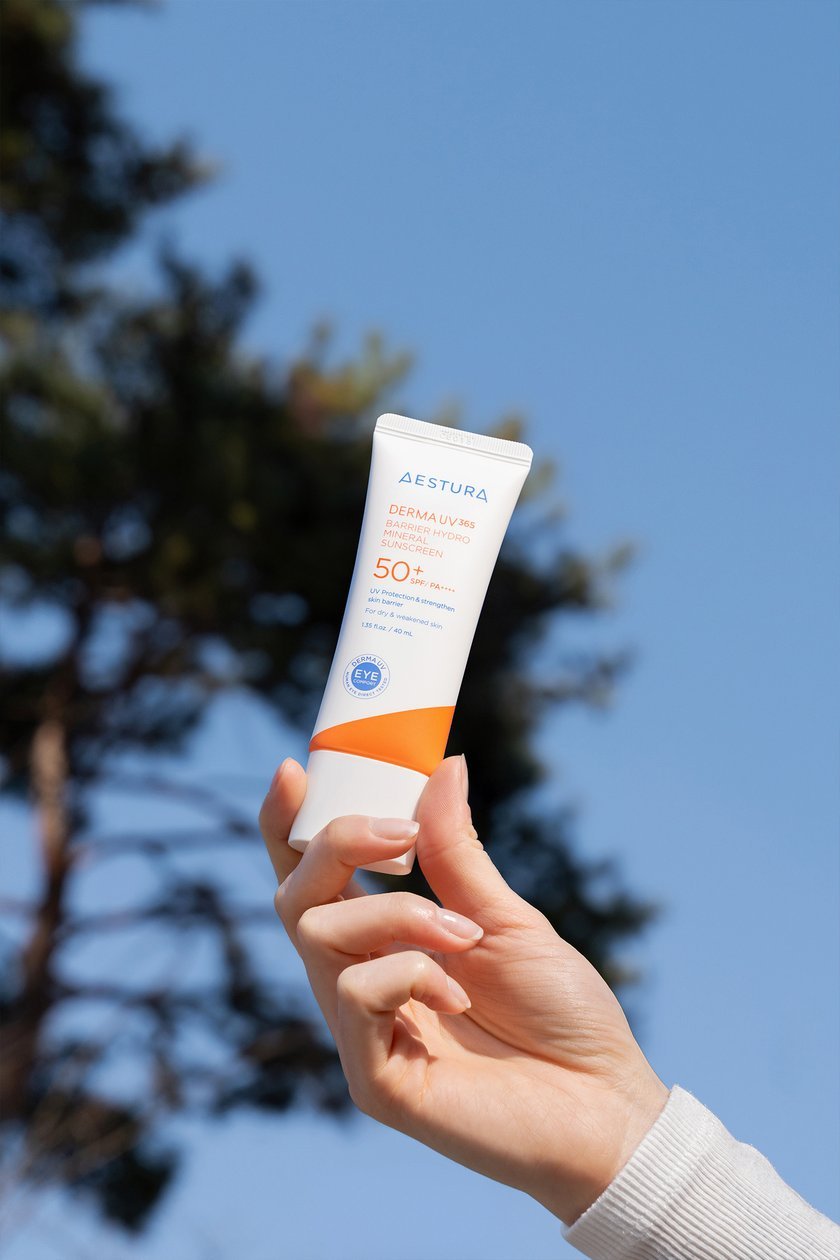

Once your shoot is complete, it's time to begin editing. This process is as crucial as the shooting itself, with brand photography requiring specific tools to help elevate your work.
1. Achieve Color Accuracy
Ensure you are working on a calibrated monitor so that the colours appear true to life. You don't want to discover that the colours on the brand's product look different on screen, as this would certainly disappoint the client. A calibrated monitor helps you maintain fidelity to the brand's visual standards.
2. Stick to the Brand Style
During editing, closely replicate the brand's typical style for their imagery. This is your opportunity to match moods and colours to align with what the brand aims for. If some colours are slightly off, consider hue shifting to achieve a better match and a more cohesive colour palette.
3. Consider Masking
Use masks to edit select portions of your image selectively. You'll want to ensure that your product stands out, so make sure it is brightly lit and contrasts well with its background.
4. Maintain Image Clarity
Ensure your shots are pristine by using the erase tool. No matter how careful you are during the shoot, pesky dust specks and other debris can find their way onto your set. Carefully review your images multiple times to ensure they are clean and ready for display.
5. Keep It Authentic
The most important factors to consider when editing your images are ensuring the product stands out, the colours are true to life, and your image is clean and tidy. During this stage, you can get creative and try unique approaches to colour grading and other editing processes to ensure your photo is eye-catching. Just make sure it remains on-brand.
The Bottom Line
The world of brand photography is exciting. With a wide range of projects, you'll always be working on something fresh, and with every job, you'll learn something new.
By closely following the client's brief and understanding their aims, you'll leave them satisfied and eager for more in the future. However, don't be afraid to try something new; it's what will set you apart from other photographers and help you stand out. So grab your camera, get creative, and start shooting.
This article is for informational purposes only. Skylum is not affiliated with nor endorsed by any brands mentioned. All trademarks and images are the property of their respective owners.