In this guide, we're going to talk all about that grainy stuff in your photos. We'll show you how to spot it and give you some really simple ways to make it less noticeable. We promise to keep it easy to understand. Whether you're just starting with photography or want to get better at it, knowing about digital noise is a big help in making your pictures look clearer!
So, are you ready to learn and take better photos? Let's dive in!
Noise Photography Definition

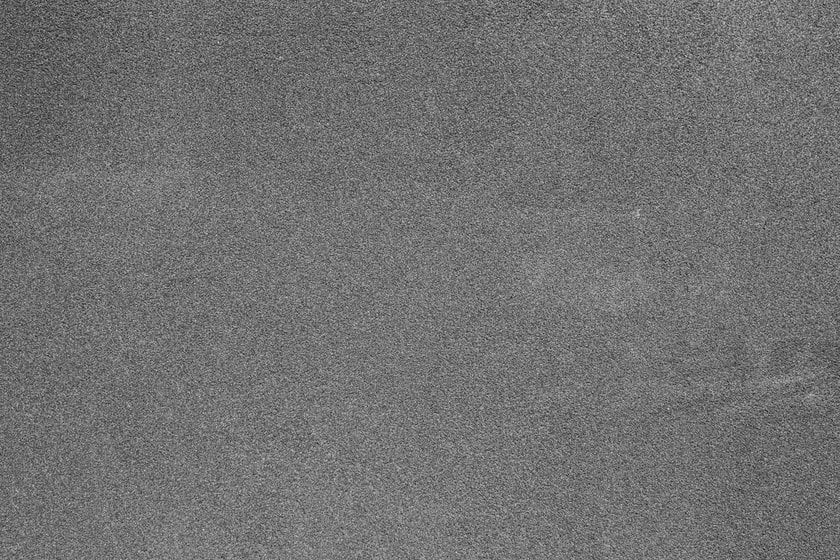
Noise in photography is like the graininess or speckles you sometimes see in photos, particularly those taken in low light. It's those little dots or irregular marks that can make your picture look less clear than you expected. Think of it as the visual version of the static you hear in a noisy radio signal.
Common Causes
Low Light Conditions: When there's not enough light, your camera struggles and ends up creating these grainy spots.
High ISO Settings: A higher ISO makes your camera more sensitive to light, which is helpful in darker areas, but it also brings more noise.
Long Exposure Times: If your camera's shutter is open longer to capture more light, it can also capture more noise.
Heat and Camera Sensor Quality: Sometimes, if your camera gets warm or if the sensor isn't very high quality, you might see more noise in your photos.
Understanding these causes helps you start thinking about how to reduce noise, which we'll cover next!
Advanced yet easy-to-use photo editor
GET LUMINAR NEO NOWSpotting Noise in Photos

So, what is a noisy image? It's when your photo has those unwanted grainy or speckled patterns that don't look like they're part of the scene you photographed.
To spot this issue, just zoom in on your photo. Look at dark places or big, plain areas like a wall or the sky. If you see tiny dots or rough patches, that's a sign. Also, if you find little colored dots where it should be smooth, that's another indicator.
This problem can affect the appearance of your photo. It can blur the details and make everything less clear. Sometimes, it might even alter how colors and textures look, making them seem off. And if there's a lot of it, it can distract from the main subject of your photo.
Learning to recognize these signs helps you understand how to prevent or fix them in your pictures. This way, you can take better photos that are clear and visually appealing!
Basic Tips for Reducing Noise While Taking Photos

What Does Noise Reduction Mean?
In photography, it means minimizing those grainy or speckled patterns in your photos, especially ones taken in low light. It's about making your images clearer and cleaner without those distracting elements. Here are some basic tips to help you do just that:
Go Low on ISO: It's like the volume knob for noise. Lower your ISO setting to keep it down. Remember, the higher the ISO, the louder the noise.
Light It Up: Good lighting is like noise's worst enemy. Use natural light, or if you're indoors, add some extra lights to brighten up the scene.
Steady as a Rock: A shaky camera is a noisy camera. Use a tripod or rest your camera on a steady surface to keep things sharp and clear.
Your Camera's Secret Weapon: Most modern cameras have a built-in noise reduction feature. It’s like having a built-in cleaner for your photos. Give it a try!
Find the Sweet Spot with Exposure: Play around with different exposure times. It's like finding the perfect temperature for your photo – not too hot (too much light), not too cold (too dark), but just right.
By mastering these tricks, you’ll be reducing noise like a pro, making each photo a clear window to your moments.
Your Smart AI-Powered Tool for Noise Reduction
Explore in Luminar Neo!Removing Noise from Photos with Luminar Neo

Using Denoise AI for Easy Noise Reduction
Got grainy photos? No problem! Luminar Neo's 'Denoise AI' feature is your go-to for noise reduction online. It's super simple:
Open Luminar Neo: Choose your noisy photo in the software.
Find the 'Denoise' Tool: Head over to the Edit panel and click on the 'Denoise' option.
Adjust the Sliders:
Luminosity: Move this to lessen the grayish noise.
Color: Use this to get rid of colored specks.
Fine-Tune: Balance the details and noise reduction to your liking.
Save Your Photo: After tweaking, apply the changes and save your photo.
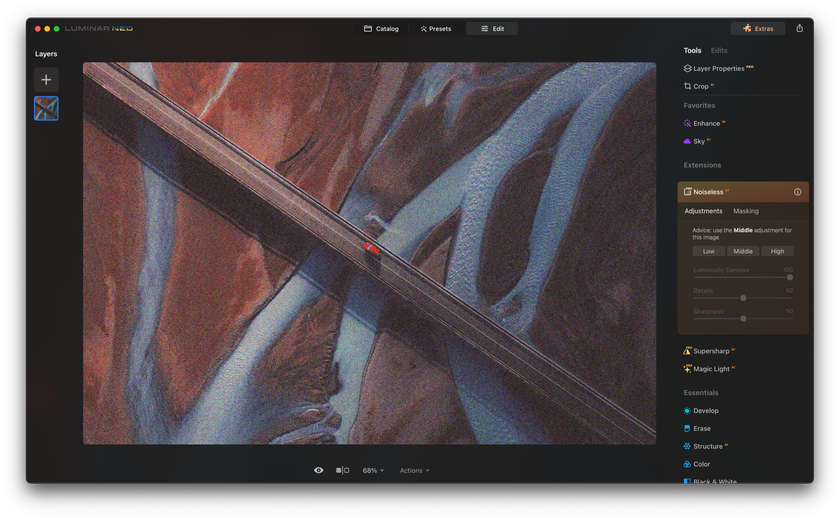
Noiseless AI
It's an add-on for Luminar Neo that smartly removes noise while keeping your photo sharp. It's great for those who want even more control over its removal.
Easy steps on how to use Noiseless AI:
Let AI Suggest: Open the feature, and it'll recommend the right setting: low, middle, or high noise reduction.
Pick and Click: Choose the option you like and click to see your photo become clear and noise-free.
Using Noiseless AI as a Plugin
If you use Lightroom or Photoshop, you can add Luminar Neo and its tools, like Noiseless AI, as a plugin. Just get Luminar Neo with Extensions or the Pro plan, and you're set.
Pricing for Noiseless AI
Want Noiseless AI? It's part of the Luminar Neo Pro plan, which includes all new add-ons. Or, if you already have Luminar Neo, you can buy just the Extensions Pack.
Conclusion
Let's wrap up our journey into understanding photographic noise. We began by asking, "What is digital noise in photography?" and learned it's those unwanted grainy spots in our pictures, especially in low light. These spots can make our photos look fuzzy and less clear.
We looked at how to find this noise by checking for graininess and colored dots in our photos. It can make pictures look less sharp and change how the colors and textures appear. But don't worry; we also talked about easy ways to reduce noise, like using lower ISO settings, improving lighting, keeping your camera steady, and exploring your camera's noise-reduction features.
We even discovered handy tools like Luminar Neo's 'Denoise AI' and 'Noiseless AI' that make getting rid of noise easier, whether you're editing online or using them in other photo editing software!
So, with these tips and tools in hand, you're all set to take clearer, more beautiful photos without the hassle of noise.
Happy photographing!


