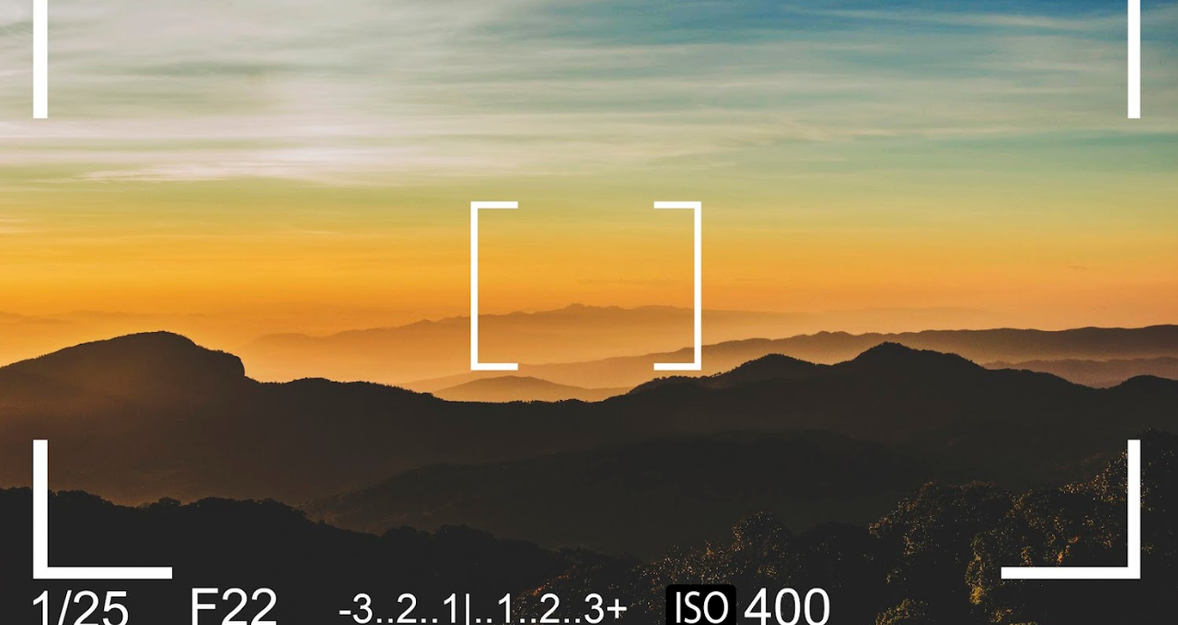
What Is Exposure Compensation?
Last Updated on March 25, 2025

Master exposure compensation to take control of your camera’s brightness settings. Learn when and how to use it for perfectly exposed photos every time!
Have you ever taken a photo and been disappointed that it turned out dark or too bright? This common problem occurs when your camera's automatic settings don't adjust to the lighting correctly. The positive exposure compensation tool allows you to correct automatic errors quickly and adjust the brightness without switching to fully manual mode. Properly timing exposure compensation usage results in marked differences in achieving photo exposure.
Exposure compensation training enables photographers of all levels to balance their pictures successfully under any lighting situation. The following discussion details the process of exposure control.
How Does Exposure Compensation Work?
 The camera's automatic processes receive brightness settings through exposure compensation, which alters image brightness. The camera attempts to establish equilibrium but fails to estimate light conditions properly, resulting in misjudged scenes that are too dim or too illuminated.
The tool enables you to adjust the wrong exposures manually. When you increase the value through positive compensation, the image becomes brighter, which works well when capturing snow and backlit or sand objects. However, when you set values to negative compensation, the image becomes darker, thus protecting it from getting too bright in sunny conditions.
Here's how exposure compensation works:
The image brightness increases when using positive values (+1, +2, etc.) by adjusting the shutter speed and aperture or ISO settings.
Proper darkening of images occurs when shutter speed decreases along with aperture size and ISO value reduction (-1, -2, etc.).
The normal method of camera exposure compensation adjustment includes a dial or button with commonly 1/3-stop precision settings.
Learning exposure compensation will enable you to handle challenging illumination conditions before transitioning to complete manual operation. With exposure compensation explained, you will have more control over your camera settings.
How To Use Exposure Compensation?
 The feature enables you to modify brightness control independently of full manual operation. The power to adjust brightness has either a dial or a button that handles the symbol of +/- marks. Examine how bright or dark the scene appears in an appropriate exposure setting.
Users should modify compensation levels through increased values to brighten images and lowered values to lighten pictures. Negative exposure offers a technique to fix overexposure issues encountered when working in bright conditions. Before finishing, examine your image while checking the histogram to make necessary adjustments. You need to become proficient at exposure compensation because it provides balanced illumination in all circumstances.
Exclusive Tools of Endless Possibilities in One AI Editor
Explore Now!Identify the Exposure Compensation Dial
Begin by locating the exposure compensation control on their device, which displays either “EV” or a dial with its EV and “+” and “-” symbols. Through this feature, you can make images brighter.
A photograph becomes excessively dark when there is not enough light intensity. The exposure needs correction through positive exposure compensation because this process adds more light to the image. When a camera receives excessive lighting, an image becomes overexposed, while insufficient light results in an underexposed photo. Your camera needs negative exposure compensation to diminish the amount of incoming light, correcting an overexposed image.
The exposure dial gives you direct control to adjust exposure levels and enables proper brightness management in your photographs. An exposure compensation chart provides visual reference for executing your exposure changes.
Evaluate the Scene
When evaluating a scene, you assess your subject and the surrounding environment to determine the correct lighting levels. When shooting a sunset, your camera may find it difficult to balance the bright sky and the darker zones of the foreground, resulting in an overall darkened result. Your camera tends to tell incorrectly when shooting snowy landscapes because it misidentifies white snow with bright lighting. Earth lighting is a fundamental issue that photographers must recognize to create successful photographs.
Three basic points will help you evaluate lighting conditions:
Identify the light source. You need to distinguish between natural light and man-made artificial lighting.
Take note of shadows and highlights. The distribution of shadows and highlights in the photograph should be even throughout the image without overly bright or dark areas.
Evaluate the dynamics in the frame. The scene contains a range of contrast that requires special attention for proper exposure.
By examining the lighting properly, it was realized that exposure compensation needed to be adjusted. Exposing more light in the frame can improve visibility but will ultimately degrade the light to achieve exposure balance.
Adjust Exposure Compensation
You should now modify the exposure compensation on Canon cameras after evaluating the lighting conditions. The feature enables users to change exposure value (EV) through increased or decreased adjustments for brightness. Raising the EV value through dial rotation toward the + side helps increase the amount of light entering the camera for brightening underexposed images. To eliminate picture brightness (overexposure), adjust the EV dial toward the minus direction, dimming the light exposure.
Exposure Compensation Guide
Scenario | Problem | Adjustment | Recommended EV Change |
Sunset with a dark foreground | The shadows are too deep | Increase EV (+) | +0.7 to +1.3 |
Snowy landscape | Camera overexposes, losing detail | Decrease EV (-) | -0.3 to -1.0 |
Portrait in backlight | The face appears too dark | Increase EV (+) | +0.7 to +1.5 |
Night cityscape | Lights are too harsh | Decrease EV (-) | -0.5 to -1.2 |
Foggy scene | Looks too dull and gray | Increase EV (+) | +0.3 to +1.0 |
Exposure must be made over time because minor modifications have major exposure effects. The histogram allows you to see accidental detail loss in either highlights or shadows. Enables you to produce both bright and airy high-key or dark and moody low-key images through creative use.
Review and Refine
In the final step in exposure compensation in manual mode, it is important to check the result. Check your photograph under current lighting conditions. Both shadows and highlights maintain their detail characteristics. Attempt to improve exposure compensation until the image reaches optimal brightness or darkness. Taking a fully perfect exposure setting in one try does not work since balanced exposure requires multiple rounds of adjustment testing.
Discover the Power of AI in Portrait Editing
DIVE IN NOW!Digital photography presents real-time image adjustments, you should utilize this tool to its maximum capacity. Proceed to post-processing after making sure additional modifications are essential. The AI image processing software Luminar Neo enables precise light and shadow adjustments through post-production exposure correction. The review and refinement of photographs are fundamental steps when working with various landscape subjects, from ideal sunset pictures to delicate winter scenes.
Exposure Compensation vs ISO
 The system of divulgence balance operates differently from ISO management, even though both tools impact image brightness levels. Exposure compensation automatically adjusts the light and dark tones without affecting other controls. The compensation tool enables users to fix incorrect exposure judgments from the camera in lighting situations where extreme brightness differences or when subjects face illumination from behind. Quick adjustment of Nikon exposure compensation through the +/- button delivers precise control amid challenging lighting conditions.
The light sensitivity of the sensor becomes regulated by the ISO standard. The image appearance from a low ISO value, such as 100, produces clean output while minimizing noise at the expense of required lighting. The photo becomes brighter with high ISO settings of 800 and greater; this results in more visible image grain. Because raising ISO triggers digital noise in images, it differs from exposure compensation adjustments.
Killing the EV by one value under the exposure compensation example enables photographers to maintain bright highlights in outdoor lighting. Powdering the image with noise occurs when you boost the ISO to 1600 during dim lighting. Photographers gain mastery over their exposure while maintaining image clarity when they learn to adjust exposure compensation examples together with ISO settings.
Findings
 Working with exposure compensation delivers shutterbugs the capacity to control brightness levels to create detailed and balanced images regardless of the lighting environment. A snowy landscape and a sunny beach require a reduction in (-EV) to prevent highlights from being washed out. Adding (+EV) is essential for revealing shadow detail when shooting in low-light situations.
When dealing with scenes featuring strong contrast levels, exposure adjustments bring together bright and dark sections of the image to avoid distorted shapes or distracting background overlighting. Works creatively for photographers who want to achieve artistic effects through dramatic silhouettes.
Through exposure compensation integration, your workflow allows you to repair metering mistakes and handle difficult lighting situations while gaining steady and image quality. Continued practice of shooting while experimenting helps you gain expertise, which builds your confidence for handling all types of photographic situations.
FAQ
When to use exposure compensation?
Pay attention to exposure compensation to make adjustments that fix a metering system's incorrect assessment of light intensity in a scene. The camera tends to produce results in situations with extreme contrasts, bright areas like snow, and subjects behind backlights. Image brightness increases with exposure compensation adjustments, yet reduction results in image darkness. The setting helps you attain correct results when you need manual control but decide not to change to full manual mode.
How to lower exposure on camera?
The techniques to reduce exposure include decreasing the ISO level, setting a large aperture, or raising the shutter duration. The camera will capture less light when exposure compensation values become negative. Bright light conditions can be managed with the help of a neutral density (ND) filter. These adjustments protect highlights by stopping overexposure to maintain details in exposed areas.
How to calculate exposure value?
The standard measurement of brightness, called Exposure Value (EV), functionally relates between shutter speed and aperture selection. The calculation incorporates the f-number raised to an exponent of two and divides this number by the shutter speed duration. The formula looks like: EV = log₂ (N² / t). Increasing the EV value to camera light diminishes, and lowering EV values results in more camera light entry. The automatic camera adjustment for EV Live's manual input gives better results during challenging lighting situations.
What does underexposed mean?
A camera sensor receives insufficient light during an underexposed image in overall darkness. Underexposure occurs in photography when the shutter speed is rapid and the ISO or aperture size is minimal. The shadow areas become obscure when a photograph receives inadequate light. The exposure compensation level needs raising, or camera settings need modification to fix effects.


