Sketching: A Step-by-Step Guide for Beginners
December 18, 2024
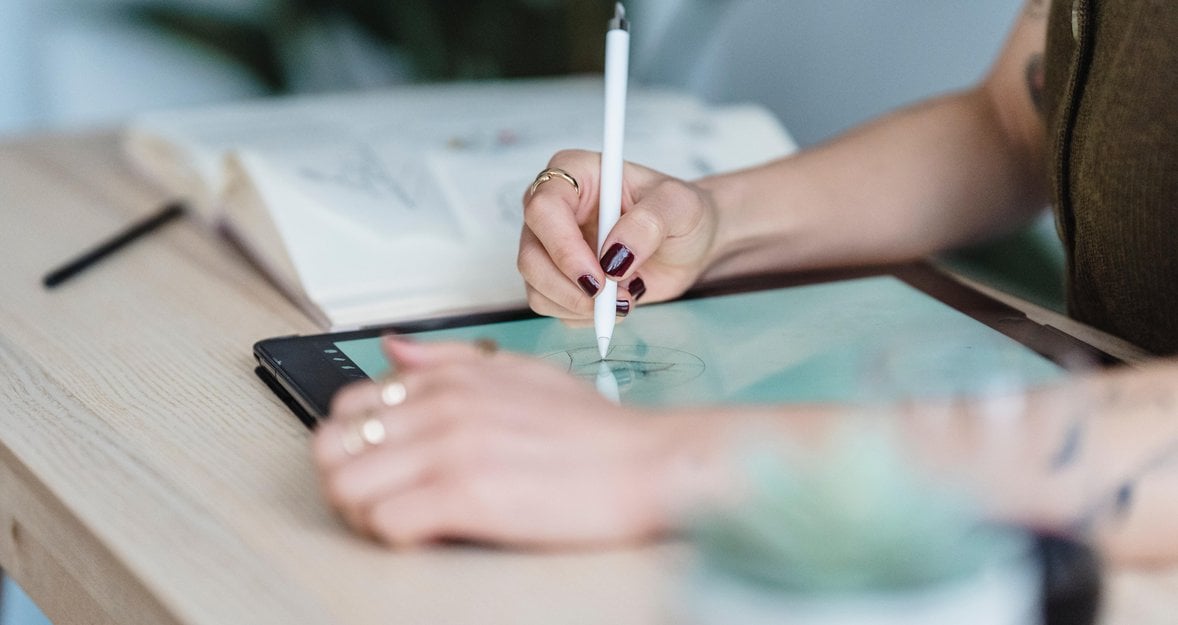
Are you a beginner looking to learn all the basics of sketching? For starters, the most important sketching guide is practice and consistency. Sketching is a process that allows you to scribble your ideas on paper; it saves time and gives you a work plan at the end of the day. This guide will provide steps, information, and easy-to-follow instructions to help you go from a basic sketch to a more complex one. It’s time to take your sketching skills to the next level. Start your sketching journey with this beginner-friendly step-by-step guide. Learn basic techniques, tips, and tools to bring your creativity to life.
What is Sketching? 
Sketching is a rough type drawing; it is the process of using a pencil, marker, pen, or any writing technique to create a quick rough drawing. A sketch is an incomplete drawing of an image. A sketch represents a design idea. A sketch helps artists capture their ideas, observations, and thoughts into a design. It is an early and essential part of every design process. Sketches are loosely drawn abstracts, shapes, or preparatory drawings.
Remember that you can always combine your sketches with photographs to create a truly unique work of art or turn a photo into a sketch. With all-in-one photo editing software Luminar Neo, it’s easier than ever to work with layers and masking, thanks to AI technology.
Types Of Sketches
Most professionals, from fashion designers to architects and even animators, use sketches to bring their masterpieces to life. There are different types of sketches you can employ as a professional. These include:
1. Industrial sketches 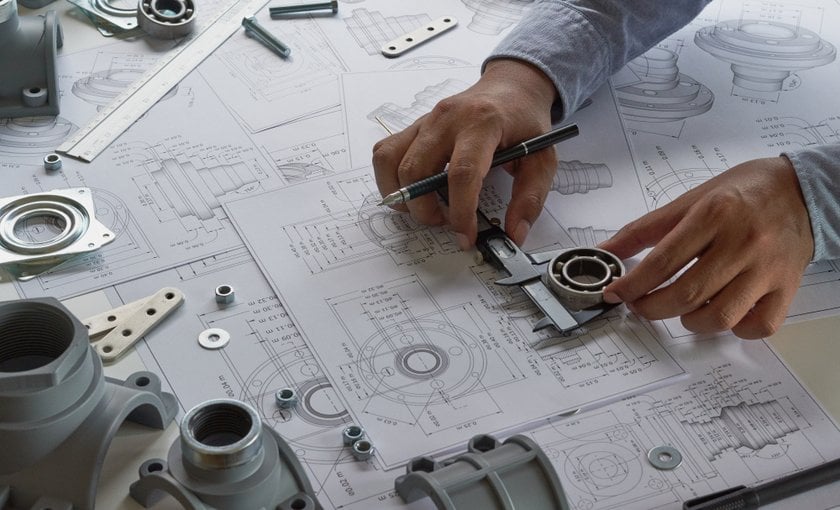
Industrial sketches involve drawing objects in 3D. It shows how two r or more objects interact and outlines their structural architecture and scale.
Industrial sketching is the most popular type; they are made with speed and display product functionality from different angles and aesthetic designs. Sketching helps you Ideate and prevent industrial design errors before finishing the design in 3D modeling software.
2. Travel sketching 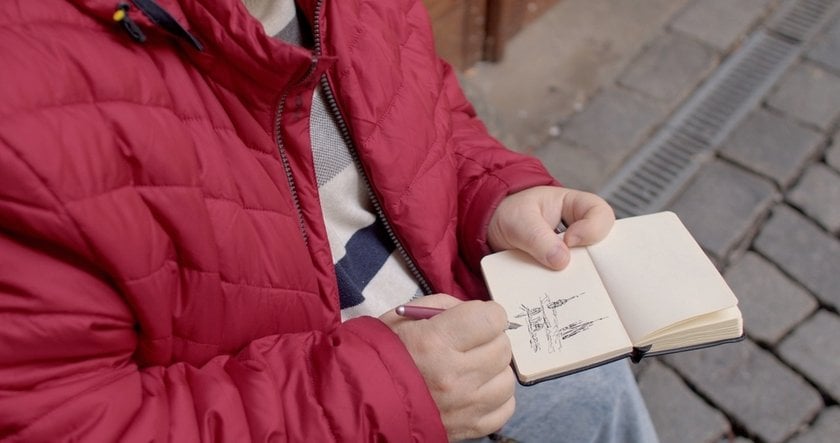
Travel sketching is an art that helps you stand out amongst other artists. It is the most crucial skill in sketching. Travel sketching is a form of nature that helps you capture places, people, and things through traveling. You can capture the moment and the atmosphere and create a masterpiece out of the event. Although travel sketching seems fun, you will have to be able to quickly understand and provide a sketch of the internal characteristics of a place.
A travel sketch isn’t meant to be perfect; live in the moment and sketch what you can see and connect to.
3. Interior sketching 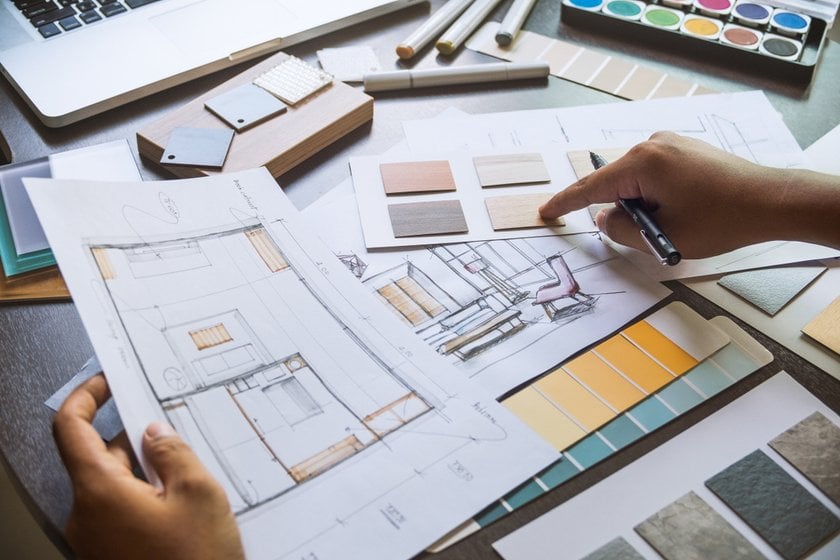
Interior sketching is all about the laws of perspective. It’s an essential component in the design process, and it helps ideate a fantasy into a reality. Within a matter of minutes, every fantasy can be turned into a sketch to outline the elegance, the colors, the measures, and the proportions. Interior sketching will require you to do a quick sketch before your client. You don’t have to be perfect, but you must be able to capture the fantasies of your clients and add some colors to them. You must be able to sketch other materials, such as stones, glasses, clothes, and other objects.
4. Fashion sketching 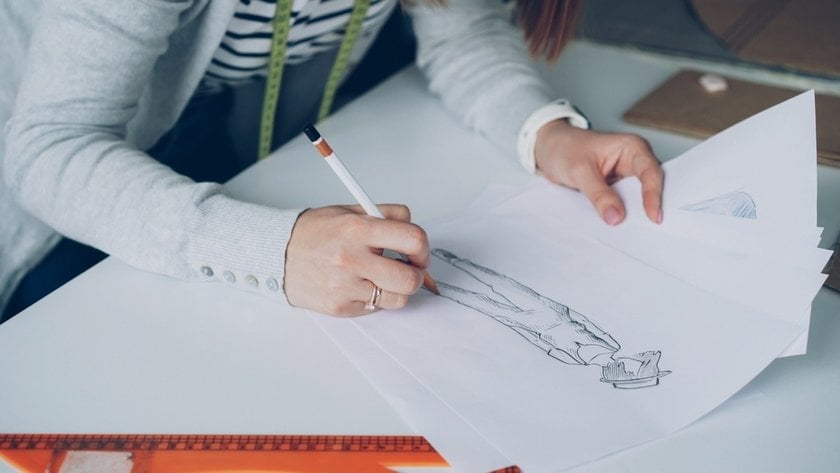
Fashion sketching is an art that explains design ideas. Fashion sketching or illustration brings fashion and design and explains these two components in detail using drawings and design. Fashion illustration forms the foundation of the entire design. Fashion sketching helps designers visualize and communicate their ideas, concepts, and fantasies.
All of these types of sketches illustrate different things. Some Sketches are created to show the concept, while others are created as a storyboard to gain rough ideas before creating the final work. Motion sketches show how a character will move from one place to another, while observation sketches tell the specific plot or show in detail the features of an object or scenario. A sketch like an interior or fashion sketch is used to delve into fantasies and the world of imagination; they bring styles, settings, and characters to life, while a quick sketch shows the basic proportions and is done in front of a client.
Sketching vs Painting: Main Differences
Sketching is one of the many ways to visualize a project. However, many individuals confuse sketching with painting. You need to know the main differences to differentiate sketching and painting effectively.
Pigment
Painting utilizes pigments, colors, or other materials to recreate an image more detailedly. A liquid or semi-liquid medium, such as watercolors, poster colors, or acrylic, while drawing is made with dry matter.
Goals
Sketching is usually a basic structure used to ideate and plan. It is not the final work. Sketches are always left unfinished, While painting, on the other hand, involves using paint to achieve a final result. An impressive level of work is put into achieving all the details.
Process
Sketching is usually a quick process; it is the act of creating a rough sketch or drawing; the process isn’t complex, while Painting takes longer than sketching; it entails using colors or mixed media and bringing an image or idea to life.
Time Investment
As a professional, there is something you need to consider before you decide to sketch or paint. Time is essential since sketching takes little time and requires only quick work; it’s important to consider the situation on the ground and if sketching or painting is what you need to do. The second thing you need to consider is the skills and techniques needed. Sketching is faster because it requires fewer skills and less technique. The time and effort put in can’t be compared with painting.
Sketching Is a Planning Tool, and Painting Is an Execution Tool
Most artists have to first sketch an image before painting it. It’s safe to say sketching is also a good foundation for great paintings. An artist can always decide to map out the structure and features of their art before painting it. On the other hand, painting is not used for ideation; it’s an execution tool.
How Do I Get Started With Sketching: Some Basic Techniques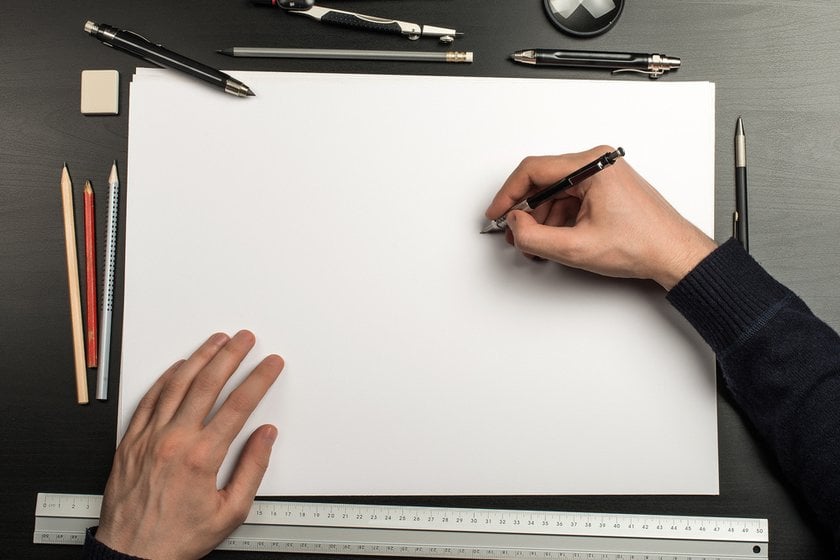
Practice makes perfect! A good sketch makes your work a masterpiece. First, you must learn to practice and practice your sketch until you can put your thoughts and ideas together. To a learner, a pen, paper, and pencil do the drawing tips and tricks. However, a professional requires more tools and techniques. Here are a few tips on how to get started:
- Get the necessary tools: invest in quality papers, markers, pencils (softer graphite or more rigid graphite), and creativity.
- If you are not sketching to put together a client's ideas, then you will need to find a muse. Something that inspires you to sketch; fashion, nature, travel, etc.
- Start with baby steps; sketching for beginners can be very difficult. However, it’s a safe zone, and you are allowed to make mistakes erasers can erase. You can start by practicing; learn to draw a straight line, triangles, squares, circles, shapes, and other patterns.
- Observe shapes and objects around you; decide which objects or shapes you want to sketch. Once you pick the object, it’s time to start sketching.
- Enhance your drawing; the parts of the object facing the light source should be sketched in contrast, while the part in the shadows should be more intense.
- Leave perfection behind; the goal in learning isn’t to be perfect at first; the goal is to practice and practice until you can get it right. Leave perfection behind and focus on sketching more lines, shapes, patterns, objects, or images by exploring the media for ideas.
- Don’t smudge your work; one way to avoid smudging is to start shading from left to right. Smudging can make all your work look dirty and messy.
- Experiment with your sketches with different techniques; don’t stop trying new things, take inspiration from different things and other great artists, and practice new techniques.
- Take it easy on yourself: you might not get it right on your first, second, or third trial. Mastery won’t happen in a day. Take it easy on yourself, be patient, and give yourself time to grow with constant practice.
- Get feedback, don’t be afraid to show off your work, and get constructive criticism from peers and mentors.
- Have fun; enjoy every step and every process. Reward yourself for getting it right, and be creative with your sketches. Go the extra mile to be the best.
Some Basic Sketching Includes:
- Basic Shapes: start by switching out triangles, circles, squares, or any shape. Shapes are foundations and help you decide the overall design.
- Add forms and shapes to your lines: once you are down drawing out your shapes, you will need to add them. Add different angles, contours, and shading. Different types of shading techniques can be explored in sketching; these include:
- Hatching and Cross hatching: this technique helps you add depth to your work through shading. Hatching is a series of lines you must draw along the main line in your sketch to create shadows and depth. The hatch lines aren’t meant to touch other lines, while cross-hatching is used similarly but intersects.
- Stippling: stippling adds dots to your sketch. Stippling also helps with shading and depth. The closer the dots, the darker the shading.
- Circling: small circular strokes gives a blended appearance. When you want to make circles on your sketch, add pressure on your pencil and move your pencil around in a circular motion.
- Smooth Shading: smooth gives your sketch a clean finish. Shading can be done using your finger or paper to blend the hatching and cross-hatching lines you’ve made.
3. Light and shadow: create highlights on your sketch. Highlights help indicate where the light source is coming from in your work. You can use an eraser to create highlights by removing some shadings and a pencil to create more shades or shadows.
4. Outline your details: essential sketching skills or techniques include your ability to outline details, hair, clothing, etc. Outlining your details will give your drawing more depth and bring your character to life.
5. Finally, you want to present a fine work at the end of the day. Ensure you put your Finish with texture: Finally, fill out your drawing with fine textures.
7 Essential Sketching Tools for Beginners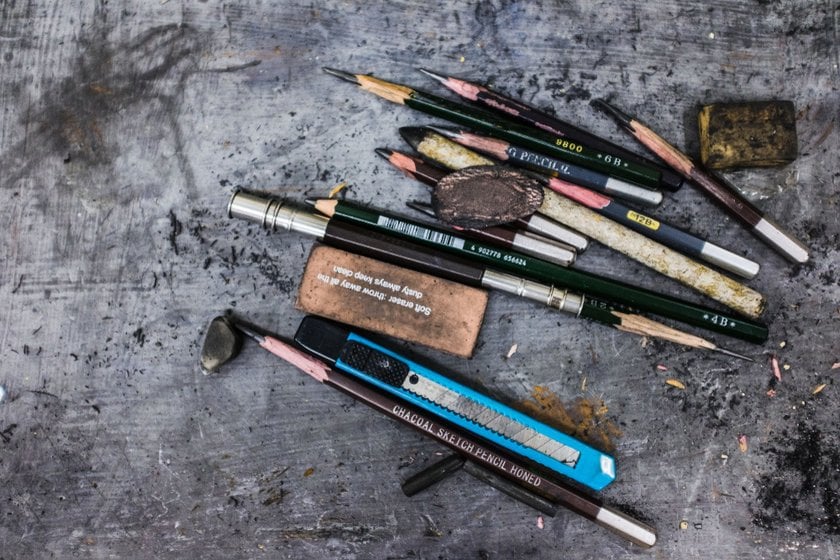
As you grow and develop as an artist, you must invest in quality sketching materials. The connection between your sketch and the quality of your sketching tools and materials will become even more noticeable. If you start taking your career seriously and would love to sketch each process, here is a list of the essential tools you will need to start. Let’s dive in…
1. Sketchbook
When learning to draw a sketch, you can start on pieces of paper. However, when you’ve gained more experience, you will love to gather your art in one place. The critical thing to consider when purchasing a sketchbook is the quality of the paper.
2. Quality Drawing Pencils
A light pencil outline is mostly what you’ll need to create a good sketch. Invest in quality pencils. Pencils have four degrees of hardness printed on them. The letter B printed on drawing pencils indicates that the pencil is black. The word B print pencils are soft and can be used by children to sketch. The H Letter prints on pencils stand for hard. The F letter is for firm pencils, and the HB represents hard black pencils. These pencils come with different color intensities and are perfect for sketchers with experience.
3. Drawing Pens
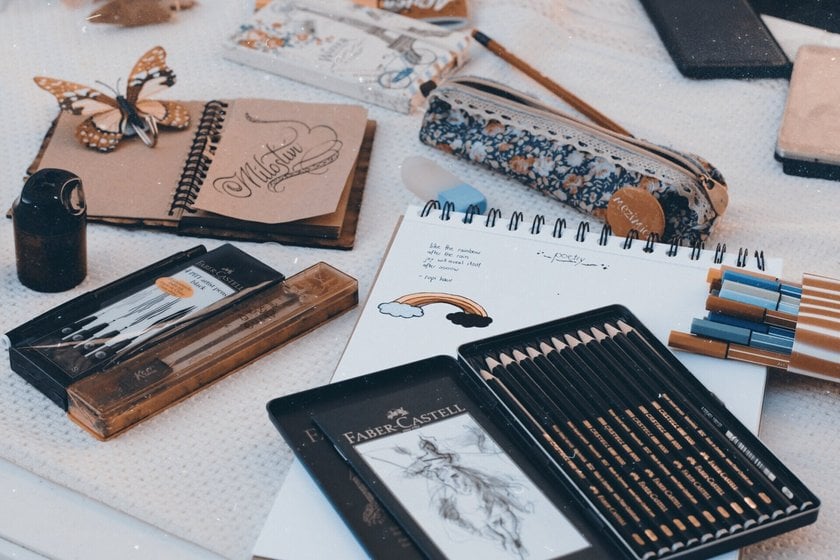
Drawing pens helps give your sketches definition, depth, and details you won’t be able to achieve with a pencil. We recommend acid-free, lightfast, waterproof pens that won’t smudge or disappear when buying a pencil.
4. Soft Erasers
You will need to make corrections and adjustments to your drawings. When sketching, you have the freedom to make plenty of mistakes. However, you need a good eraser to clean it without smudging or destroying your sheet. Erasers can also be used to clean pencil lines after a sketch with a pen has been drawn.
5. Brushes
When learning pencil drawings or sketches, a brush will help you control the amount of media, pressure, or texture you must apply. Brushes allow you to carry your lines and give unique marks for a good sketch.
6. Compass, Rulers, and Protractors
Some of the necessary equipment you must carry as an artist includes a compass, ruler, or a protractor. They help you draw circles, curves, and straight lines, take measurements or draw angles. Most beginner sketch drawings recommend starting with a ruler, compass, or protractor before you master using freehand.
7. A Bag
Depending on which sketching type you decide to dive into, you will need a light bag to back your sketching materials. Whether traveling light or not, you need a bag to keep your materials safe and secure.
Thanks to technology, creating incredible sketches on your phones, tablets, or laptops is now possible. Android has made solid grounds in creating software and tools that make beautiful digital artworks. Some of the best sketch apps for androids are entirely equipped and enable artists to explore their creativity.
The Best Sketching Techniques for Beginner
We recommend experimenting with a variety of techniques, each designed to help you unlock your artistic potential and see drawing from new perspectives. Try at least two or three, we are sure you will be interested!
- Continuous Line Drawing: Focus on creating sketches without lifting your pencil from the paper. This technique helps improve hand-eye coordination and encourages a more fluid expression of ideas.
- Hatching and Cross-Hatching: Use parallel lines (hatching) or intersecting lines (cross-hatching) to build texture and shade your sketches. These techniques are great for adding depth and dimension.
- Scribbling: Embrace the freedom of scribbling to add energy and movement to your drawings. It's an excellent way for beginners to explore dynamic expressions and complex forms.
- Stippling: Develop patience and detail-oriented skills by using small dots to create images. Stippling is perfect for achieving gradients and shadows with a unique, textural effect.
- Contour Drawing: Practice drawing the outlines of objects without looking at your paper. This blind contour drawing enhances your observational skills and results in interesting, abstract forms.
- Back-and-Forth Stroke: Master this basic pencil movement to fill in areas with uniform texture. It's ideal for shading and creating consistent backgrounds.
- Smudging and Blending: Use your finger or a blending stump to smooth out pencil strokes and blend them. This technique is useful for creating soft transitions and realistic shadows.
FAQ
Do I Need Any Special Equipment To Start Sketching?
You don’t need any special equipment to start sketching. All you need for pencil sketching for beginners
is paper, a drawing pen, a graphite pencil, a brush, erasers, a sharpener, and creativity. However, when you become a professional, you may need to invest in quality materials like a kneaded or standard rubber eraser, sketchbook, drawing pen in different sizes, and different grades of pencils.
Further Reading: Make Picture Clearer
What Common Mistakes Do Beginners Make When Sketching, and How Can I Avoid Them?
When starting with sketching, beginners make common mistakes that slow down their process and sometimes even frustrate their efforts. Let’s take a look at some of the common mistakes you can make:
- Using the wrong paper: many artists have problems with their drawings. Most times, this problem is a result of a bad paper. A thick printed paper makes sketching even harder, especially for beginners. You must check the thickness of your drawing paper before purchasing it. For drawing papers, it’s recommended that you go for 70 lbs or higher.
- Using Too Much Pressure On Pencil: too much pressure on your pencil will ruin the texture of your paper. Make your sketch more defined, and use less pressure on your paper.
- Scanty Depth: most beginners don't remember to create enough depth in their sketch. Enjoy your sketch process, and place the correct value and shading until you look great. Add lines, contours, and highlights.
- Not Paying Attention to Detail: if you don’t pay attention to details, you will end up with a terrible sketch. Add the right amount of texture and features and pay attention to the facial features, the clothing, etc.: include all the details you will need later in your sketching process.
- Ignoring the Value of Proportions: if you don’t pay attention to proportions as a beginner or a professional, you will end up messing up your sketch and not genuinely representing your thoughts or clients. Measure your proportions and ensure you pay attention to details.
What Are the Benefits of Sketching as a Hobby?
Hobbies are a great way to help you relax and ease stress. They also help visualize your thoughts into a masterpiece and take your mind off a frustrating period. There are several reasons why you should cultivate sketching as a hobby, but here are five of the best reasons we recommend sketching:
1. Brain Development
An excellent sketching skill helps to develop different areas of your brain. Sketching helps you stay focused and pay attention to little details. It develops strategic thinking, a skill you must employ in other areas of your life.
2. Improves Creative Skills
Sketch drawing for beginners or painting sketches for beginners helps to develop creativity. It helps learners or beginners develop a good understanding of art and encourages thinking in a different light. Sketching is a great personal development tool. It helps you learn new ways of doing things.
3. Improves Communication Skills
When you learn to do a sketch, you learn to communicate. You are learning to put an idea into a plan and then a masterpiece later. You are communicating with nature and your thoughts. There are no words in drawing; however, he says many things each time an artist creates art. If you want to sharpen your communication skills, learn pencil drawings.
4. Sketching Brings Relaxation
When you start to flow with your sketching techniques, you will likely experience a level of concentration and comfort. Making abstract patterns, lines, shapes, or colors can help your muscles relax and calm your heartbeat.
5. Boost Understanding
Your understanding is sharpened when you sketch. Since anything can be drawn, you are challenged to imagine the possibilities and the techniques needed to sketch it. You are also challenged to open your mind, understand the situation, and sketch it out.
Read also: Portrait photo editor.


