Short Lighting Photography Techniques
January 23, 2024
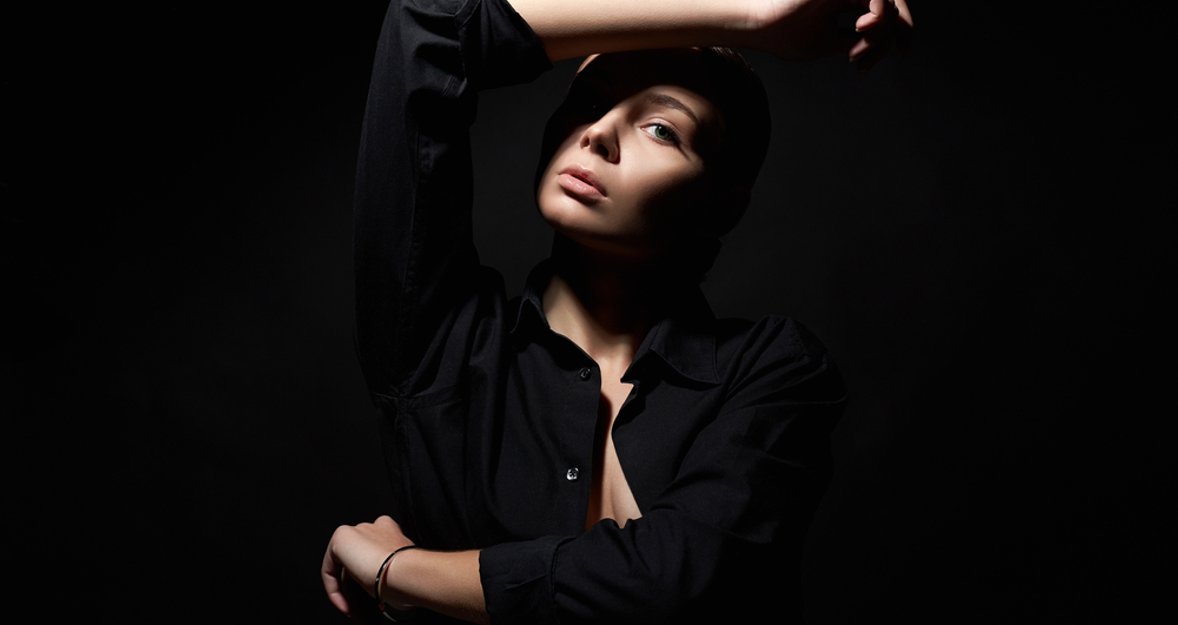
Welcome to the world of short lighting in photography! This technique is like a secret weapon for photographers who want to make their photos really stand out. Think of it as a way to add some serious drama and depth to your pictures. But, you might be wondering, what is short lighting? We'll get to that soon, but for now, just know that it's all about playing with shadows in a really cool way.
In this blog post, we're going to show you how this technique can totally change the game when it comes to your photos. It's not just about making things brighter or darker; it's about using light and shadow to tell a story and make your images pop. Whether you're pretty new to photography or you've been at it for a while, these tips and tricks are going to help you see your photography in a whole new light.
So, let's jump in and start exploring how this technique can make your pictures more dramatic and interesting!
Understanding Short Lighting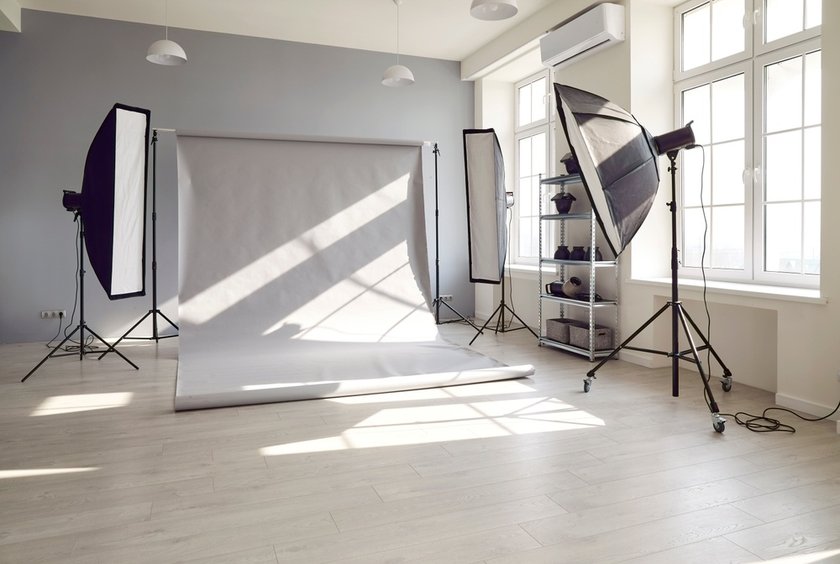
It is a term you'll hear a lot in photography circles, but what does it really mean? It's a style of lighting where the main light source illuminates the side of the subject that is turned away from the camera. This technique creates a unique effect where most of the light falls on the smaller part of the subject's face or body, making the larger part fall into shadow. It's like shining a spotlight on the less obvious side of your subject, which brings out a sense of mystery and depth.
Imagine taking a photo where the light hits the side of a person's face that's slightly turned away from you. This is short lighting in action. It's all about how you position your light - instead of illuminating up the whole scene evenly, you focus the light on a specific part, leaving the rest in shadow. This creates a dramatic look, often with deep shadows and intense contrasts. It's a great way to add mood and character to your photos!
Throughout this post, we'll look at some short lighting examples to help you see the difference it makes in photos. You'll notice how this technique can add a dramatic and professional touch to portraits, accentuating features and creating a compelling interplay of light and shadow. Whether you're capturing a thoughtful expression or a dramatic scene, this technique can be your tool to make those images more impactful!
Comparison With Other Techniques
To really understand short lighting, it's helpful to compare it with other popular techniques. Broad lighting, for example, is the opposite. In this approach, the side of the subject facing the camera gets the most illumination, which can make the face appear fuller. Another method is a butterfly one, where the light source is positioned in front of the subject to create a shadow under the nose that resembles a butterfly.
The Role of Shadows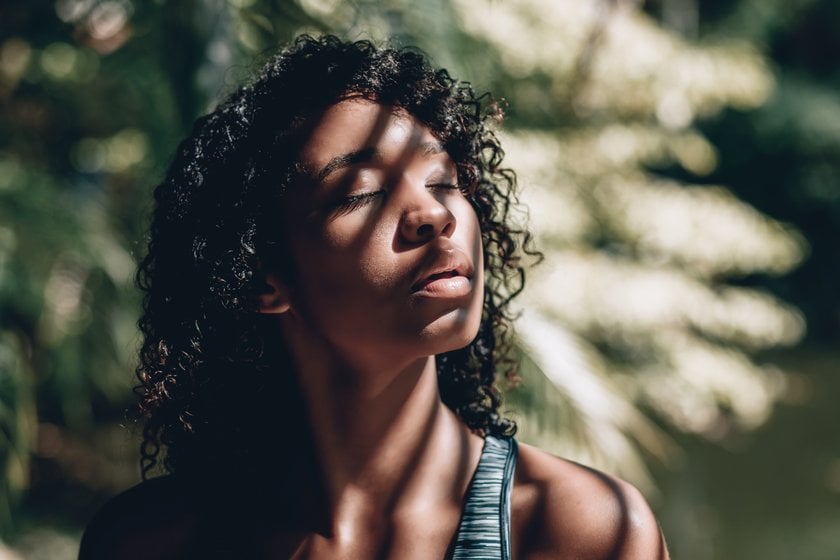
In photography, using shadows is a big deal. It's not just about where the light is but also where the shadows fall, especially in short-lighting portraits. When a photographer changes where the light comes from and how bright it is, it can make the shadows look just right. This is really cool in pictures of people because the shadows can make features like cheekbones stand out, making the photo look more real and alive.
Shadows also change how a photo feels. If you use lots of dark shadows, the photo can look really serious or mysterious. But with lighter shadows, the picture feels softer and calmer. This helps tell a story in the photo or show what someone is feeling, just by how the shadows look.
Discover the Power of AI in Portrait Editing
Dive In Now!Plus, shadows make photos look deeper like you could reach into them. They stop pictures from looking flat and boring, making them more interesting and eye-catching. Getting good at using shadows can really make your photos look amazing and grab people's attention!
Techniques and Tips for Mastering Short Lighting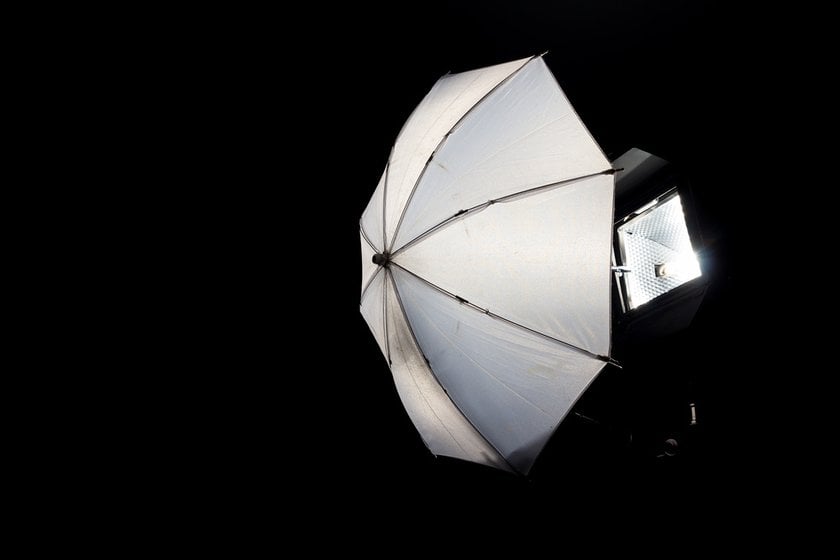
To master this technique in photography, focus on two main aspects: the right camera settings and the correct setup.
Camera Settings
Adjust exposure and ISO settings to capture the contrast between light and shadow. In darker settings, a higher ISO helps, but avoid too much graininess!
Play with the aperture to control light intake, which is crucial for achieving dramatic shadows.
Short Lighting Setup
Position the light source off to the side of the subject, not directly in front or behind. This side light creates the characteristic deep shadows.
Experiment with the angle of the light. Moving it higher or lower alters how shadows fall, adding different moods to your shot.
Have the subject turn slightly away from the light. This positioning highlights the short lighting effect, with one side lit and the other in shadow.
By practicing these techniques in various environments and tweaking your setup and camera settings, you can effectively utilize this technique to enhance the drama and depth in your photos!
Creative Applications of Short Lighting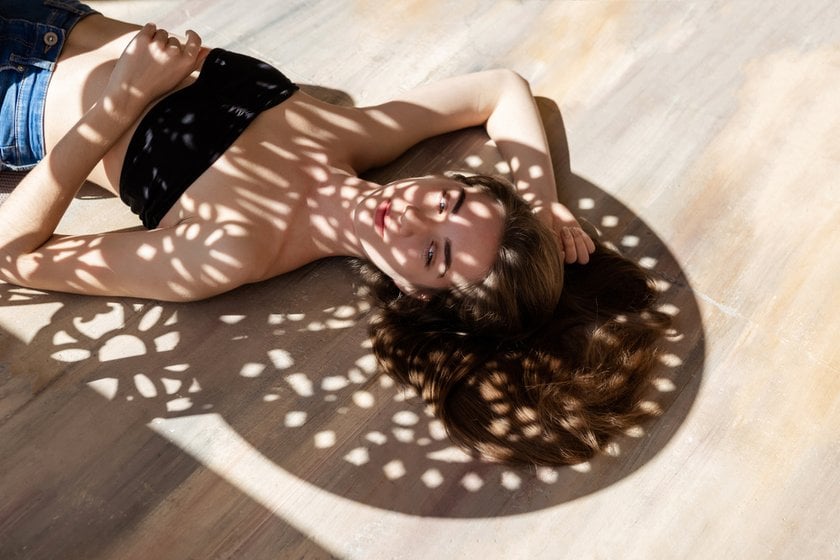
This technique is fantastic for adding depth and character to photos, especially in portraits. It creates dramatic shadows and highlights on faces, enhancing expressions and emphasizing different features.
However, the usefulness of this lighting approach extends beyond portraits. It's equally effective in still life, landscapes, and fashion photography. In still life, it brings out the shapes and textures of objects, making them more visually appealing. For landscapes, it adds a moody and dramatic flair, particularly noticeable during early mornings or late evenings. In fashion photography, this technique helps to highlight clothing details, giving the images a sophisticated look.
Overall, this method is a valuable tool for photographers. It goes beyond simply adjusting brightness, cleverly using light and shadows to bring life and interest to a wide range of photographic subjects!
Enhancing Photos with Luminar Neo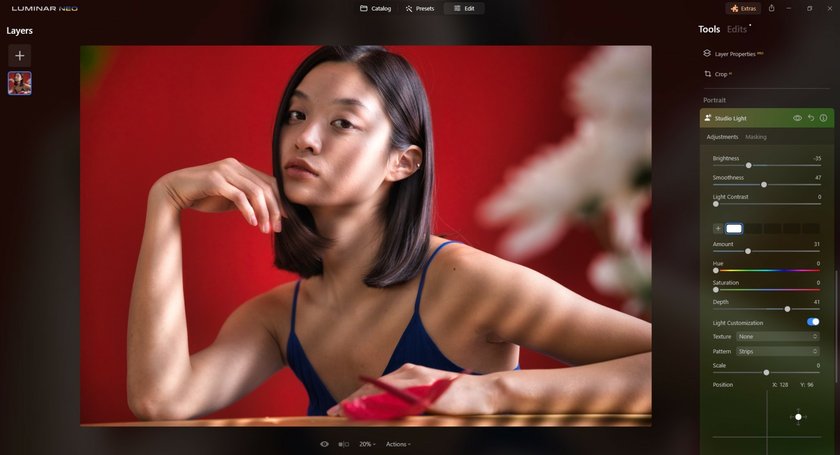
When you use short lighting in portrait photography, editing your photos afterward can make a big difference. This is where Luminar Neo comes in handy. It has a feature called Enhance AI, which works like an image brightener. It's great for illuminating the darker parts of your picture without messing up the cool shadows.
Luminar Neo also has Relight AI. This lets you tweak the illumination in just certain parts of your photo, which is super helpful for getting the balance just right in your portraits.
Master Light in Your Photos with Relight AI
Explore Now!For portraits, Luminar Neo has some awesome tools to make people look their best. For example, Skin AI smooths out the skin while keeping it looking natural. This is really important in portraits where you want everything to look perfect but real!
So, if you're doing photos with short lighting, Luminar Neo can be a big help. Its AI tools make sure your photos come out looking professional and just how you want them!
Wrapping It Up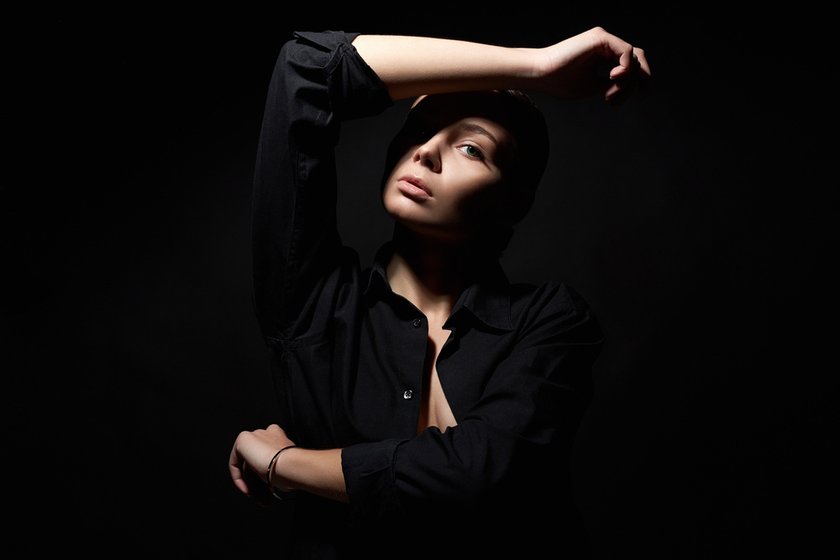
That's all about short lighting! It's a fantastic way to add some extra drama and depth to your photos. Remember, it's all about those shadows and how they can make your images stand out.
If you're enjoying experimenting with short lighting, don't stop there. We've got some other posts that you'll find really helpful. Check out our piece on low- key photography settings for more tips on using shadows and light in your work. It's great for adding mood and style to your photos. Also, our post on nighttime photography is perfect for those who love capturing the beauty of the world after dark. These posts are full of useful tips and tricks that can take your photography to the next level!
So, keep experimenting, have fun with your camera, and make sure to check out our other posts for more photography insights. Happy photographing!


