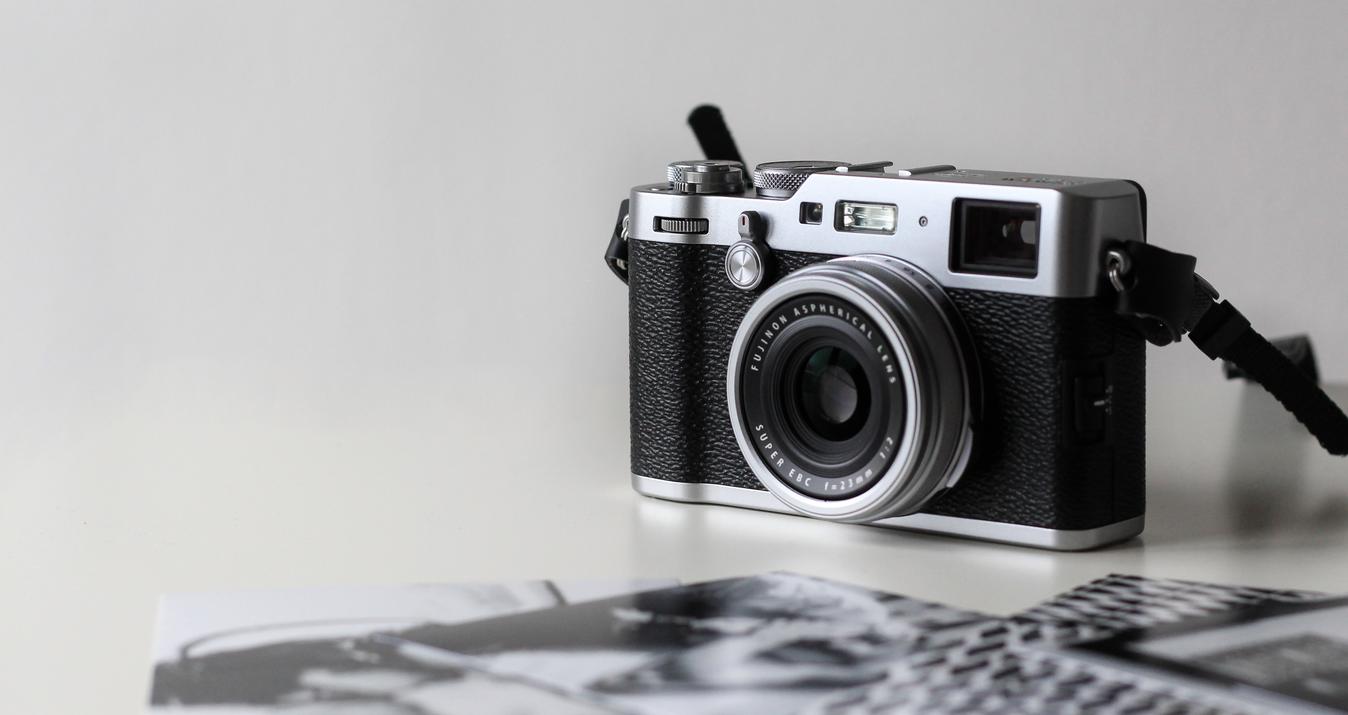
The play of light and structure within a photograph makes the art of photography come alive. It is a delicate balancing act that photographers continually strive to perfect. In the following pages, we will embark on a journey to unveil the art of precision in photography, where we explore the symbiotic relationship between photo structure and light.
We will guide you through the intricacies of good lighting vs. bad lighting, how lighting can profoundly change how subjects are perceived, and how to edit photos with bad lighting.
However, the article is more than a compilation of theoretical knowledge on good and bad lighting photography. It also provides detailed instructions on how to fix bad lighting in a photo during post-processing with the help of an AI-based photo editing software, Luminar Neo, in part its Structure AI tool.
Highlight Details While Keeping the Natural Look
Try Structure AIThe Impact Of Light On Photography

Light is the heartbeat of photography, and it has the power to redefine how we perceive our subjects and ourselves. How does lighting change how you look? What makes you look so different regarding whether you are in a dark or a well-lit place?
Good lighting can easily highlight the subject's best features, smooth out imperfections, and add an overall radiance to your photographs. It can make the difference between an average shot and an extraordinary one. Bad lighting, on the other hand, can be a challenge. It can cast unflattering shadows, distort colors, and hide the details you want to capture.
That is why lighting is a primary concept for photographers to study to master this art.
Manipulating Light Direction and Quality
Your responsibility as a photographer should be to take control of the situation regardless of the lighting conditions. You need to assess the available natural or artificial light and consider how it interacts with your subject.
One key factor that shapes how you or your subjects appear in photographs is the direction of the light source. When there is a light from above the face, it can create fascinating effects. Portrait photographers often use it to emphasize specific features while casting subtle shadows on others. This lighting direction can accentuate cheekbones, add depth to the eyes, and create a flattering glow on the skin. It is particularly popular in beauty and fashion photography, where highlighting these details is essential.
On the other hand, hard shadow photography takes a different approach. It plays with strong contrasts, casting distinct and sharp shadows. These shadows can add drama and a sense of mystery to your images. Think of a dramatic silhouette against a bright background. It is the effect that can turn an ordinary subject into something extraordinary.
Tools, Timing, and Techniques for Perfect Lighting
Soft, diffused light, such as during the golden hour, is ideal for portraits as it creates a gentle, even illumination that flatters your subjects. In contrast, harsh, direct sunlight can cast unflattering shadows and distort colors.
Understanding the color temperature of light sources is crucial. Natural daylight has a balanced color temperature, while artificial light sources may have warmer or cooler hues. Adjusting your camera's white balance or using color-correction tools in post-processing can help ensure that colors appear natural.
Use reflectors, diffusers, or softboxes to control and modify light. Mirrors can bounce light onto your subject to fill shadows, while diffusers soften harsh light for a more flattering look.
The time of day plays a significant role in achieving good lighting. Early morning and late afternoon are called golden hours for their warm, soft, and directional light. Experiment with different times of the day to find the right lighting for your specific subjects.
How you position your subject within the frame can also impact lighting. You can create dynamic and visually striking images using techniques like backlighting or framing your subject to catch the light in specific ways.
Pay attention to shadows in your composition. They can add depth and drama to your photographs. However, controlling and managing them is essential to avoid unwanted distractions or harsh shadows on your subject.
How To Edit Photos With Bad Lighting?

You might think, "What if I encounter unfavorable lighting conditions?" To address bad lighting, it is crucial first to identify the common issues that may arise. These issues include harsh shadows, unwanted reflections, overexposure, or underexposure. Each problem requires a specific approach for correction; recognizing them is the first step to finding a solution.
For instance, if you have underexposure and overexposure issues affecting the overall contrast of your image, highlights, and shadows, you need to adjust the exposure while editing. If lighting affects colors in your vision, you should bring back vibrancy and tone using color correction. And if something significant remains in the shadow, while unimportant details are in the spotlight because of bad lighting, experiments with a structure can save your picture.
The negative impact of lighting on your pictures can be easily eliminated during the post-processing stage, especially if you have a good photo editing tool and know how to use it properly. Below, we introduce you to the Structure AI feature of Luminar Neo and provide a guideline on how to fix bad lighting in a photo with it.
Your Tool for Revealing Photo Structure Effortlessly
Discover!Using Structure AI From Luminar Neo
Structure AI is a feature that identifies the underlying structure of your image, understands the subject's core, and brings out those details without compromising the overall integrity of the shot. It enhances textures, patterns, and nuances, keeping the main subject clear, which makes it particularly useful for hard shadow photography.The process begins by identifying areas within the image that could benefit from a boost in structure. Whether you want to edit the fine lines in a landscape, the texture of a subject's clothing, or a close-up portrait lacking light from the above face, artificial intelligence is here to give you a helping hand. It defines the elements that require editing and changes selectively, enhancing these areas while leaving your subject's features untouched. Let's master this magic step by step.
Utilizing Structure AI: A Brief Guide

Step 1. Import your photograph into Luminar Neo, and ensure you've selected the “Edit” mode. You can find Structure AI in the “Enhance” or “Creative” section of Luminar Neo's editing tools.
Step 2. Structure AI allows you to control the intensity of the effect. Start with a subtle adjustment, then gradually increase it until you achieve the desired level of detail enhancement.
Step 3. Luminar Neo's Structure AI comes with additional controls such as “Boost,” “Structure Size,” and “Enhance Softness” to refine the effect if necessary.
Step 4. Once satisfied with the result, click “Apply” and save your enhanced image in a preferred format.
With Structure AI at your fingertips, you can enhance the details in your photographs like never before, ensuring that every image tells a compelling story while maintaining the focus on your subjects.
Advanced yet easy-to-use photo editor
GET LUMINAR NEO NOWBottom Line
Lighting conditions can change the way you and your subjects look. We explored the impact of light from above face and how hard shadow photography can add drama and depth to your images. This understanding equips you to adapt and excel in various lighting scenarios.
With the knowledge of good lighting vs bad lighting photography and the tools to address unfavorable conditions, you can create images that captivate and tell a compelling story. Your subjects will be portrayed in the best possible light, highlighting their unique qualities.
As you progress in your photographic journey, remember that Luminar Neo's Structure AI can help unlock your creative potential, reveal the hidden beauty within your photographs, and enhance your storytelling abilities.
In this journey of precision, where photo structure and light converge, you can enhance details without losing focus on your subjects, and the future of photography is brighter than ever.
A Special Perk for Our Blog Readers
Get a 10% discount on Luminar Neo and dive into professional photo editing today!
Thank you for subscribing.
Your gift is waiting in your inbox!


