Mushroom Photography: Gear Up For The Forest Floor
May 08, 2024
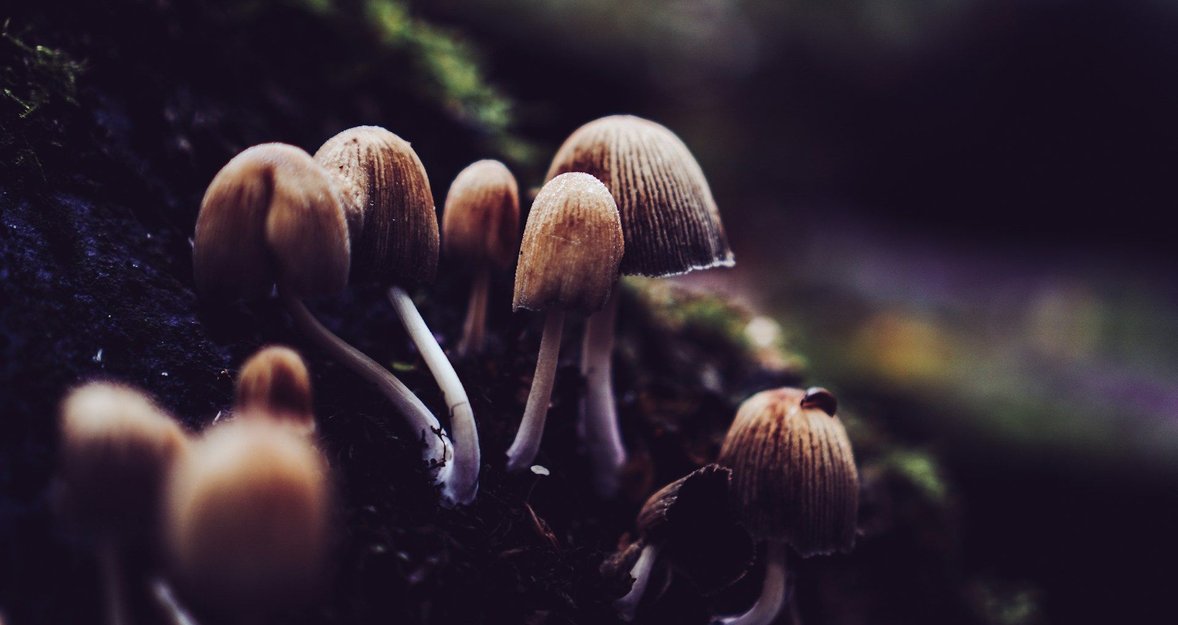
This post is packed with essential tips to capture the stunning beauty of mushrooms. Read on to learn how to bring the vibrant colors and intricate shapes of mushrooms to life through your lens!
Let's dive straight into the world of nature mushroom photography! Mushrooms make great subjects because of their intricate shapes and vibrant colors. This post will help you understand what equipment you need and offer tips for taking beautiful photos of these natural wonders.
Grab your camera, and let's start exploring the art of capturing mushrooms on the forest floor!
Getting to Know Mushrooms
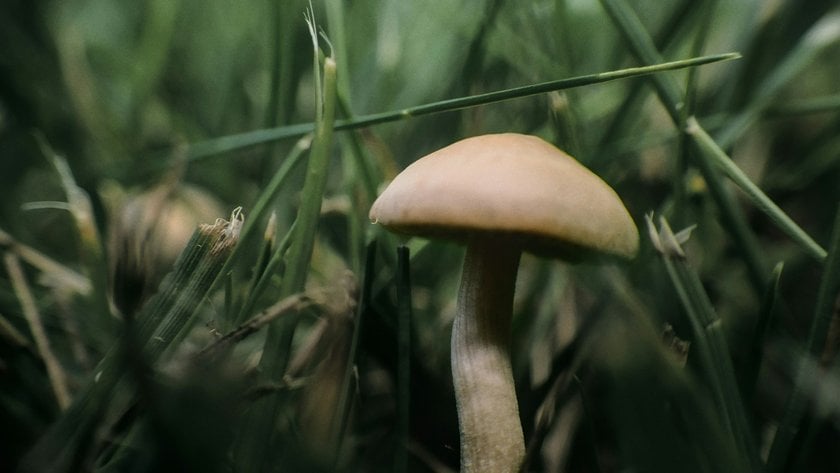
Mushroom macro photography opens up a fascinating world often overlooked: the forest floor's fungi. Mushrooms aren't just typical woodland backdrops; they're ancient, diverse, and incredibly photogenic, sprouting in an array of shapes, sizes, and vibrant colors.
In the cooler, damp days of autumn, mushrooms peak, creating a prime time for photographers to capture their unique beauty. Whether nestled in their natural environment or isolated in a detailed close-up, mushrooms offer a delightful challenge!
This branch of photography doesn't demand high-tech equipment, making it perfect for both beginners and seasoned nature enthusiasts eager to explore these intriguing natural subjects!
Finding Mushrooms
Search in older woodlands. These areas often have a lot of decaying wood and leaf litter, perfect for mushrooms to grow. Always check that the mushrooms are fresh and not damaged by slugs or insects. Remember, fungi can appear and disappear quickly, so visiting these spots often during the mushroom season is a good strategy. The scene can change daily, offering new opportunities each time you visit!
Understanding these aspects will help you find and photograph mushrooms in the best conditions, increasing your chances of getting compelling images.
When to Take Mushroom Photos
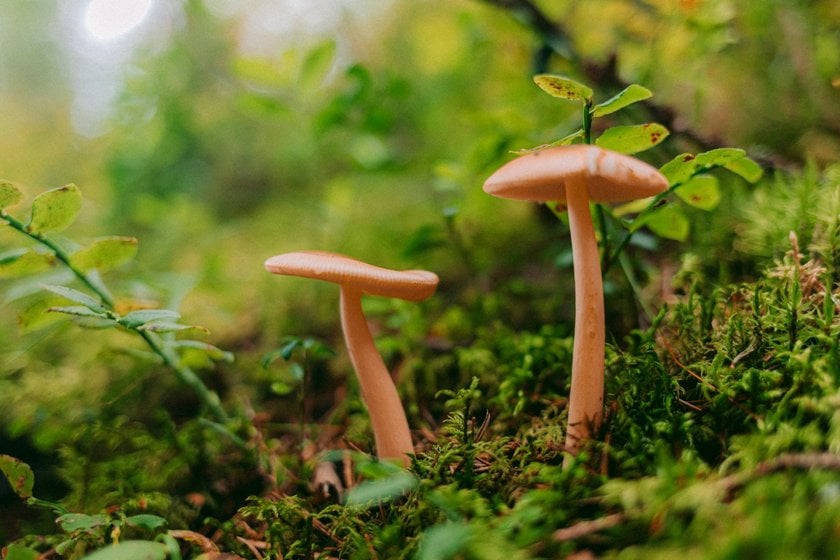
Timing is crucial for capturing great photos of mushrooms!
Best Light for Mushroom Photos
Shoot early in the morning or late in the afternoon. The light is softer, which helps show off the mushrooms' details and textures without creating harsh shadows.
When to Find Mushrooms
Mushrooms are most abundant in autumn. This season is your best bet for finding a wide variety, including unique types like fly agaric, waxcaps, and puffballs. The moisture and cooler weather help fungi thrive.
How Rain and Dew Elevate Your Photos
Rain and dew make mushrooms look more vivid and add droplets that enhance the photos. These elements can bring out the colors and details of the mushrooms, making them stand out.
What Equipment You Need
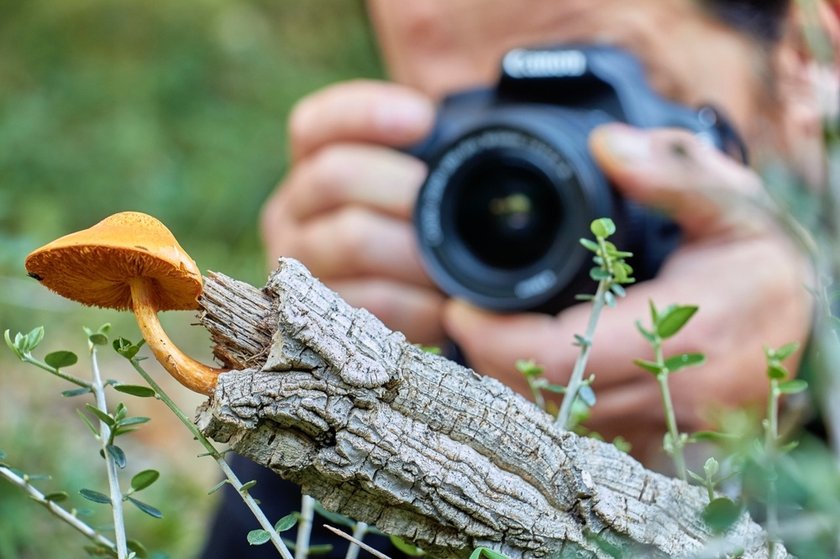
For fungi photography, the setup need not be complex, yet certain tools can greatly improve your results.
Types of Cameras
Feel free to use any camera you like, be it a DSLR or a mirrorless; for help deciding between them, take a look at our detailed comparison post.
If mushroom photography with your iPhone intrigues you, we've got a post full of tips to enhance your shots. Remember, the best camera is the one you feel most comfortable with, and great photos don't always require professional gear!
Lenses
Macro Lenses: Optimal for close-ups; a 100mm macro lens works well generally, but a 200mm lens like the Nikon 200mm f/4 micro gives more distance and a unique perspective.
Wide-Angle and Telephoto Lenses: Good for larger species or to include more of the environment.
Accessories
Tripods: Essential for stability, especially in low light. A tripod like the Gitzo Systematic is ideal as it can position close to the ground.
Reflectors and Diffusers: Useful in dark woods to lighten shadows and even out light on the subject.
LED Lights: Small lights, such as those from Manfrotto’s LUMIMUSE series, are great for adding creative lighting effects.
Remote Shutter: Helps avoid camera shake during long exposures.
Groundsheet: Keeps you and your gear dry and clean in damp conditions.
Blower Brush: Useful for cleaning off dirt from mushrooms before shooting to avoid lengthy editing later.
These items help you take detailed and creative photos of fungi. You don't necessarily need the accessories, but they can make your photos look more professional!
Top 8 Cameras for Macro Photography in 2025: Choose the Best!
Learn moreTechniques for Capturing Outstanding Mushroom Photos
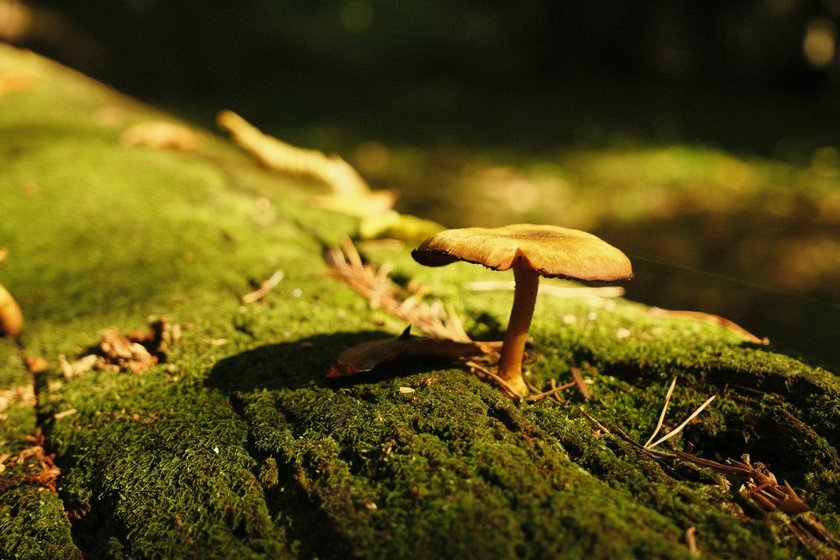
So now we've covered everything about mushrooms, from where to find them to how to photograph them. Let's dive into some little tips that can really make your pictures stand out!
Tip 1: Set Up Your Shot
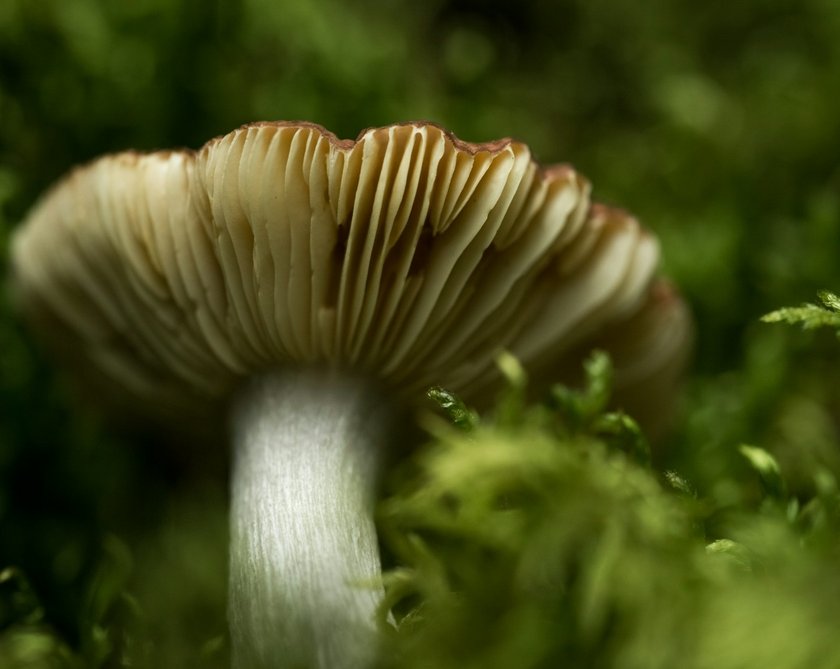
Choose the Right Angle: Often, a low or worm’s eye view works best, especially to highlight the gills of a mushroom, which look striking when backlit by sunlight or an LED light.
Use Technology to Your Advantage: If your camera has LiveView with a tilting monitor, use it to comfortably compose shots from low angles without needing to bend awkwardly.
Tip 2: Master Lighting Techniques
Manage Light Under Canopy: Natural light is usually scarce under dense forest canopies where mushrooms thrive. Using a small reflector or an LED light can help illuminate the mushroom evenly, which is especially important for low angles that may leave caps well-lit and stems in shadow.
Natural vs. Artificial Light: While flash is an option, manipulating natural light with reflectors or portable LED lights allows for more control and can prevent the harshness associated with flash.
Tip 3: Focus on Details
Depth of Field Challenges: Close-up shots often struggle with shallow depth of field. An aperture around f/8 can generally provide a good balance of focus and background blur. However, adjust based on the mushroom's shape and your desired effect.
Focus Stacking: For more complicated subjects or to achieve greater depth of field, consider focus stacking. This technique involves taking multiple photos with slightly different focus points and merging them in post-processing to create a single image with a greater depth of focus.
Tip 4: Take Creative Approaches
Exploring Perspectives: Try shooting from different angles, such as directly upwards or positioning the camera at ground level, to capture unique views that emphasize the fungi's environment.
Simplifying Compositions: Isolate one or two mushrooms rather than a cluster to keep the photo simple and focused. Use a shallow depth of field to blur the background and make your subject stand out.
Playing with Colors and Light: Experiment with how light plays on the colors and textures of the mushroom. This can lead to vibrant and dynamic images that pop.
Preparing the Scene
Ensure the background is clean and free from distractions by removing any unwanted elements like twigs or leaves. This helps keep the focus on your subject and makes the image aesthetically pleasing.
Editing Your Photos with Luminar Neo
After capturing your fungi photos, you'll likely notice that zooming in to get those detailed shots can sometimes reduce the quality of your images. Luminar Neo's AI upscale photo feature can help with this. It improves resolution by analyzing and enhancing missing details, which sharpens the overall image and makes your close-ups look clearer!
Luminar Neo also offers an AI image sharpener, perfect for refining the clarity of your pictures. This tool sharpens the edges and contours, making your photos appear more defined and vivid. Whether your image is a bit blurry or just lacks some impact, the sharpener adjusts the detail to highlight the intricate textures of your mushrooms.
To use these features, simply download the Supersharp AI Extension from Luminar Neo's Extras tab. Then, go to the Edit tab, select Supersharp AI, and choose the settings that best suit your photo - whether you need to correct general or motion blur. You can also adjust the sharpening strength to your liking.
Advanced yet easy-to-use photo editor
Get Luminar Neo NowConclusion
We hope this guide helps you get started with mushroom photography! As you explore the forest floor and capture the stunning details of mushrooms, remember to respect nature! Be careful not to damage their habitats. Enjoy taking beautiful photos and remember, preserving the beauty of nature is just as important as capturing it.


