People Photography: Useful Tips For A Great Pics
August 18, 2023
We used to trust professional photographers with important moments of life like weddings, graduations, or family portraits. Today, many people choose to make some magic themselves with the camera. And you know what? This is a great idea!
Did you know that stats say that one out of three people who shoot for fun eventually make it a career? It happens because digital technology, quality equipment, and online resources are all available. But where to start?
What to do with the fear of taking the “first picture?” So, how do you make portraits evoke emotion instead of “just fine”? If you want to begin photographing people, learn to take them correctly, and create real masterpieces, then this article is for you.
We'll also cover how to find your style, where to place your model, how to interact with light and lenses, and avoid some common rookie mistakes. Are you ready to learn the tips for photographing people that will help you create unforgettable portraits? Let's continue.
Photography: The Beginning and Importance of Composition

The first picture, “View from the Window at Le Gras,” using a heliographic process, was created in 1826 by Joseph Niepce photography. Through the years, portrait photographers like Julia Margaret Cameron, who was celebrated for her intimate and emotive Victorian portraits, Yousuf Karsh, who was famous for his powerful and dignified pictures of historical figures, and Annie Leibovitz whose intimate celebrity portraits, helped create photographic art as something respected.
Photographic composition is also important. It guides the viewer's eye, highlights the main element, and offers harmony within the frame. You can use such techniques as a rule of thirds, symmetry, and diagonal line, regardless of light balance. Treating these principles helps you to make boring people's photography moments exciting.
You may also like these top 10 movies for a better photography perspective.
How to Position the Model Correctly
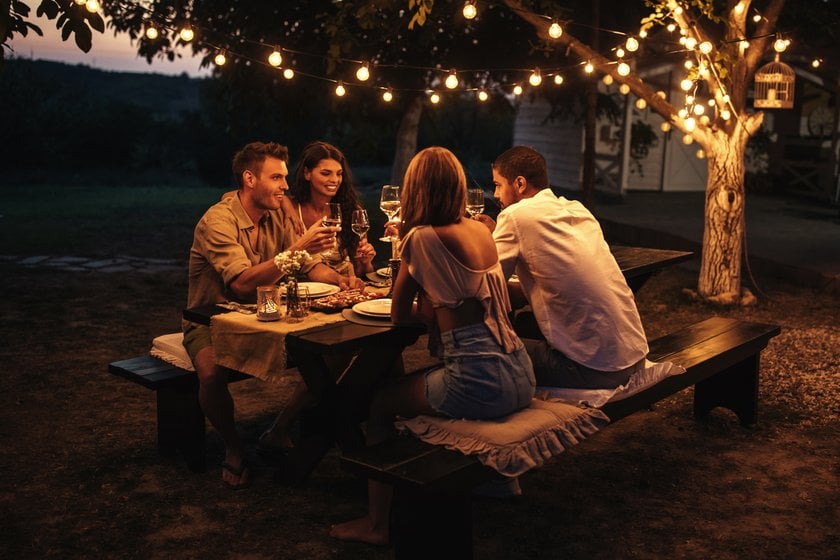
How you place a model in portrait photography makes all the difference. A simple change in a shot's pose, angle, or posture can make that simple shot great. The positioning helps to establish the mood and overall story of the image. How to shoot people correctly?
Follow the rule of thirds. Mentally divide the frame into nine equal parts. Put the model in one of the lines or the intersection point, focusing on the main object.
Emphasize naturalness. Ask the model to move, laugh, look to one side, or look directly at the camera. The pictures will look much more lively and relaxed.
Consider posture. Have the model keep her arms natural and lean her shoulder slightly towards the camera or the other way.
Even the experienced photographer has had his “first steps” and portrait mistakes. The most fundamental thing is not to fear; learn from them.
Practical Tips for Beautiful Portraits

Photography is experimenting with different techniques to see what works best for you. Posing, lighting, and composition can transform a normal shot into something fantastic. So, don't be afraid to try new things, see what angles work well, and use color harmony to improve your picture. These practical people photography tips will help you to create your own unique style.
Lighting: The Basis of a Good Photo
No matter how expensive your camera is, it will ruin a good shot without the right lighting. Soft, natural light will always be the best assistant. Shoot in the morning or evening, called “golden hour.” If you are indoors, put the model by a window. It will softly light the face of your model. Bad lighting can either make the face too harsh or too dark, rendering all the details and texture of the face lost. Remember to edit portrait photos to highlight what you have seen in the frame.
Camera Settings
Before getting into “how to take pictures of people,” you must properly set up your camera. Below is a handy table with key parameters and tips to get you beautiful, professional-looking portraits without effort.
Parameter | Recommendation | Explanation |
Shooting Mode | Aperture Priority (A/Av) | Controls the depth of field, blurs the background, and keeps the subject in focus. |
Aperture (f/) | f/1.8–f/4 | Blurs the background, emphasizing the subject. |
Focusing | Single-point autofocus on the eyes | Ensures sharp focus on the main subject. |
ISO | ISO 100 (sunny day), ISO 400–800 (low light) | Lower values reduce noise in the photo. |
Shutter Speed | 1/125 or faster | Prevents motion blur. For dynamic scenes, use 1/250 or higher. |
White Balance | Automatic (AWB) or adjust for specific lighting conditions | For example, "Daylight," "Cloudy," and "Fluorescent lighting." |
File Format | RAW | Provides more editing flexibility compared to JPEG. |
Exposure Compensation (+/-) | +0.3 or +0.7 | Prevents underexposed portraits by slightly brightening the frame. |
However, after the photo shoot, you can always add some retouching to your shot with a powerful tool, Luminar Neo.
Background: Choose Minimalism
First, you need a clean background if you want a good portrait. A neutral background allows you to concentrate on the model without any noise. Don't have bright things behind that will pull the focus. For example, a wall, the sky, or a uniform backdrop landscape would provide a perfect background for your photo and accented the central frame object.
After you take a photo, the next thing to do is edit it with a bokeh effect added to the background to blur the background softly, make the subject pop out, and create depth to the photo. Bokeh is a term used to describe the aesthetic quality of the out-of-focus areas in a photograph, and it can add a professional touch to your portraits.
Work with Lenses
The 50 mm lens is great for indoor and outdoor shooting. You get realistic proportions, and the portrait looks closer to the eye. In its turns, 85 mm allows us to create more depth in the portrait, accentuate the facial features, and give a good background blur (bokeh) using the wide aperture (f/1.2–f/2.8). Consider the distance to the model: at 50 mm, you must stand close, whereas 85 mm would work nicely from far away.
Add Dynamics
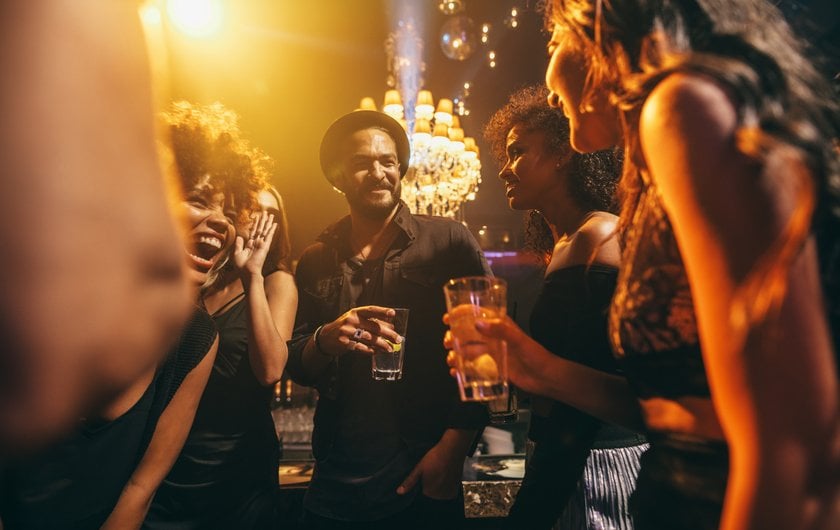
Want to know how to take good photos of people? Let the model walk slightly, dance, turn to the camera, or let her hair down. Motion can intentionally create a blur, making the shot feel dynamic and expressive. A moving model renders a static image into a full, energy storytelling object with depth and emotion.
To freeze motion, you require a “fast” shutter speed, typically 1/500 seconds. To get the motion effect (blurred background, moving hair, etc.), use the slower shutter speed of 1/250 or 1/125 second. With this, you can get an interesting blur of the movement while keeping the focus on your model.
Color Harmony
Pick the model’s clothes to blend with the background organically. Warm colors (yellow, orange, red) will go well in natural landscapes — on greenery or in the sunset background. Cold colors (blue, green, purple) suit urban environments and look good against concrete, graffiti, or architectural elements, causing contrast and a modern look.
A monochromatic color scheme is the variation of one color, such as light blue, medium blue, or dark blue. So, out of the entire shot, this creates a cohesive, soothing effect. Minimalist or artistic portraits sometimes use monochromatic color schemes to keep things focused on the subject rather than the mixed colors.
Editing: The Finishing Touch for the Perfect Portrait

You have the most flexibility when working with images as RAW because this format retains much detail and information lost in the JPEG image. With this, you have more control over highlights, shadows, and those little details, which means you can make adjustments without losing quality.
To make the portrait more vibrant and deep, experiment with exposure, contrast, and black levels, which can be fine-tuned. You can modify the highlights and shadows. To strengthen the mood, noise or a vignette can be added to draw attention to the subject, heightening interest, intimacy, or drama. In portrait photography, retouching skin is necessary to smooth blemishes and imperfections.
Final Bottom
Images with strong composition and framing are 60% more likely to be judged as “professional quality” by viewers. Simple techniques, such as the rule of thirds, focusing on the eyes, and avoiding having the background compete with the model, can help.
Don't be afraid to experiment with various settings, poses, and compositions. With practice and time, you will develop your style and produce beautiful portraits that match reality, telling each person a story.
Now, you are armed with a few basic tips and technical knowledge, which is why it’s time to get to work. Shoot, practice, experiment – each one becomes a step towards improvement.


