How to Edit Your Milky Way Photo with Luminar
July 27, 2018

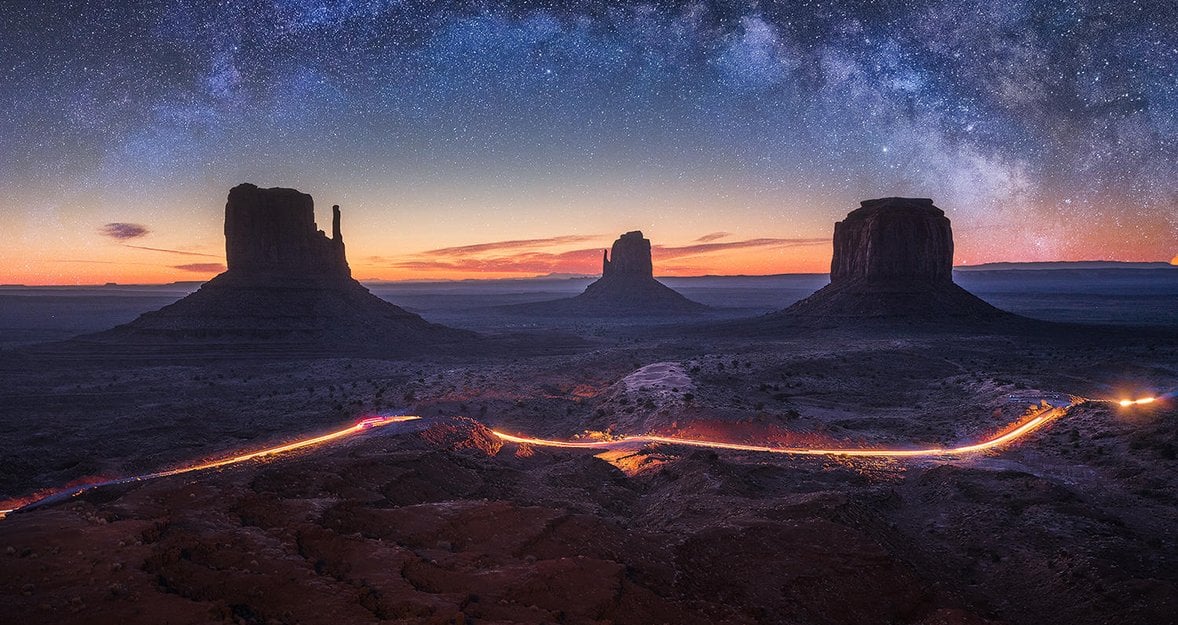
Photographer Sherwin Magsino shares his process when editing Milky Way images with Luminar.
Capturing the irreducible beauty of the Milky Way flawlessly is hard enough, but every good photographer knows that's only half the battle. Small tweaks must be made in post to really create the perfect shot, to bring out not just the details but also the colors that your camera hasn't managed to reproduce quite right. The trick is to make it as spectacular as it appears to the naked eye while still looking as natural as possible.
To give you a few tips, we've enlisted the help of landscape photographer (and our MEGA photo contest winner) Sherwin Magsino to share his process when editing Milky Way images with Luminar.
Picking a Preset
One of the things I really love about Luminar is the fact that you get a few presets out of the box. They’re all customizable and non-destructive. In fact, the first thing I do after I open up my raw file in Luminar is to check if there is a preset that I can use as my starting point.

Note: If you don't see the Preset panel when you open up Luminar, just click this icon in the upper right side of the panel to toggle the preset bar.
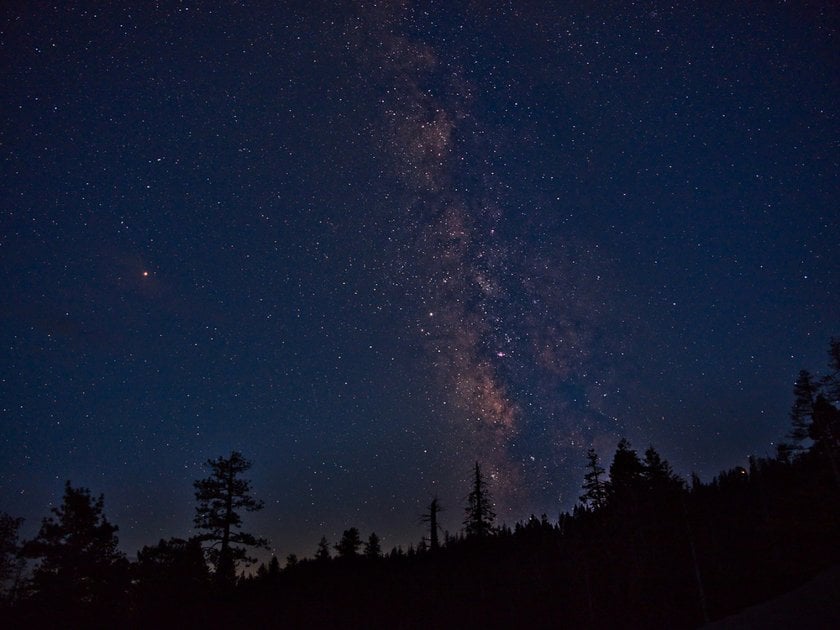
As you you can see, the Milky Way shot I am working with, shot at f/4.0 for 15 seconds at ISO 1000, is underexposed and needs a lot of work to bring out the details in the RAW file.
The first part of our workflow is to try different presets from the preset panel to see which one works best for this image. In this case, the image looks best with the Image Enhancer preset so we’re using it as our starting point. Notice that it only takes us less than a minute to prepare this Milky Way shot for further editing.
All presets are fully customizable in the Raw Develop module. We can also change the preset intensity with the Amount slider. In this case, however, we will leave it as is.
 All the presets and filters you apply to your images are all non-destructive and fully customizable. With Luminar, all edits are being stacked in the Raw Develop module (right side panel tab) so you can effortlessly re-edit or even revert back to the original setting with just a click of a button.
Bringing Out the Details
Now that we have a good starting point, we need to work on bringing out details in the Milky Way. We want to make localized adjustments specifically in the Milky Way area. To do so, we’re adding a New Adjustment Layer and a Radial Gradient Mask.

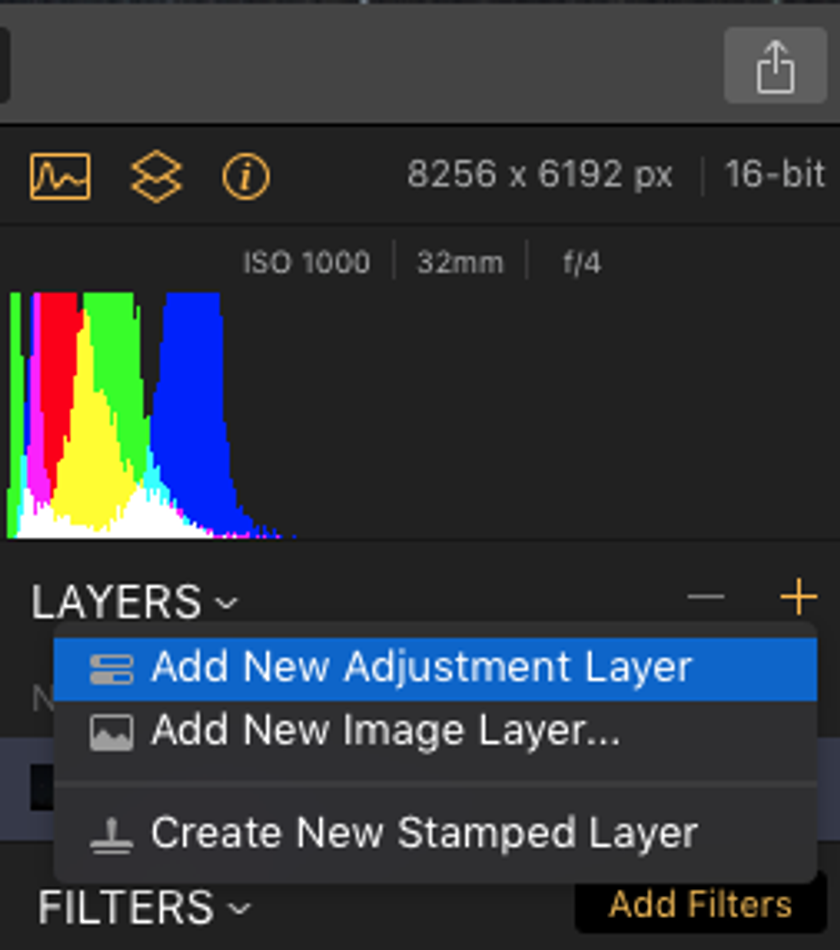
 To add an Adjustment Layer, click on the plus sign under the Histogram. To add a Radial Gradient Mask, click the brush icon in the adjustment layer and add a Radial Mask.
 Let’s then create a mask by drawing a circle around the whole Milky Way. We can easily adjust the size and shape of the Radial Gradient Mask by clicking and dragging the four control points. We also want to make sure to click on the Invert button so that when we add a filter, the only affected part is inside the mask.
 Now let’s add our filters. To add one, we want to make sure that the adjustment layer is selected before we click the Add Filters button in the side panel tab to bring out the Filters Catalogue and add a filter.

Accent AI Filter
One of my favorite filters in the catalogue is the Accent AI Filter. It analyzes your images and makes smart adjustment using artificial intelligence. Let’s add it, setting the Boost to about 20 to bring up the brightness a little.
Structure
This filter enhances the clarity and micro-contrast in surface areas between edges detected in an image, improving perceived detail and making your photos stand out. Let’s add this filter and set the Amount to 30, Softness to 60 and Boost to 90.
Details Enhancer
The Details Enhancer will enhance details to the Milky Way, adding sharpness without halos or extra artifacts. We’ll set Large to 70.
Cleaning Up the Image
Now for our final step, let’s clean up the image by reducing the noise. To do that, we’re adding another Adjustment Layer then creating a Radial Mask and drawing another circle around the Milky Way.
This time, however, we’re adding the Denoise filter, targeting everything outside the Milky Way. Under this filter, let’s set Luminosity to 90.

What I love about the Filters Catalogue is that it’s presented in a well-organized manner. You can learn what each filter does by hovering over it. You can also mark your favorites and use the search box to quickly find the filter you’re looking for.
Remember that all edits you make are all non-destructive, so if you feel you’ve gone overboard with your edits, you can easily go back to each filter and re-adjust the settings or you can use the Filter Amount slider to minimize the overall effect of a specific filter.
Conclusion
Post processing a Milky Way can be a daunting task. While there is no correct way to edit Milky Way photo, using the right tools can make a big difference and can even save you a good amount of time.
That’s what makes a photo editing program like Luminar stand out from the competition. From its intuitive user interface and powerful filters to its layer support and non-destructive editing, I was able to get beautiful results in less time.
For Inspiration


 About Sherwin Magsino
My interest in photography began when I was introduced to Instagram almost four years ago. Seeing others' work inspired me, and I began using just my iPhone to shoot anything that interested me. Then I found out that not every shot can be achieved with just a simple camera. I wanted more. I wanted to create and show my vision to others. To do so, I knew I needed a capable camera. When I got my first camera, I just started learning and just progressed from there.
Sherwin Magsino specializes in commercial photography with a focus on cityscape and landscape photography. Follow Sherwin Magsino's photo adventures on Instagram or check out more of his amazing work on his website.


