Creating and Replacing Portrait Backgrounds
September 15, 2017
Have you ever wanted to replace an unsightly background in a portrait? Learn how to create your own and apply it easily in this article.
One of the challenges faced by portrait photographers is finding the right backdrop. In the studio, it might be a simple matter of selection. Unfortunately, not everyone has access to that. What’s more, if you’re shooting outdoors or on location, things can get a bit more difficult.
This article is for those situations when the appropriate backdrop isn’t available. First, we’re going to explore some ideas for creating your own improvised backgrounds. Then, we’ll look at how to replace an unsightly portrait background with one of your own.
Working with What’s Available
There are times when the “right” background is right in front of you, but you’re not seeing it with your creative eye. Instead of thinking about removal first, consider how you can make it work with your subject. Here are a few simple examples:
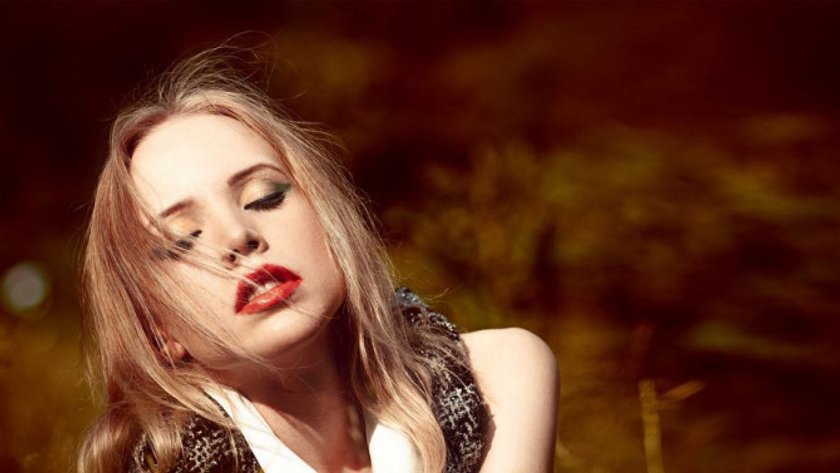
Widen your aperture: Shallow depth of field may be all you need to make a cluttered background interesting. This works best with longer focal lengths, but will work even with a wide-angle lens. The trick is to get close to your subject and put as much distance as possible between them and the background. Select a wide aperture, focus carefully on your subject and let the background blur out.

Overexpose it: A bit of creative metering can work wonders. Place your subject in front of something bright. The sky or a window may work well, or you can use anything that reflects or transmits a lot of light. Using spot metering mode or manual, set your exposure for the face of your subject and let the background blow out.
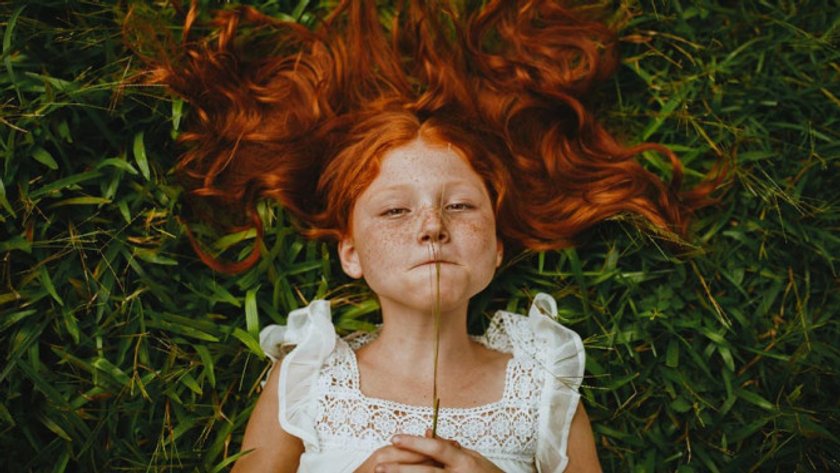
Get Close to it: If you can’t get a nice, full backdrop, take a closer look. Moving your model closer to something with good color and/or texture might be the answer. Be sure to watch out for unwanted shadows on both the model and the background.
These are only a few possibilities. The point is that the easiest portrait background is the one that’s there. Use the surroundings if you can.
DIY Backgrounds
When there’s just nothing else available, why not create your own? A little bit of imagination will go a long way here, but here are a few simple ideas to help kick-start your creative processes. Keep in mind that these can be done on location or separately for use as a replacement.
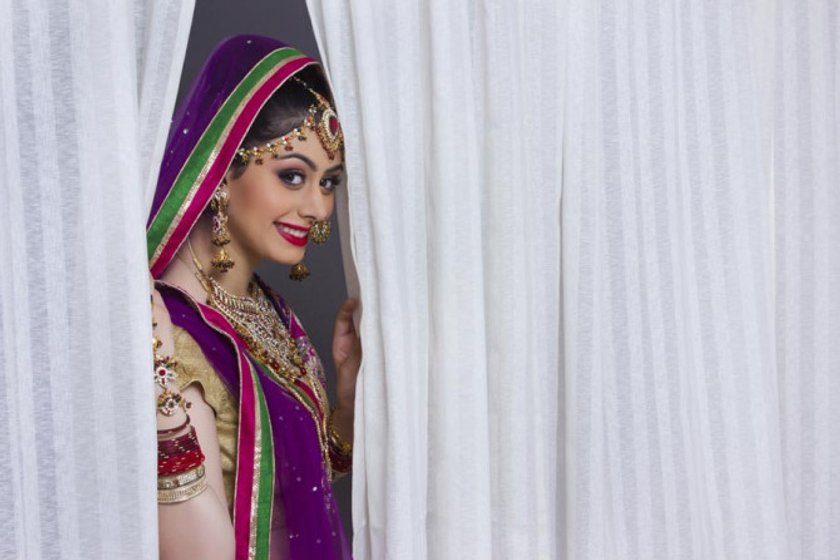
Sheet Fabrics: Inside or out, this is always a good place (and one of the most obvious) to start when creating a background. Drapes, sheets, remnants from craft shops and other sources will work. Mix and match, arrange, crumple, fold and otherwise manipulate the material as needed. No support? No problem; use heavy twine, a rope or a clothesline.
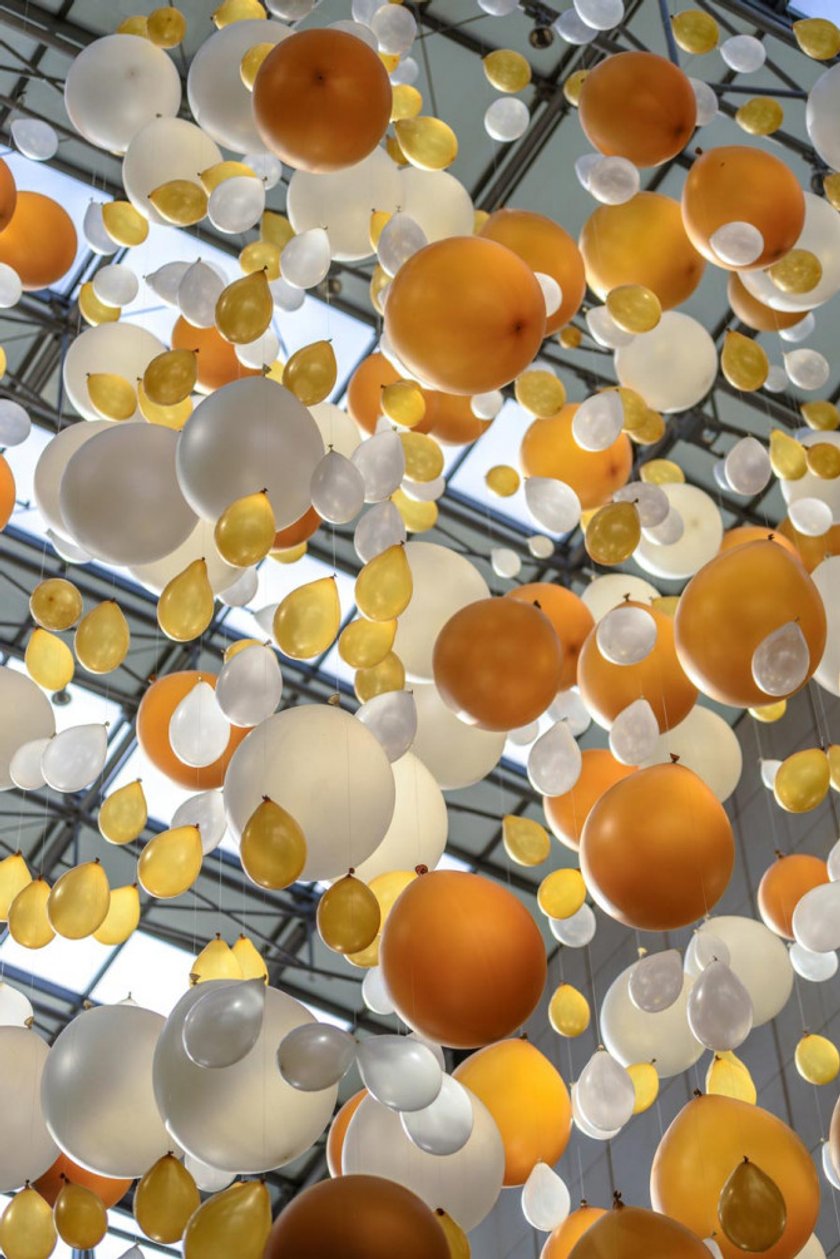
Balloons and/or streamers: If you want bright colors and portability, this idea is hard to beat. With some tape and a bit of lung power, you can have a festive backdrop in no time. Stick them to a wall or dangle them from a piece of fishing line and, “Voila!”

Lights and Bokeh: This one is a real crowd pleaser. Arrange Christmas lights, rope lights or other pinpoint sources against an open or dark background. You can also dangle CDs or other reflective sources and direct a very strong light source at them. Step back and shoot with your lens wide open, focusing on a point in front or in back of the lights.

This can be “jazzed up” by cutting or tearing a small hole in a piece of card stock , then taping that over the front of your lens. The resulting bokeh will take on the shape of the hole.
Last, but not least, you can deliberately photograph any other background ideas so that they’re out of focus. Try it with the balloons or fabrics for some interesting effects!
Replacing Backgrounds
Now that you’ve got some ideas for backgrounds, let’s take a look at how to replace one. It’s not as difficult as it sounds with the right software and techniques.
The trick, of course, is to make the change look natural. As you’re probably aware, layers and masking are the keys to making that happen, allowing you to “paint out” the existing background and retain the subject. Portraits can be tricky, though, because of fine details like hair.
Luminar and a few tricks can make your life a lot easier for this task. Let’s do a simple background replacement with this portrait:
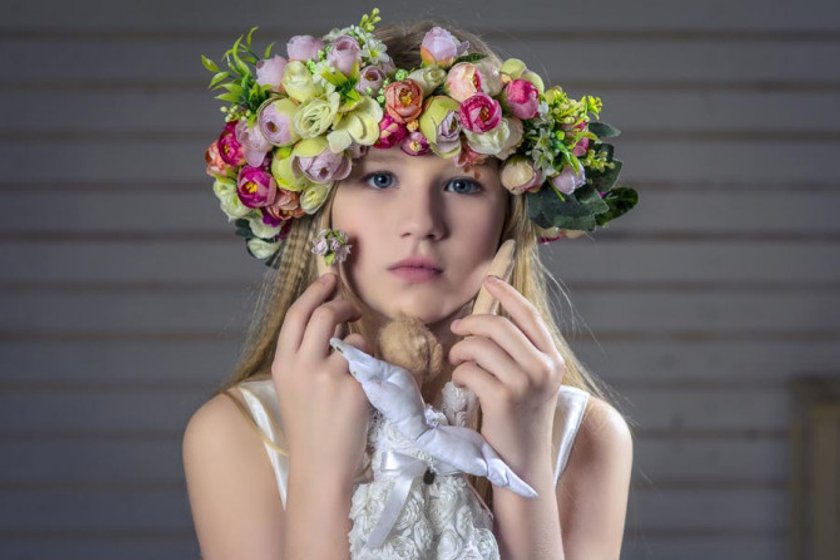
Before we start, we’ll need a background. Let’s use one with lots of “fairy lights”:

Open the original image in Luminar. You can make adjustments to the original with filters and presets at this stage if you like. Next, create a new Image Layer and load your background image. You can leave it on top of the portrait image.
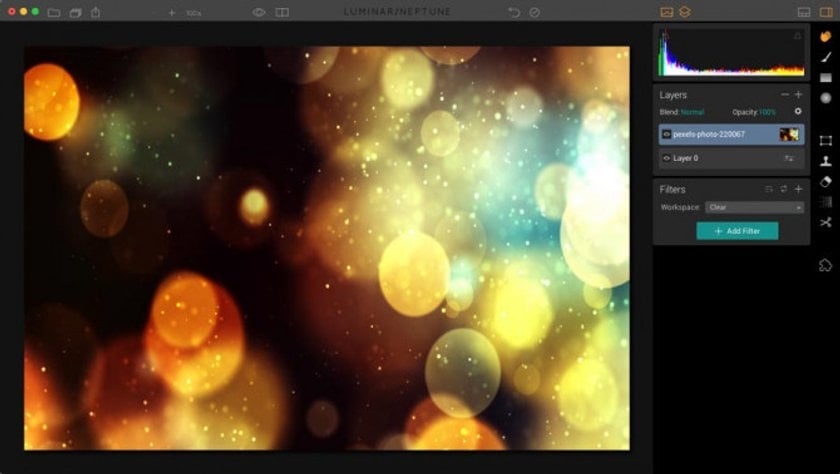
At this point, it’s easier to do your masking if you can see both layers. Reducing the opacity of the top layer will work, but I chose to change the Blending Mode to Difference. You can see where I've started some masking:
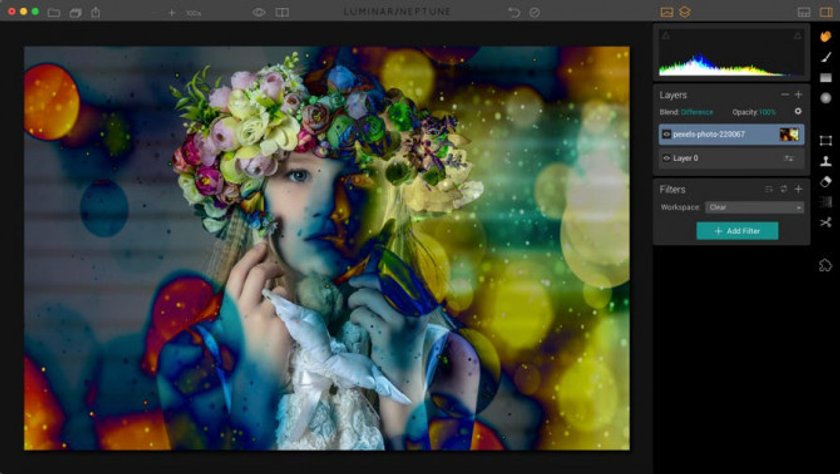
We’re going to mask out the areas we actually want to show first, simply because it’s easier to do quickly. Use a soft-edged brush and paint quickly over all the areas you want to show through. (Select Mask>Show Mask to see your brush work.)
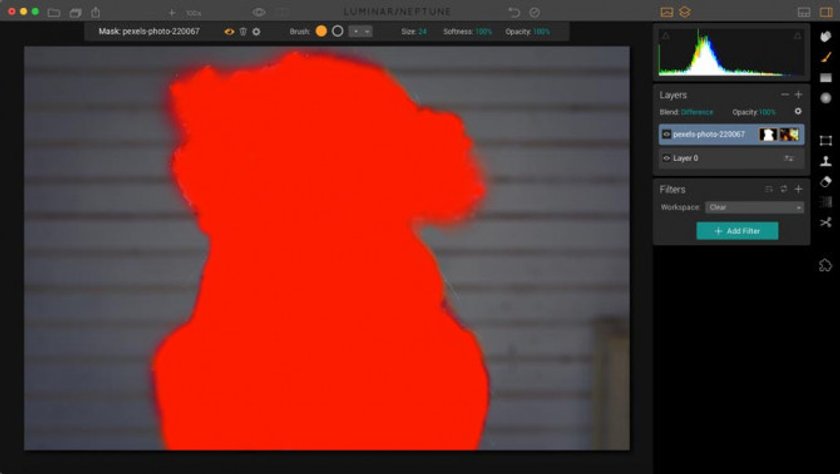
At this point, you can invert the mask and switch the Blending Mode to Normal. Hide the mask (Mask>Hide Mask) and use your brush to clean up the rough areas. Change sizes, softness and opacity as needed. You can even let some light show through in some areas next to the bright part of the background for effect.
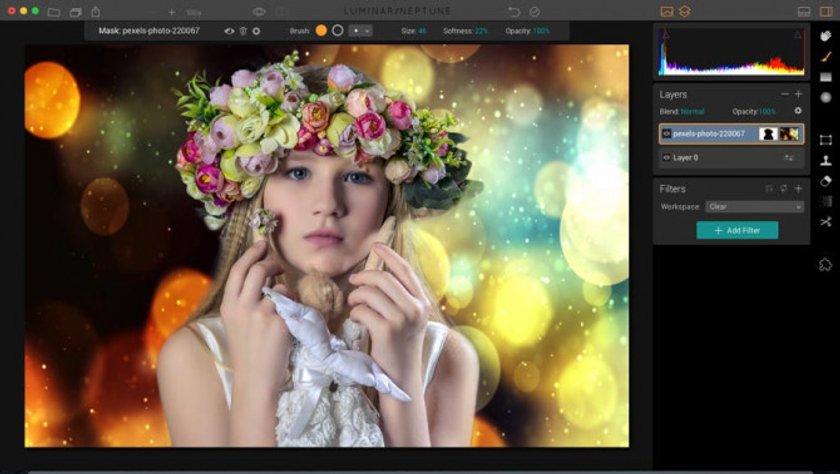
You can add finishing touches with adjustments to the Original Image layer. For this example, we applied the Soft Glow Preset from the Portrait selection. Here’s the before and after of the end result: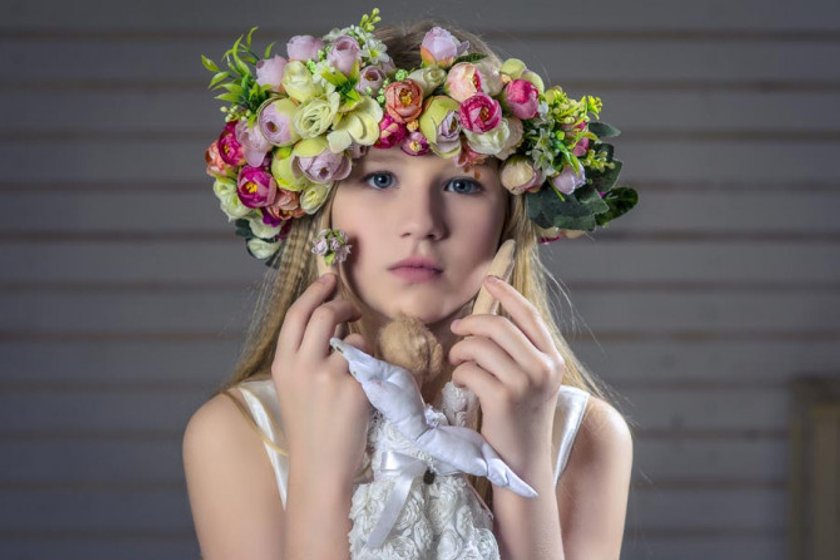
 As you can see, replacing a portrait background isn't as difficult as it sounds. All you need are the right tools and a little creativity!


