When the sun's hiding behind the horizon and the night hasn't come yet... It's time to take photos!
As I have shared here before, I absolutely love to shoot in cities. There is a huge variety of subject matter and you can literally spend an entire day out shooting.
I prefer to start at sunrise, because I enjoy the stillness and quiet of the early morning hours, and the fact that most places are deserted really helps. It feels like you have the city to yourself, which is a real treat. I recommend you try it sometime.

But of course, it’s more reasonable to get out for sunset. Not everyone is able to wake up and get started early - and in the summer, it’s REALLY EARLY. So, sunset it is for most of us this time of year! But that’s ok, because sunset is a great time to shoot.
Sunset is great, but don’t leave too early!
I recommend arriving in your spot early enough that you can catch the golden hour that comes before sunset. But here’s the thing - I often see people shoot sunset and then leave.
I assume they wanted the sunset light, but once the sun dips below the horizon, they pack it up and head home. I believe they are missing something great. I highly recommend that you stick around for the following blue hour.
Blue hour is that period after the sun has set but before full darkness occurs. The sky takes on a primarily blue hue and truthfully, the quality of light can be fabulous. It’s my favorite time of day to shoot.

Note that if you are shooting at sunrise, the blue hour in the morning will come BEFORE sunrise, not after like at sunset, so it’s even earlier. Get some coffee, maybe? ;-)
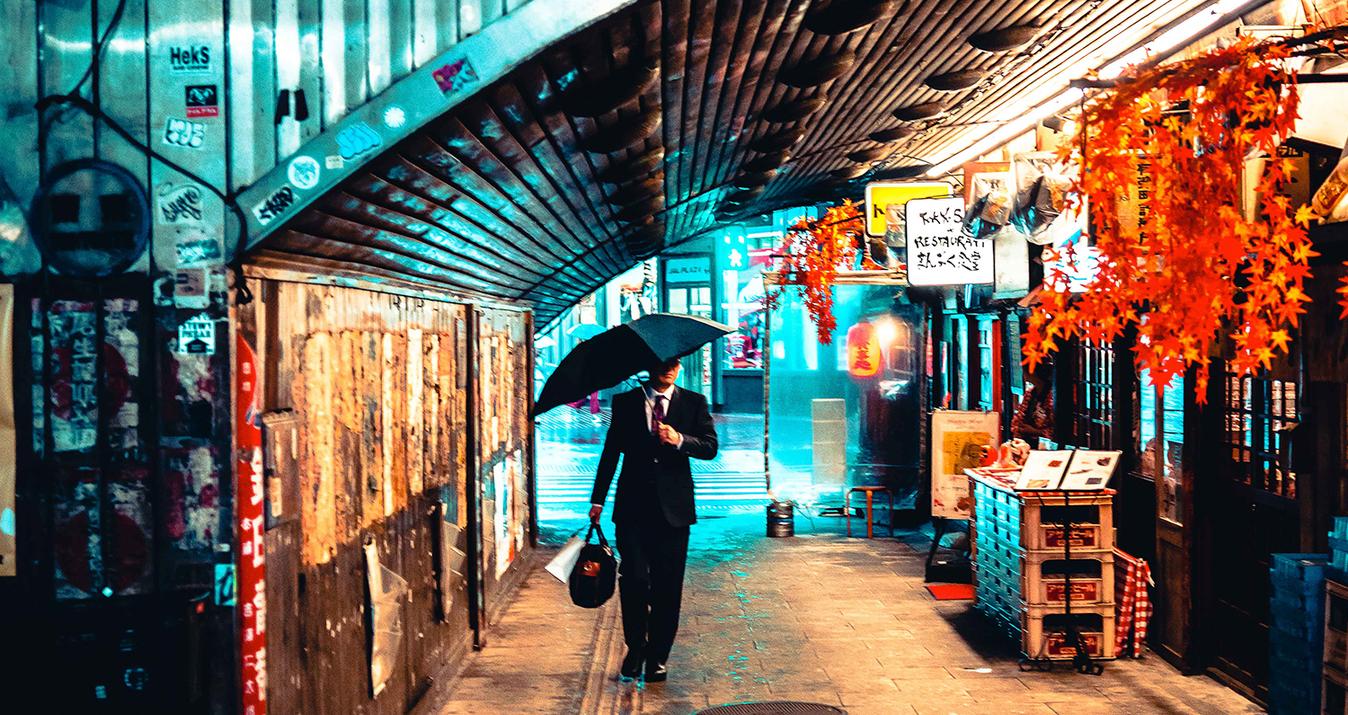
If you are shooting in cities, this is the period when you can really capture some stunning scenes. All the lights in the office buildings come on, and between that and other city lights (streetlights, neon signs, etc), you are able to capture some really stunning photographs.
The blue hour in the sky plays nicely off the artificial light from the buildings and you can end up with a stunning photograph. Personally, this is my favorite time of day to shoot, and when you are creating HDR photos from your captures, they really just pop off the screen.
Whether you are a sunrise or a sunset person, I am going to walk you through a blue hour photo and how I process it to accentuate the fine quality of light. Sunset light looks great on a landscape, but for cities, I think blue hour is best.
Let’s get started! Today’s photo - blue hour in Nashville, TN
I will start with this 5 exposure bracket set, which was captured in Nashville, TN. There is a bridge there over the river which provides this incredible view over that gorgeous skyline.

Once the 5 files are brought into Aurora HDR and merged into a base HDR photo, you have this:
Note that this is completely unaltered yet - it’s just the result of merging the 5 files. No other adjustments have been applied in Aurora HDR yet. So, that’s the next step.
Step 1: Add a Preset to the base layer
The very first thing I do is add a preset to the base layer. I have chosen Vivid Memories from the Realistic HDR category. It’s a bright, colorful preset and I like it quite a bit.

You can see that it has significantly changed the photo already, which is good. The base HDR layer was very flat and sort of lifeless, but that’s ok and very easy to change.
Step 2: Add a new layer and another Preset
Next, I add a new layer with another preset, and this time, it’s the Realistic Dreamy preset. Note that I do two things here:
- I reduced the opacity of this layer to 70% because at 100% it was too intense for my tastes.
- I use the eraser brush to remove the preset from the buildings, because it did not look good on the buildings.
Here is the mask shown on this layer:
And here is the layer viewed with the mask hidden:
I definitely think this looks better, although we have several more steps to get to the final version of the photo.
Step 3: Add another new layer and one more Preset
So the next thing I do is add another layer with another HDR preset. This time, it’s the Ethereal preset from the Dramatic category, but once again I reduce the opacity of the layer down to 24%.
It dilutes the color a bit, which is what I wanted it for, but at 100% it was going to take the photo in a completely different direction, which I didn’t want.

Step 4 - color adjustments
Ok, and now we are going to work on the colors a bit. So, I create a new layer and the first thing I do is reduce the Saturation by -19, while also reducing Temperature by -7 and increasing Tint by +7.

After that, I also went into the Color Filter section and reduced Red Saturation by -25, Yellow Saturation by -15 and increased Blue Saturation by +16. All of this was just getting the colors to align with my vision for the photo.
I generally do some steps like this on every photo. Each time, it just requires some experimentation to get it looking correct and sometimes I am not sure what it is I want, exactly.
So that’s when I just move sliders around in a very unscientific way until I get to something that catches my eye.
Step 5: Noise reduction
Ok, next up we are going to remove some noise and smooth out the photo a bit. So once again I create a new layer, and then make some adjustments to the DeNoise sliders until I like the result. Since this is just for the water and sky, after moving the sliders I then just use the brush to paint over the areas where I want the DeNoise to take effect.
Here’s the mask:
And here is the photo after hiding the mask:
Step 6: One final Preset
At this point, I could call it quits, but there are a couple of other steps that I sometimes take. In this case, I opted to add another Preset on top of all of this work. I just liked the look.
So, I create a new layer and then grab the preset and apply it across the entire photo, although note that because of the intensity of it, I reduced the opacity of this layer down to 30%. The preset used here is Realistic Dreamy again. I just think it looks great in this type of scene.

Step 7: The finishing touch
Ok, this next layer is the last one - I promise!
After getting to this point, I decided I wanted to REALLY smooth out the water and give it more of a long exposure sort of feel. So once again I create a new layer and make some adjustments to the sliders under DeNoise.
Then I just grab the paintbrush and swipe it across the water, giving me a mask that looks like this:
And the image now looks like this:
Now I am finally done with it. Sometimes it just takes a few steps to realize your vision for a photo, but the great thing about Aurora is that you can do it all right there without having to use another product. The ability to add multiple layers in Aurora is a HUGE benefit of this product!
Now it’s time to save the photo, so just click that little forward arrow at the top and save the image.

Here’s the final version of the photo:
And that’s it today my friends - thank you for tuning in. Let me know if there are any questions and see you next time!
A Special Perk for Our Blog Readers
Get a 10% discount on Luminar Neo and dive into professional photo editing today!
Thank you for subscribing.
Your gift is waiting in your inbox!


