Best ISO For Portraits: Sharp Details, Flawless Shots
May 28, 2024

Learn how to balance ISO levels to enhance image quality while minimizing noise, ensuring your portraits look professional and polished.
Every photographer faces the challenge of balancing light and clarity. This is especially true for portrait photographers as they try to create a well-exposed shot with clear details on the model's face. When faced with low-lit conditions, adjusting the ISO settings on their camera becomes necessary, but that's when problems start to arise.
With each increase in ISO, more noise is introduced into the image, which can deteriorate its quality. ISO itself doesn’t create noise, noise exists due to low light and increasing ISO makes it more visible as you amplify the sensitivity of the sensor. Thankfully, there are ways to manage noise effectively and ensure that your portraits look fantastic, sharp, and highly detailed. Join us as we explore how to ensure ISO settings benefit rather than harm your portrait shots.
Understanding ISO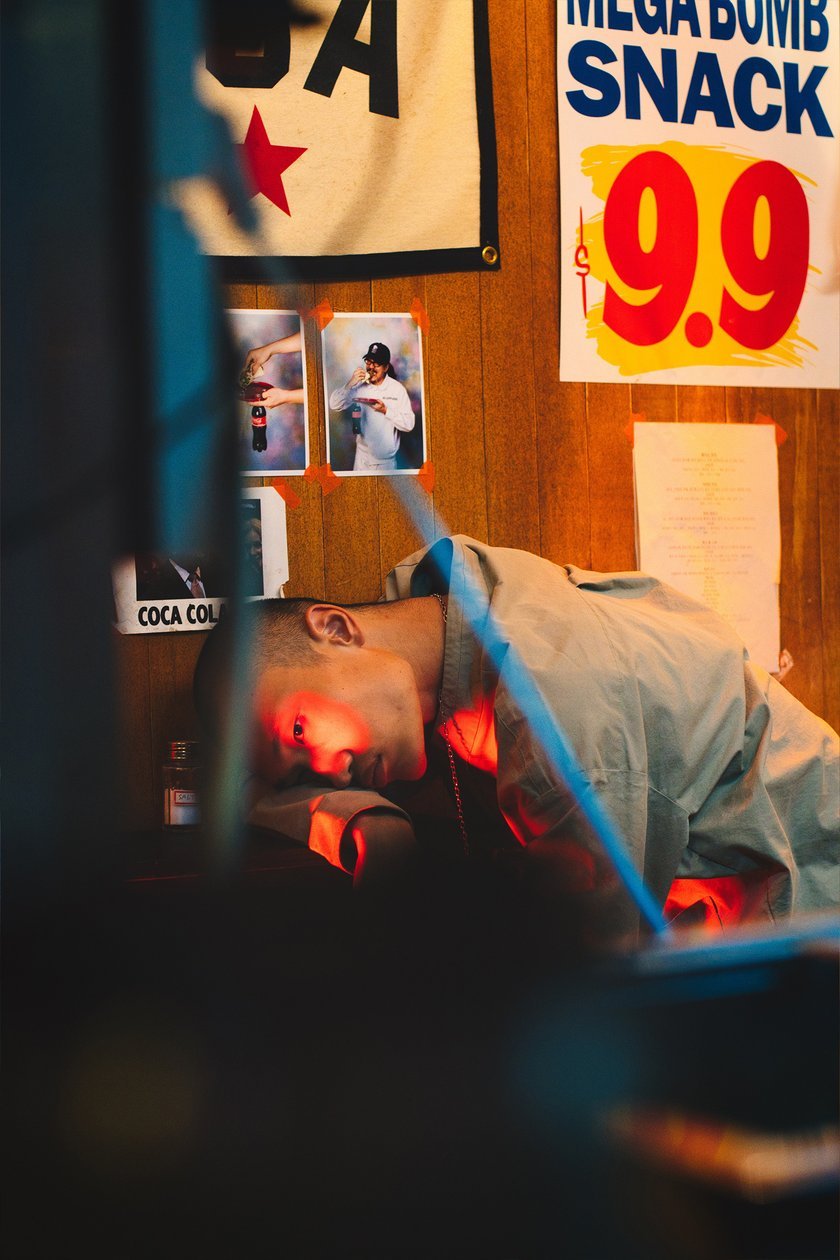

ISO in photography refers to the sensitivity of your camera’s sensor to light, a term that originates from the International Organization for Standardization. This organisation developed the global standard scale that measures this sensitivity. ISO’s role in the Exposure Triangle is a fundamental aspect of photography. Before attempting a portrait shoot, it's crucial to grasp these concepts to ensure higher-quality photos.
Exposure Triangle
Firstly, let's take a quick look at the Exposure Triangle. It consists of aperture, shutter speed and ISO. These settings collectively determine how your shot is exposed. Aperture and shutter speed control how much light enters the camera and reaches the sensor, whilst ISO adjusts the sensor's sensitivity to light.
Balancing the Triangle
To achieve sharp photos, photographers must find a way to balance these three settings in a way that doesn't introduce too much noise and compromise quality. This is especially difficult in low-lit conditions where you can only open the shutter so much, and the aperture may already be at its widest. It is during conditions such as these that noise becomes inevitable, however, we are going to look at ways to minimise and manage it.
Choosing the Right ISO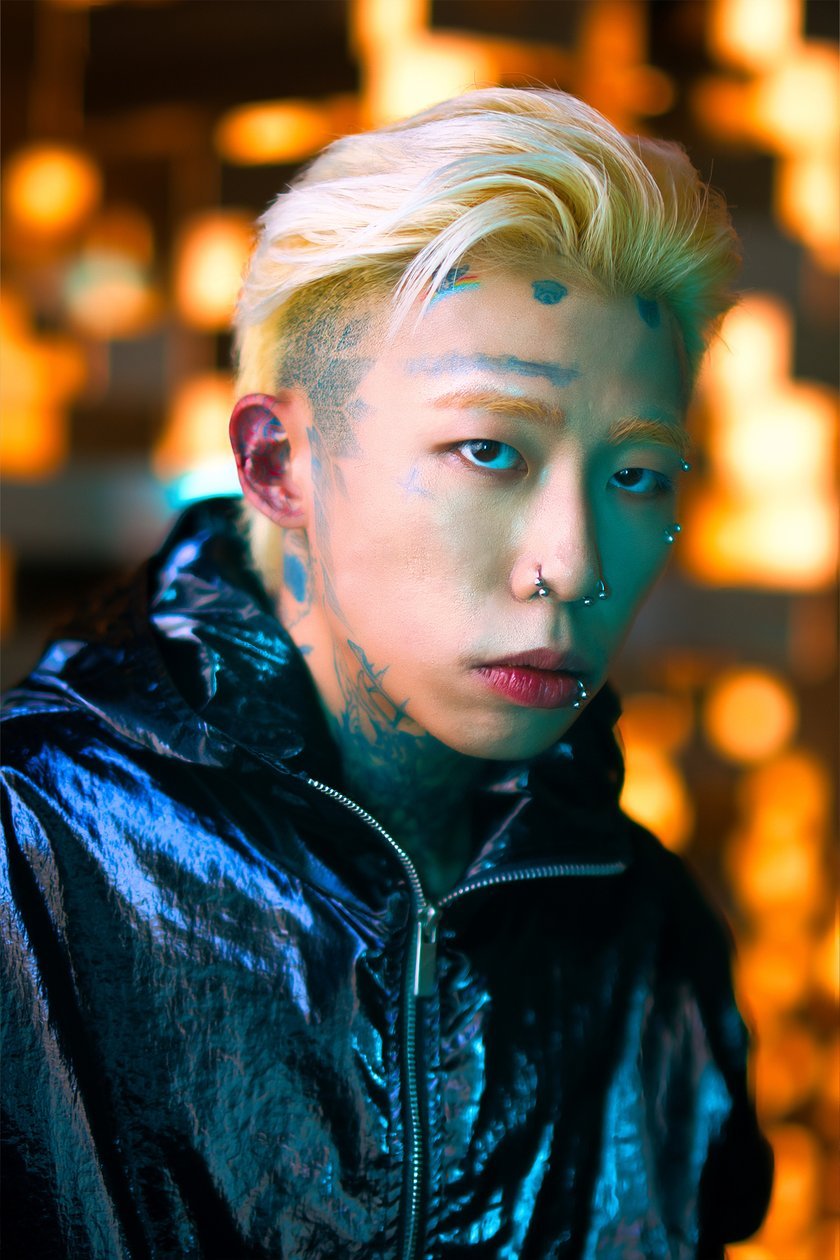

As you gain more experience with your camera in various environments, you will naturally become more adept at selecting the right ISO for your shoots.
Advanced yet easy-to-use photo editor
Get Luminar Neo NowFor Bright Conditions
In bright conditions, whether outdoors or in a studio, the potential for noise is at its lowest. Here, you will typically have enough flexibility with shutter speed and aperture adjustments that you won’t need to increase the ISO significantly. This allows for cleaner images with minimal noise.
For Low-Light Conditions
In contrast, low-light conditions often require adjustments to ISO to ensure that your scene is well-exposed and details on your model are clearly visible. The key in these scenarios is to adjust your ISO only after you've optimised your aperture and shutter speed settings. Avoid starting with a high ISO; instead, make it the last adjustment after exploring all other options to prevent unnecessary noise.
ISO Recommendations for Portrait Photography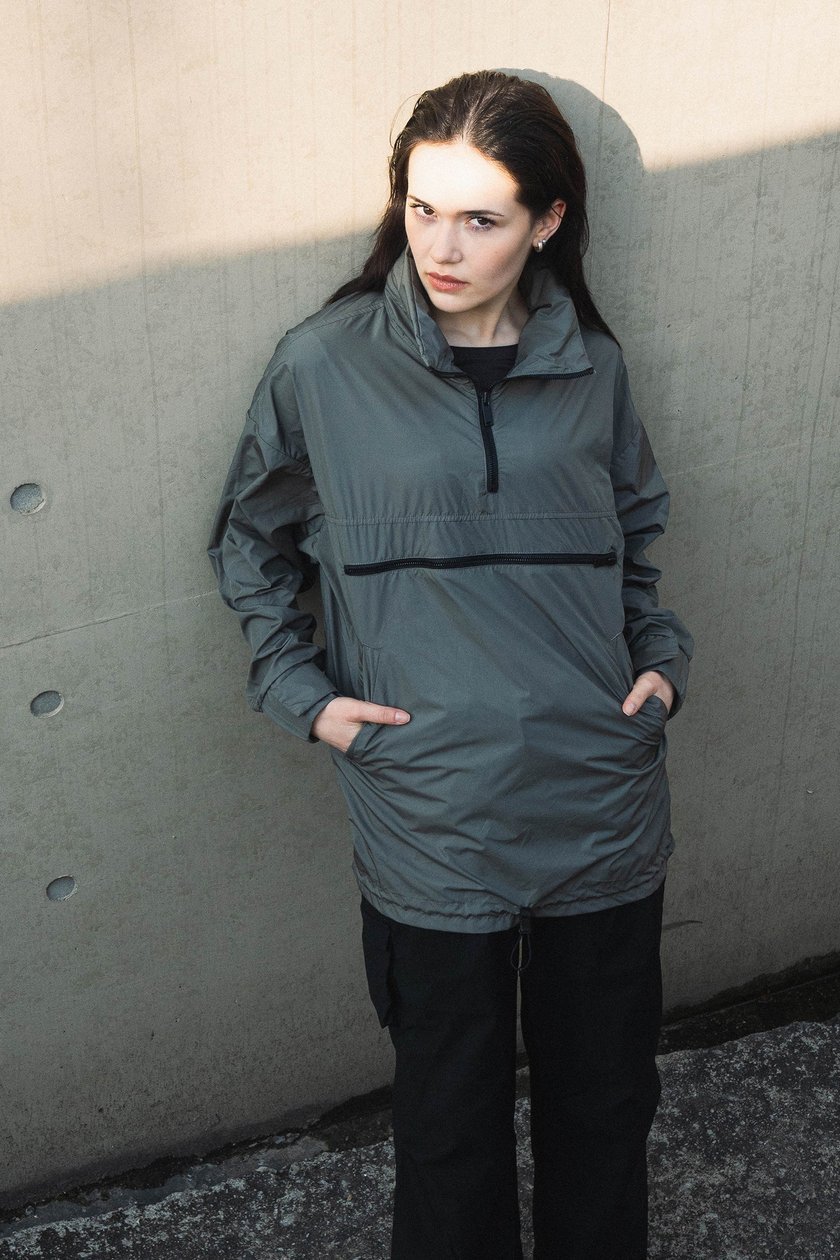

When it comes to portrait photography, your primary goal is to ensure your model looks fantastic, which means achieving great lighting, flawless skin, and crisp, sharp details. Whilst your editing suite can assist in areas like skin retouching, it's best to start with a high-quality image to minimise your post-processing workload.
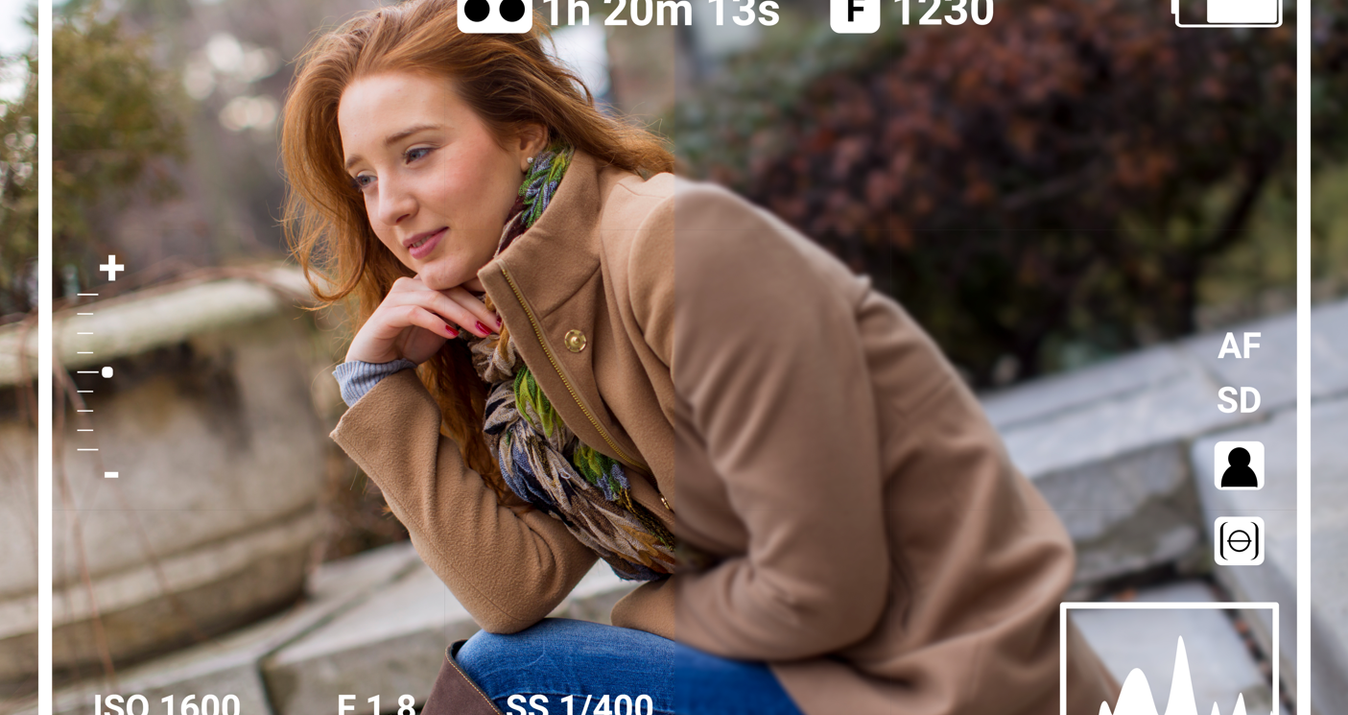
Bright Conditions: ISO 100-200
For outdoor portraits in bright conditions, begin with a low ISO. Since ISO should be the last setting you adjust, start at 100 or 200 and modify your shutter speed and aperture according to your scene's lighting conditions. Utilising natural light or bright studio lights will help you achieve minimal grain.
Indoor and Shaded Environments: ISO 400-800
If there is ample light but it isn't directly hitting your subject, you may need to increase your ISO. In these cases, your setting might range between 400-800. Depending on your camera, you might start introducing noise at this level, so optimise your aperture, shutter speed, and lighting to keep it at bay.
Low-Light: ISO 1000+
In low-light conditions, you'll rely heavily on your camera's performance, particularly if you push ISO above 1000. Cameras with more powerful sensors handle noise better. If you've maximised lighting and adjusted other settings adequately, continue increasing your ISO until your model and scene are well-exposed. Frequent reviewing of your shots is crucial under these circumstances to ensure quality.
Techniques to Compensate for High ISO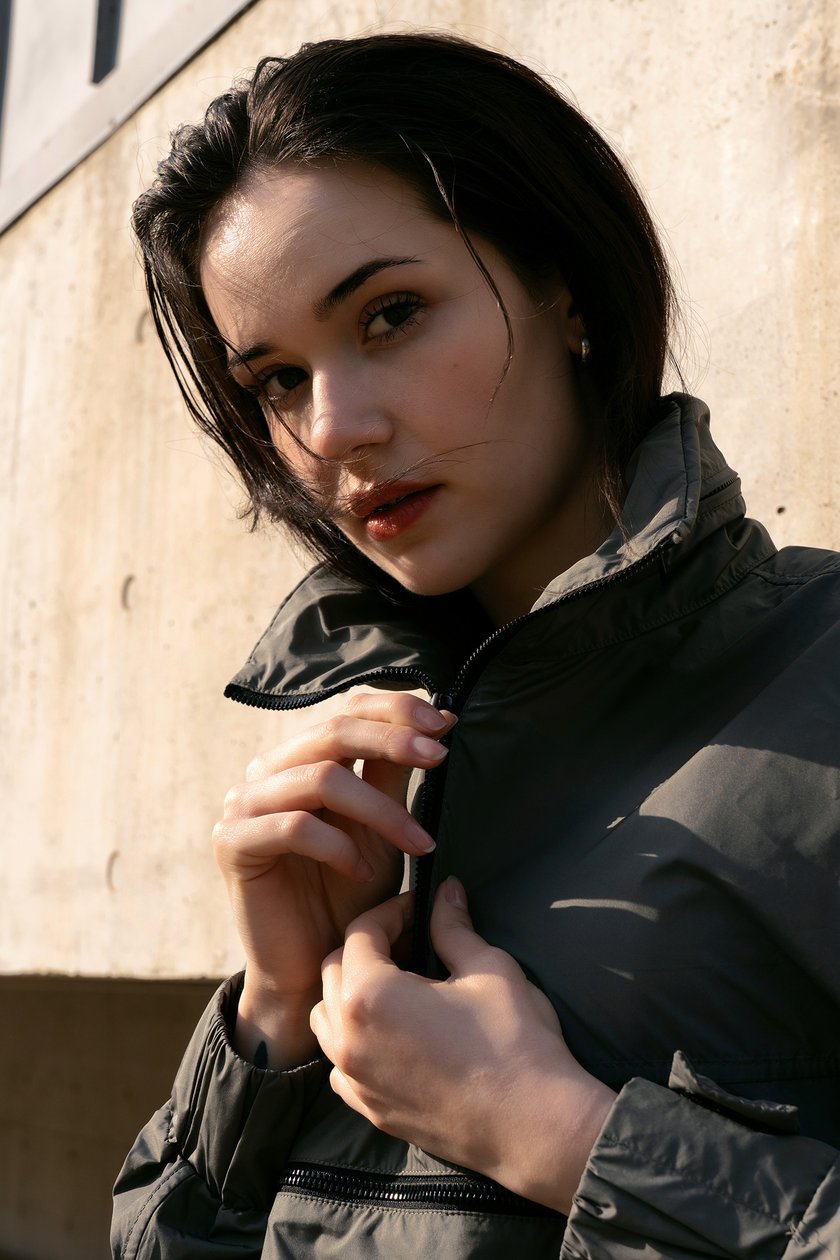

There are several techniques to consider before you're left with soft images devoid of details. These strategies can help you preserve sharpness and detail even when high ISO settings are necessary.
1. Add More Light
Well-lit scenes are crucial for achieving high-quality and sharp images. Before you increase the ISO, consider if you can add more light to your image. Even if your model is backlit, can you make that light stronger? If possible, introduce more light, especially where it matters most—on the model's face. Explore different studio lighting techniques that result in a professional finish with minimal noise.
For low-lit urban environments, consider portable lights. I use portable lights with magnetic attachments that can be placed on staircases, drain pipes, etc. They are extremely useful because the ambient light from neon signs and other street lights is usually insufficient to create sharp images. Therefore, I choose portable lights with a full RGB spectrum so I can match the hue of the neon sign and illuminate my model. Noise in low light is inevitable, but it is manageable.
2. Use a Bounce Board
If you already have lights set up, you can use bounce boards. They are bright surfaces that reflect light to where it is needed. They are great for brightening up your model's face without introducing new light sources. Bounce boards also come in varying degrees of reflectiveness, allowing you to fine-tune the light intensity. You can adjust the distance from your model until you are satisfied with the result. They are usually lightweight and compact, and you can attach them to C-Stands or other apparatus with clips if you don't have assistance. They are vital, especially in a studio environment, for creating sharper images.
3. Consider Shooting RAW
Shooting in RAW gives you a greater dynamic range across your image, allowing for greater flexibility during post-processing, especially with noise management. Since noise is more apparent in darker areas, by giving ourselves a wider dynamic range than what JPEGs can offer, RAW files provide a better potential for minimizing noise.
Post Processing Tips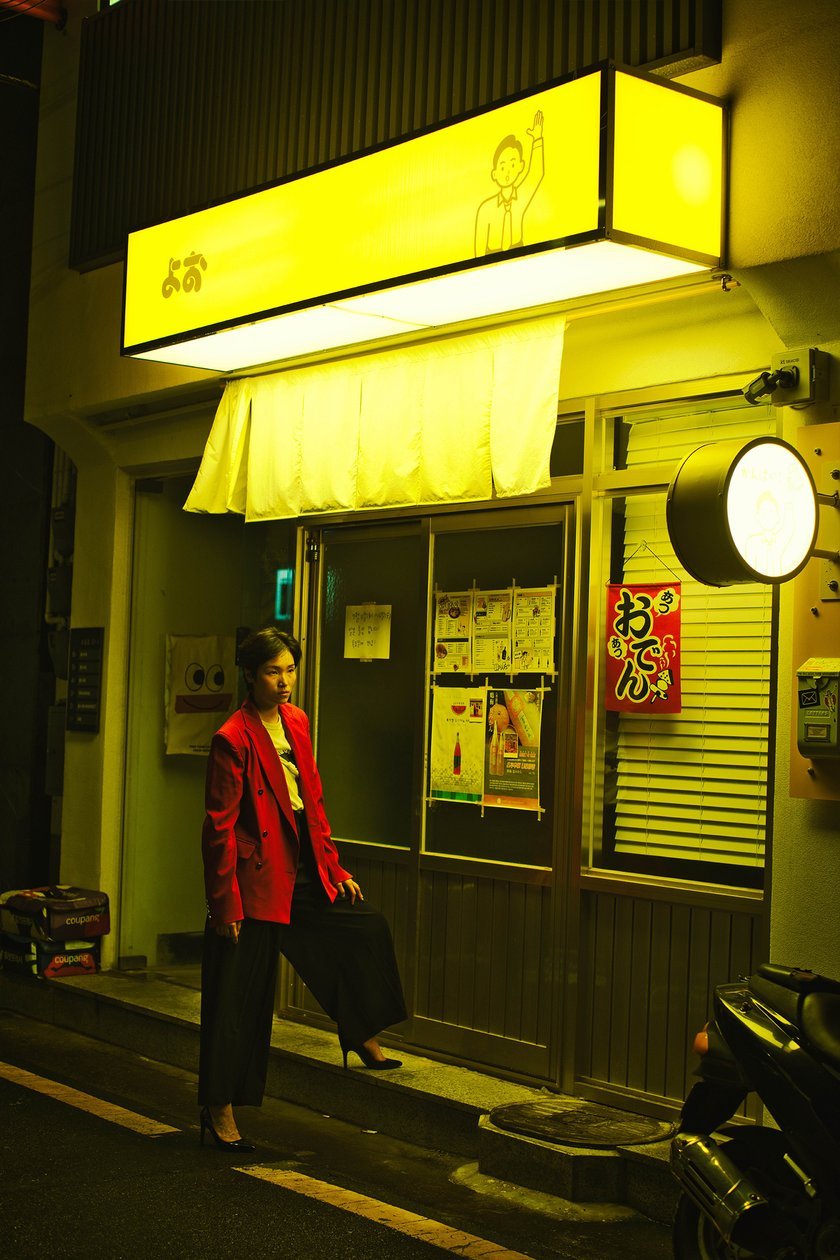

Even if you’ve done everything possible to minimize noise and you're still unsatisfied with the results, there are a few tools that can help clean up your images.
Noiseless AI
Luminar Neo’s Noiseless AI tool is designed to restore detail to your images by removing unwanted noise. It is compatible with both RAW files and JPEGs, but it provides optimal results with RAW files. Utilising AI technology, Noiseless AI can efficiently eliminate noise from your images across three levels of intensity. If you’re unsure which level to choose, Noiseless AI can scan your image and suggest whether to apply Low, Medium, or High noise reduction. After processing, you can further adjust the strength, detail, and sharpness, giving you extensive control to restore detail in noisy images.
Masking Tools
As noted earlier, noise is most apparent in darker areas. To address this, you can use masks to target specific areas of your image, giving you finer control over noise management. For instance, you can combine masks with Noiseless AI, applying a stronger denoising effect to darker areas whilst sparing your model from excessive processing. Masks allow for precise adjustments in your post-processing workflow, so take the time to experiment with this powerful feature.
The Bottom Line
When it comes to portrait photography, ensuring the details of the model are sharp and clear is crucial, and this responsibility falls on the photographer. In well-lit conditions, achieving this clarity is simpler, but as lighting conditions dim, noise can start to creep into your images. By effectively managing the Exposure Triangle—particularly ISO—you can minimise noise and achieve crisp results. Make every effort to maximise light in your images, whether by introducing additional light sources or using bounce boards to reflect light onto your model.
If you're still unsatisfied with your results, consider using Luminar Neo’s Noiseless AI to help reduce and eliminate unwanted noise. With these techniques in hand, your next portrait shoot should deliver sharp and detailed results. Good luck!