The term of photography means "writing with light" - therefore it's critical to understand and use the essential properties of light in order to take great shots.
Just as olive oil is crucial to the Italian cook and a palette of paints is crucial to the painter — light is crucial to the photographer.
Though the camera itself can work wonders to control the light, you (as the photographer) play a vital role as well.
And having a basic understanding of the main properties of light - quantity, quality and direction - can help you to grow and fine-tune your creative expression.
1. Quantity
The quantity of light may also be referred to as the intensity of light and the idea is simple: when you walk into a space where you are going to snap a photo, how much light is present?

Think of this by using an analogy as it relates to your eyes. When you step into a scene that is brightly lit, you find yourself covering your eyes or reaching for your nearest pair of shades. You might squint or feel overwhelmed at how overexposed the setting is.
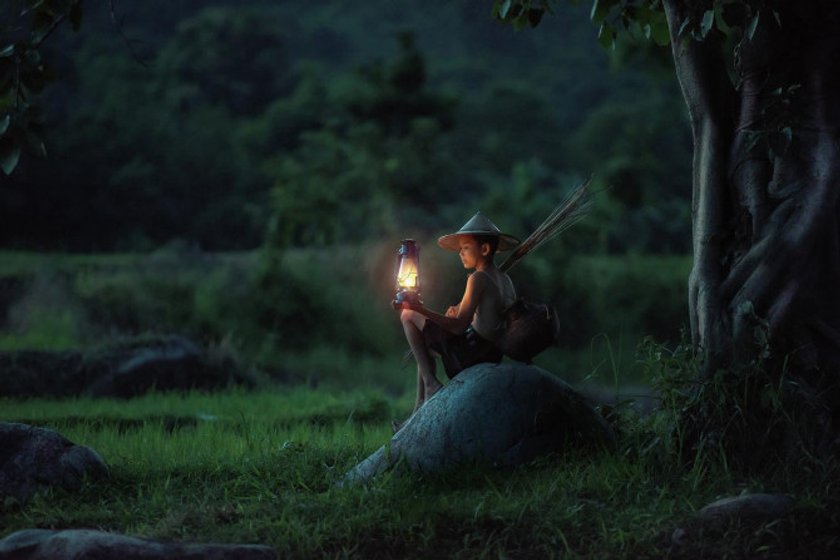
Similarly, when you walk into a space that is dim — everything is underexposed. Again, you may squint to see your surroundings or whip out your phone in an effort to make things brighter.
A camera works in a similar sort of way. But, unlike the human eye that must naturally adjust to its surroundings, we have the control to change the intensity of light within our camera using ISO, aperture, and shutter speed.
If you’re shooting a scene in the bright sunlight at a lake outdoors while your family is swimming, your ISO will be lower than if you’re shooting that same scene at night, while your family gathers around the bonfire. Likewise, with that intense daylight sunshine, you’ll want a high shutter speed or a low aperture to go along with your low ISO, which will ensure that the quantity of light doesn’t give you a blown out image.
2. Quality
The quality of light can’t be perceived quite as concretely as the quantity of light. Instead, it’s measured by our visual perception of the light.

Is it hard? Or is it soft?
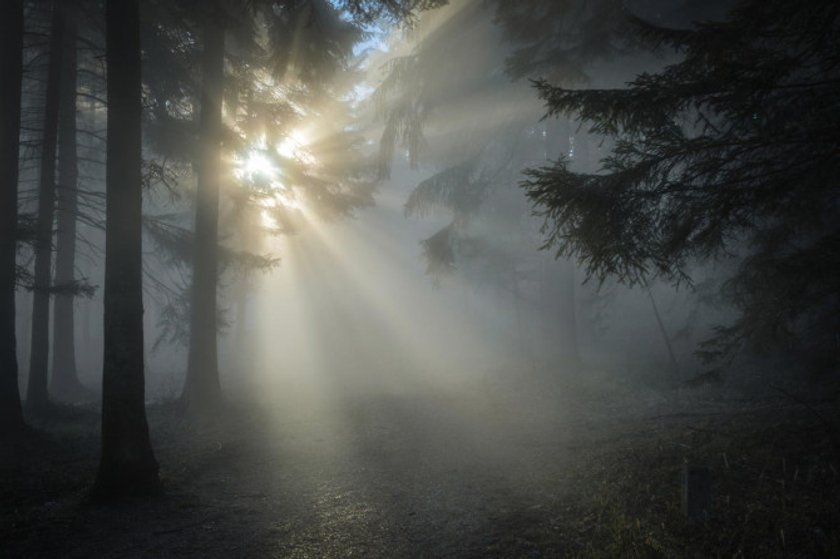
Hard lighting is harsh, directional and can casts strong shadows. It can make shooting situations like portraits done outdoors difficult. However, hard light isn’t always a negative thing — it can also be used artistically to add dramatic flare to your shots.
Soft lighting, on the other hand, is non-directional and tends to come from a diffused source. It can help to create smoothness and eliminate those strong shadows often seen under harsh light.
Soft lighting can be found naturally on a day where clouds clutter the sky or through a window where the sunlight streams in.
3. Direction
The direction in which light hits your subject affects its overall appearance and in turn, the end result of the photograph.

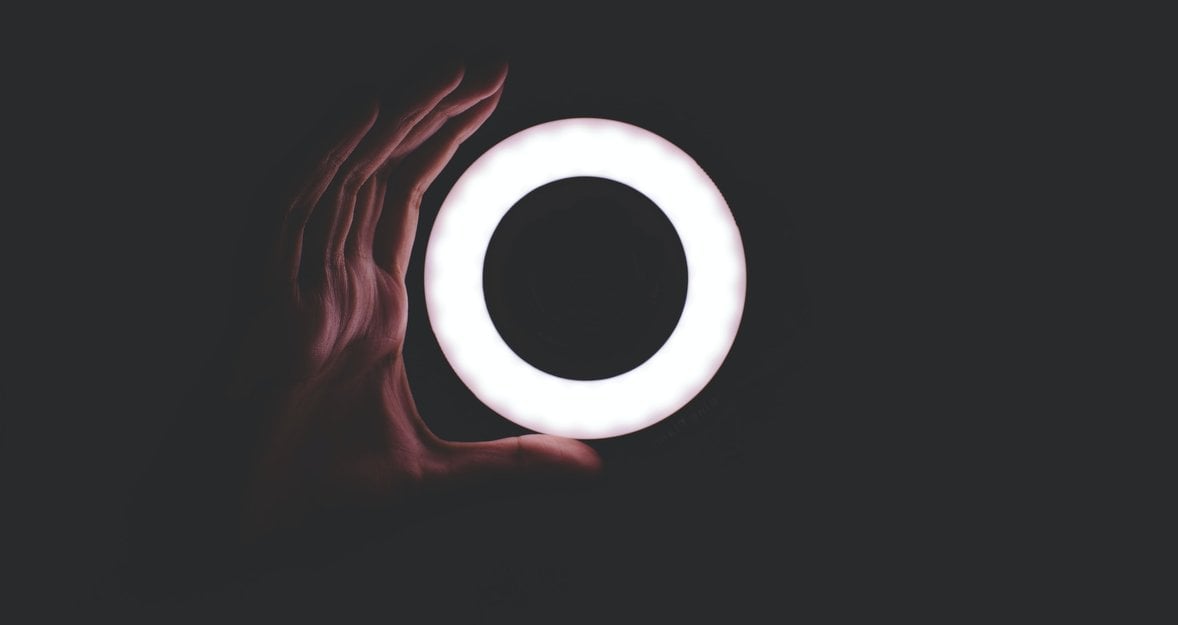
In a studio setting, you have the power to move your light into your desired position — further helping you get the shot you want. How does the light look as it reflects in the blue of your subject’s eyes? What does the light do to their features, such as their straight nose, their high cheek bones or their defined jaw line?
Experimenting with the direction of light in a studio setting helps to fine-tune the appearance of your subject and bring your unique vision to life.
If you’re shooting outdoors, things are a bit trickier. When sun is your main light source, you can’t exactly pick it up and move it as you can with artificial lighting indoors. You can, however, move your subject around until you get the look you desire.
With a basic understanding of light and its properties — you, as the photographer — can work to control the scene and get the precise images you’re looking for.
At Skylum, we’re here to encourage your creativity and help you grow.
So, throw your camera on your shoulder, get out, and chase the sun.
A Special Perk for Our Blog Readers
Get a 10% discount on Luminar Neo and dive into professional photo editing today!
Thank you for subscribing.
Your gift is waiting in your inbox!


